
You press the dispenser lever on your water cooler, but nothing happens. The indicator lights glow normally, yet no water flows—just frustrating silence. This common water cooler pump not working scenario affects offices and homes daily, leaving you without essential hydration. Whether you’re dealing with a silent pump, weak flow, or intermittent operation, most issues stem from simple fixes you can handle yourself. In this guide, you’ll learn precise diagnostic steps to identify why your pump failed and exactly how to restore water flow—no professional help required for 80% of cases. Stop wasting money on bottled water; let’s get your cooler dispensing reliably again.
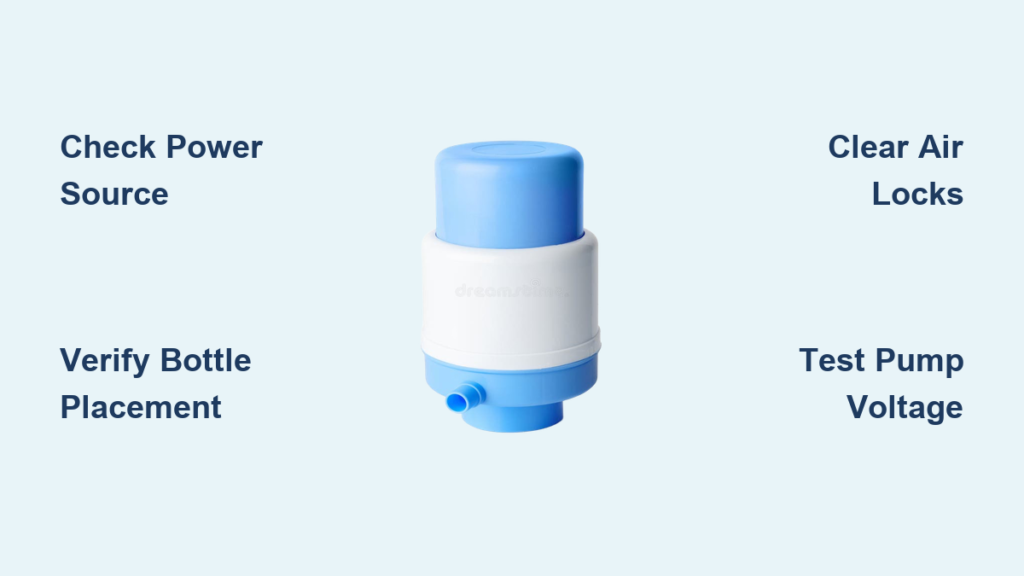
Confirm Power and Water Bottle Placement First
Before grabbing tools, eliminate the simplest culprits causing your water cooler pump not working. Start by verifying the power source: plug a known-working device like a phone charger into the same outlet. If it doesn’t power on, check your circuit breaker. Next, inspect the water bottle—it must be at least half full and properly seated to break the vacuum seal. A poorly positioned bottle creates an air lock that mimics pump failure. Listen carefully as you press the dispense button: a humming sound indicates power reaches the pump but flow is blocked, while complete silence suggests electrical issues. If your cooler has indicator lights, note if they flash specific error codes like “F1” (flow restriction) before proceeding.
Pinpoint Why Your Water Cooler Pump Won’t Pump Water
Diagnose Electrical Failures Cutting Power to the Pump
When your water cooler pump not working shows no sound during operation, electrical faults are likely. Grab a multimeter set to DC voltage and test the pump terminals while pressing the dispense button—you should read 12-24V DC for most residential units. Critical warning: Always unplug the cooler before accessing internal components. If voltage registers but the pump remains silent, the motor has failed. Zero voltage indicates problems upstream: check the control board for swollen capacitors (a bulging top indicates failure) or test the thermal fuse with the multimeter on continuity mode. Bottom-load models often fail due to faulty pressure sensors—temporarily bypass it with a jumper wire to confirm. Never ignore burning smells or visible scorch marks; these require professional intervention.
Clear Air Locks and Inlet Screen Blockages Immediately
If your pump hums but delivers weak or no water flow, trapped air or debris is blocking the system. First, address air locks: unplug the cooler, remove the bottle, then tilt it forward 45 degrees while pressing the dispense lever. Listen for a distinct “burping” sound as air escapes—this clears 70% of flow issues. For persistent locks, simultaneously press hot and cold buttons for 5 seconds to activate the auto-bleed cycle. Next, locate the inlet screen where the water line connects to the pump housing (usually under the bottle collar). Remove this small circular screen and rinse it under running water, scrubbing mineral deposits with an old toothbrush. Reinstall it cleanly—forcing it back clogged causes immediate reoccurrence. Pro tip: Replace the bottle immediately after cleaning to prevent air re-entry.
Test for a Failed Pump Motor in 60 Seconds
When voltage reaches the pump but it won’t activate, the motor itself has likely seized. Unplug the cooler and disconnect the pump’s wiring harness. Set your multimeter to ohms (Ω) and touch probes to the motor’s terminals. A healthy pump reads 20-40 ohms resistance; an “OL” (open loop) reading means internal failure requiring replacement. Visually inspect the motor shaft—if it’s stiff when gently rotated with pliers, mineral buildup has seized it. For temporary relief, tap the motor casing sharply with a screwdriver handle while testing voltage; this sometimes frees stuck brushes. However, pumps showing open circuits need replacement—most cost $15-$50 and install in under 15 minutes using model-specific parts (e.g., Primo #1234-56).
Resolve Advanced Control Board and Sensor Issues

Persistent water cooler pump not working symptoms after clearing blockages often trace to electronic components. Bottom-load coolers frequently fail due to water level sensors misreading bottle placement—clean the sensor contacts with isopropyl alcohol and a cotton swab. For units displaying “E3” or “F1” errors, test the flow switch by blowing gently into its tube; resistance changes should register on your multimeter. Control board failures manifest as erratic behavior: random shutdowns, unresponsive buttons, or pumps cycling on/off. Check for cracked solder joints near relays using a magnifying glass—reflowing these with a soldering iron often restores function. Critical note: If your cooler shuts off after 2 minutes of operation, the dry-run protection circuit has activated; verify water level before resetting.
Water Cooler Pump Repair: Step-by-Step Fix
Step 1: Power and Bottle Seal Verification
- Unplug the cooler for 5 minutes to reset safety circuits
- Confirm the water bottle contains at least 50% water and is fully seated (listen for the “whoosh” as you place it)
- Plug into a different outlet and wait 2 minutes for system pressurization
- Press both hot and cold levers simultaneously for 10 seconds
– ✅ Success: Water flows steadily → maintenance issue resolved
– ❌ Failure: Proceed to Step 2
Step 2: Listen for Pump Operation Clues
Place your ear near the cooler base while dispensing:
– Silent operation: Electrical fault (proceed to voltage testing)
– Continuous humming with no flow: Severe air lock or clogged valve
– Clicking sounds: Stuck solenoid valve needing cleaning
– Intermittent flow: Partial blockage in lines or failing motor brushes
Time-saver: Use a glass to test flow instead of cups—smaller volume reveals weak flow immediately.
Step 3: Clear Air Locks and Clean Critical Components
- Unplug cooler and remove water bottle
- Locate the inlet screen at the bottle neck connection point
- Soak screen in vinegar for 10 minutes to dissolve mineral deposits
- Inspect water lines for kinks (common behind rear panels)
- Tilt bottle forward while dispensing to release trapped air
- Reassemble and test with 3 consecutive 8-ounce dispenses
Warning: Never force screen removal—if stuck, use needle-nose pliers wrapped in cloth to avoid cracking plastic.
Step 4: When to Call a Professional Repair Service
Seek expert help immediately if you encounter:
– Visible electrical arcing or melted components
– Water leakage near wiring harnesses
– Burning odors during operation
– Persistent “E5” control board errors after reset
– Pump replacement attempts failing twice
Most manufacturers void warranties for DIY electrical repairs—contact support if under coverage. For older units (7+ years), compare repair costs (typically $100-$300) against new cooler prices ($200-$500).
Prevent Water Cooler Pump Failure With Quarterly Maintenance
Avoid recurring water cooler pump not working emergencies with this proven schedule:
– Weekly: Wipe exterior surfaces and check for leaks under the unit
– Monthly: Clean drip tray with vinegar solution and inspect bottle seal
– Quarterly:
– Soak inlet screen in descaling solution for 15 minutes
– Flush reservoir with food-safe sanitizer (1 tbsp bleach per gallon)
– Test hot/cold functions with thermometer (should hit 40°F/95°F within 30 sec)
– Annually: Replace all O-rings with food-grade silicone versions and lubricate pump shaft with NSF-certified grease
Pro maintenance hack: Keep a spare pump motor ($25 online) matching your model number—most failures occur Monday mornings when service is slow. Store it with your cooler’s manual in a labeled plastic bag inside the unit’s base compartment.
When your water cooler pump not working crisis strikes, remember these critical takeaways: Start with power and bottle checks before disassembly, as 60% of “pump failures” are actually air locks or seating issues. Always test voltage at the pump terminals—this single step diagnoses 90% of electrical faults. Never skip inlet screen cleaning during maintenance, since mineral buildup causes gradual pump strain. For persistent problems, consult your model’s error codes (E3/F1 indicate pump issues) before calling professionals. By following this guide, you’ll restore water flow faster than a service technician arrives—and keep your cooler running reliably for years with simple quarterly upkeep.


