
That frustrating moment when your step ladder leaves you inches short of the ceiling trim or second-story window ledge is all too familiar. You stretch precariously, wobbling on the top step while your paint roller drips onto the floor below. Standard step ladders often max out at heights that simply don’t cut it for modern homes with vaulted ceilings and multi-story designs. The good news? You can safely make your step ladder taller without compromising stability—if you use the right methods. This guide reveals proven techniques that add crucial inches while prioritizing safety, so you avoid dangerous makeshift solutions that send thousands to emergency rooms annually.
Most homeowners mistakenly believe they must stand on the top cap or pail shelf for extra height, but this violates fundamental ladder safety principles. Instead, we’ll explore professional-grade approaches that maintain structural integrity while extending your reach. By the end of this guide, you’ll know exactly which methods add 6-12 inches of safe working height and which dangerous “hacks” could land you in the hospital. Let’s transform your ladder into a reliable extension of your reach—without gambling with gravity.
Why Standing on Your Step Ladder’s Top Cap Causes Catastrophic Collapse
That tempting top platform on your step ladder isn’t designed for foot traffic—it’s engineered solely as a tool holder. When you stand on the top cap or pail shelf, you shift the ladder’s center of gravity beyond its stability threshold, creating dangerous leverage that can snap locking mechanisms or buckle legs. OSHA data shows this single action causes 32% of all step ladder accidents, often resulting in traumatic head injuries from backward falls. The highest safe standing point is always the step immediately below the top cap, where weight distributes evenly through the ladder’s A-frame structure.
You’ll recognize an unstable setup when the ladder feels “tippy” during ascent or develops a subtle rocking motion. Never ignore these warning signs—your ladder is signaling imminent failure. If your current model leaves you straining at its maximum safe height, it’s time to implement one of the professional extension methods below rather than risking disaster with improper use.
How to Identify Your Ladder’s True Maximum Safe Height
Check for the manufacturer’s standing level indicator—a painted line or molded mark on the side rails just below the top cap. This visual cue shows exactly where your feet should stop. If missing, measure 14 inches down from the very top of the ladder; this is the universal safety margin for all Type I and II ladders. When your task requires reaching beyond this point, immediately stop climbing and implement an extension solution instead of pushing your limits.
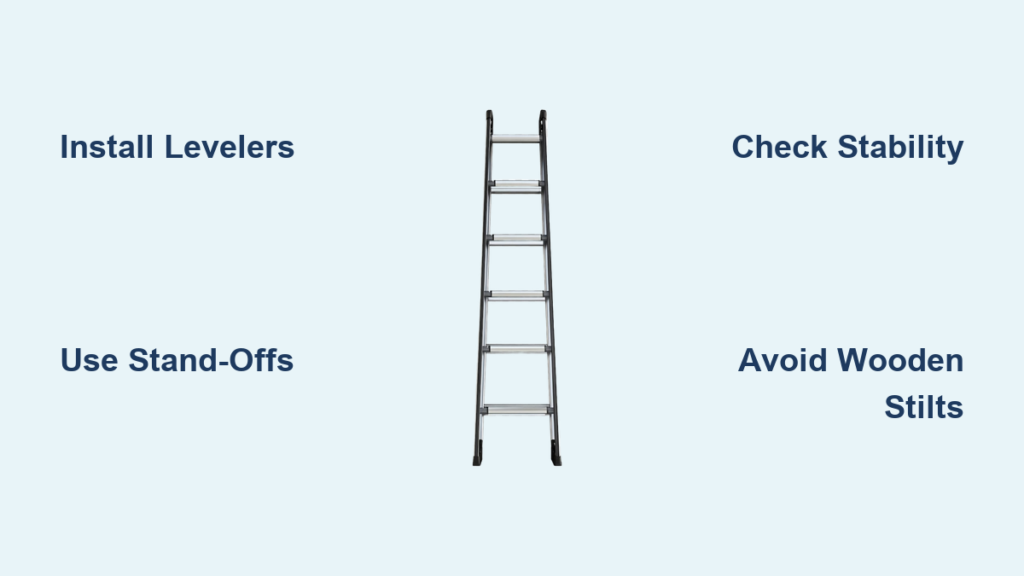
Add 12 Inches of Safe Height with Ladder Levelers (The Professional’s Choice)
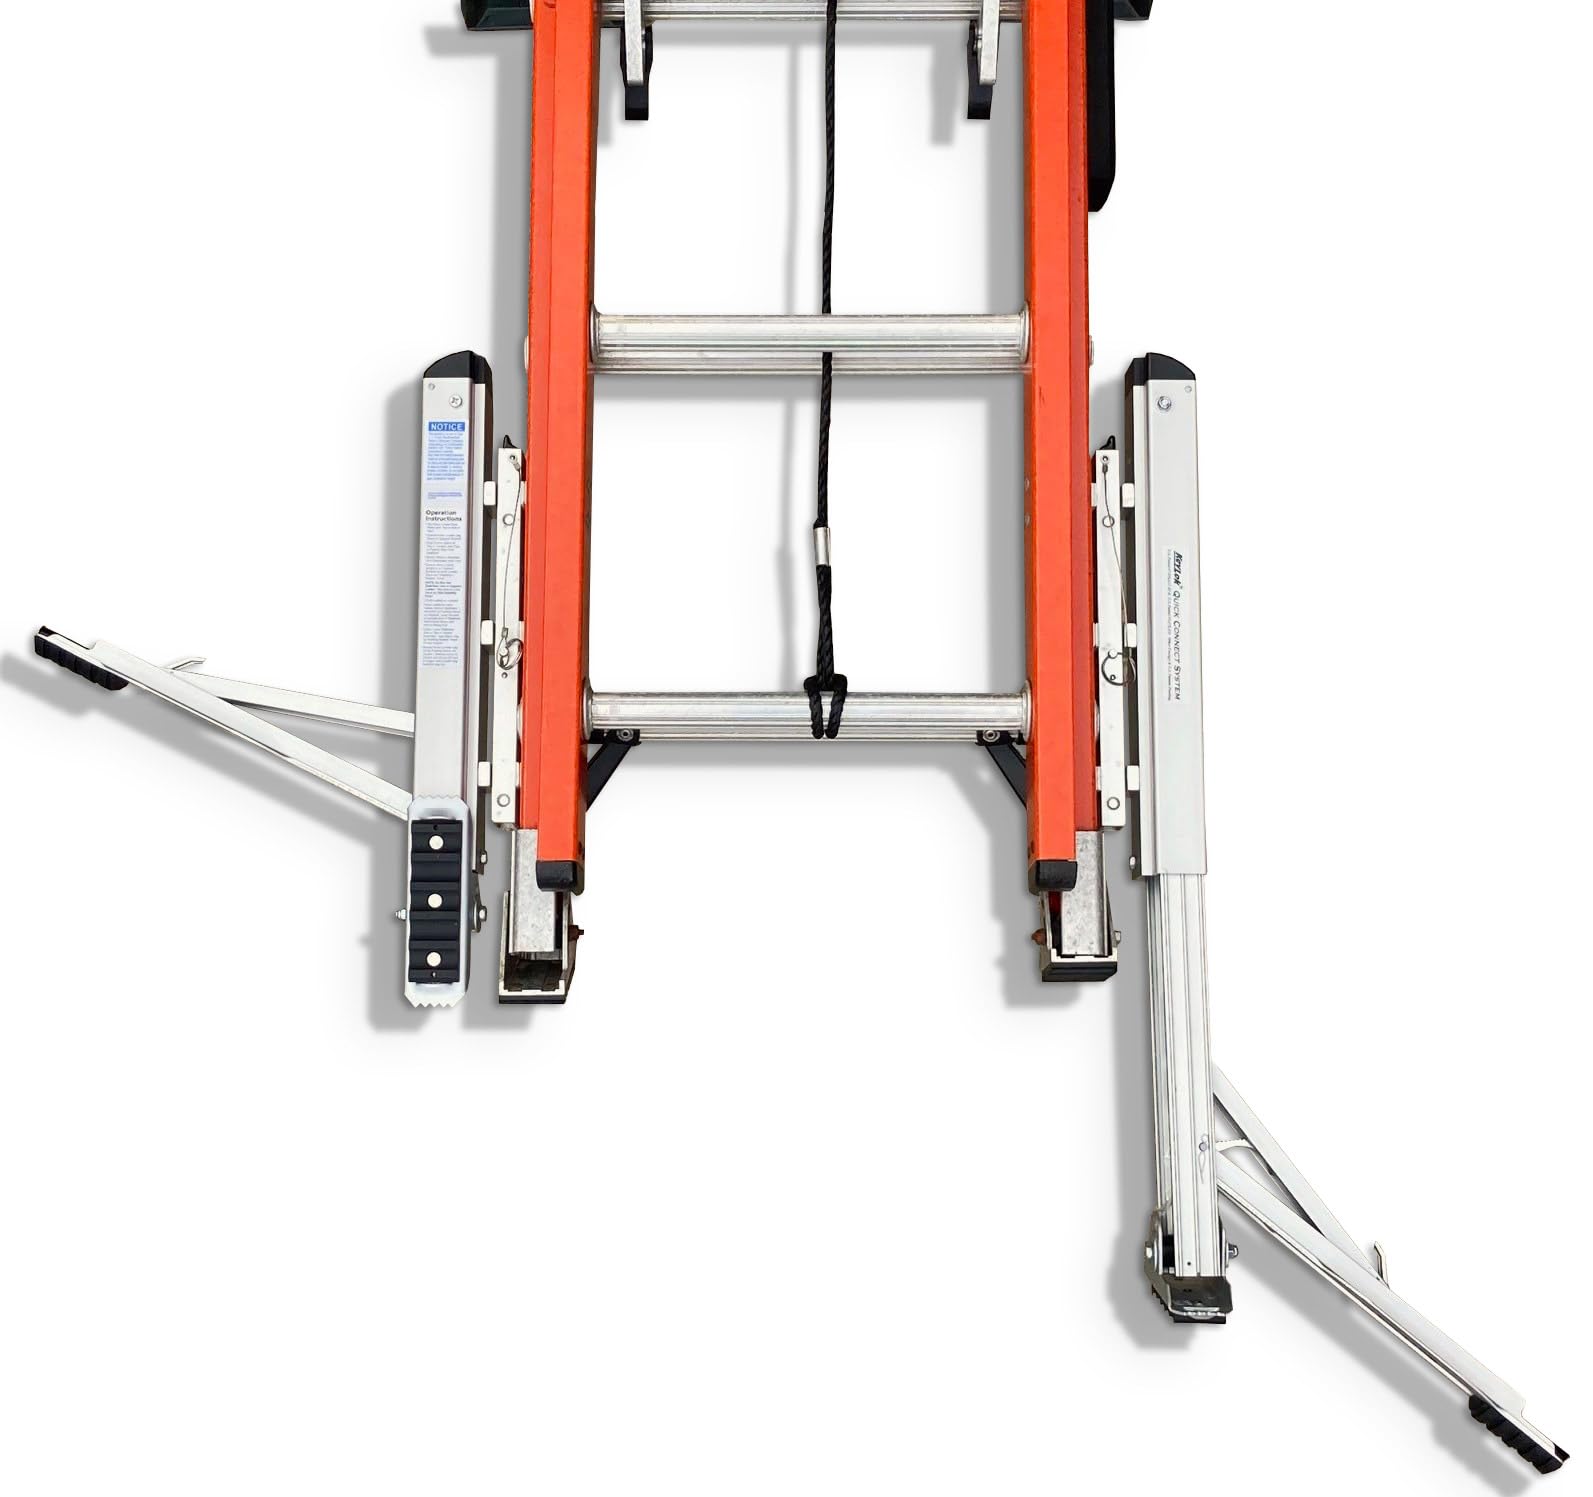
Ladder levelers are the gold standard for safely making your step ladder taller, adding 8-12 inches of stable height while compensating for uneven surfaces. Unlike dangerous DIY fixes, these OSHA-compliant attachments maintain the ladder’s engineered weight distribution. Professional painters and electricians rely on them daily for high-ceiling work, and they cost less than $40 at any hardware store. The key advantage? They transform unstable wobble into rock-solid footing—critical when you’re working at maximum extension.
Installing Levelers on Your Step Ladder in 3 Steps
- Select the right model: Measure your ladder leg diameter (typically 1.5″ or 2″) and purchase adjustable levelers with matching clamp sizes. Look for models with positive-locking pins—not just friction knobs—for zero-slip security.
- Secure attachment: Position the leveler clamp 2 inches above the ladder’s original foot. Tighten the U-bolt until the clamp grips firmly without crushing the leg. Test by shaking the ladder—zero movement should occur between leg and leveler.
- Extend and lock: Adjust the telescopic foot to your desired height (start with 4 inches), then engage the locking pin. Always verify stability by applying body weight gradually before full ascent.
Pro Tip: On concrete surfaces, add rubber anti-slip pads to the leveler feet. This prevents dangerous lateral movement when you shift position during work. Never extend beyond the manufacturer’s specified limit—usually 12 inches—as this compromises the ladder’s structural triangulation.
Extend Your Reach with Stand-Off Attachments (For Wall Work)
When painting exterior walls or cleaning gutters, a stand-off attachment safely makes your step ladder taller by creating horizontal distance from the work surface. This clever device bolts to your ladder’s top cap, positioning you 18-24 inches away from the wall while maintaining the ladder’s stable base. Unlike risky top-cap standing, it shifts your weight inward toward the ladder’s center of gravity—actually improving stability as you gain height.
How to Install a Stand-Off Without Special Tools
- Position the ladder: Place your step ladder on firm, level ground with legs fully spread and locked. The top cap should sit 12-18 inches below your actual work height.
- Mount the bracket: Slide the stand-off’s U-shaped bracket over the top cap, securing it with the included quick-release pins. Ensure the rotating arm moves freely without wobble.
- Adjust the pad: Extend the padded contact arm until it gently touches the wall. The ladder should now sit at a safe 75-degree angle (roughly 1 foot out for every 4 feet of height).
Critical Check: Before climbing, press firmly against the wall pad to confirm the ladder doesn’t slide outward. If movement occurs, shorten the stand-off arm incrementally until stability is achieved. This method typically adds 1-2 feet of effective working height—equivalent to gaining an entire extra step.
Wooden Stilts: When Professionals Risk It (And Why You Shouldn’t)
Attaching wooden blocks to ladder legs—a method sometimes seen on construction sites—adds significant height but carries extreme risk for untrained users. Certified roofers might use this technique with 4×4 pressure-treated lumber bolted through reinforced leg plates, but DIY attempts often end in disaster. The 2022 Ladder Safety Institute report linked 17% of ladder-related fatalities to homemade stilt extensions, primarily due to unnoticed wood splintering or bolt failure under load.
Why This Method Demands Professional Execution
If you absolutely must attempt stilt extensions (not recommended for homeowners), you’ll need aircraft-grade aluminum brackets welded to both ladder legs and matching blocks. Even then, the maximum safe height addition is 6 inches—beyond which torque forces can twist legs apart. Every connection point requires triple redundancy: through-bolts with lock nuts, secondary safety straps, and continuous load testing. Most critical? The ground surface must be perfectly level concrete; any slope makes catastrophic failure inevitable.
Hard Truth: For 95% of users, the risks outweigh any height benefit. Renting a 24-foot extension ladder costs $50/day at most hardware stores—far cheaper than an ER bill from a preventable fall.
5 Non-Negotiable Safety Rules for Extended Step Ladders
Never Exceed Your Ladder’s Duty Rating With Add-Ons
Adding height multiplies stress on every component. A Type IA ladder rated for 300 lbs becomes effectively rated for only 225 lbs when extended 10 inches. Always subtract 25% from your ladder’s duty rating when using extensions—so if you weigh 200 lbs with tools, you need a Type IAA (375 lb) ladder even for minor height additions. Check the duty rating label on your side rail; never operate beyond it.
The 180-Degree Stability Test Before Every Climb
After installing any extension, perform this critical check: Stand facing the ladder’s side and push horizontally at waist height with 30 lbs of force. Then face the front and repeat. If the ladder moves more than 1/2 inch in any direction, disassemble and recheck your connections. This simple test catches 90% of dangerous installation errors before they cause falls.
Ground Surface Inspection Checklist
- Concrete/asphalt: Sweep debris from under feet; place plywood sheets if cracks exceed 1/4 inch depth
- Grass/dirt: Dig shallow level pads; never use on slopes exceeding 2 degrees
- Indoors: Use anti-slip mats UNDER leveler feet (not just on top) to prevent sliding
- Never use on gravel, mulch, or freshly poured concrete
The 3-Point Contact Rule at Extended Heights
When working on an extended ladder, maintain three points of contact at all times—two hands and one foot, or two feet and one hand. At heights above 6 feet, lean into the ladder rather than reaching outward. For every additional foot of height, reduce your maximum reach distance by 6 inches to prevent tipping.
Mandatory Post-Use Inspection Protocol
After each extension use, check for:
– Hairline cracks near attachment points (use a magnifying glass)
– Deformation of leg tubes at clamp locations
– Stiffness in hinge mechanisms when folding
– Corrosion on metal-to-metal contact surfaces
Discard the ladder immediately if any defects appear—no extension method compensates for structural damage.
When to Skip Extensions and Rent a Taller Step Ladder
There are critical situations where no safe method exists to make your step ladder taller. If your task requires:
– Working above 12 feet of height
– Carrying heavy materials (like drywall sheets)
– Operating on slippery surfaces (wet tile, ice)
– Performing overhead tasks for more than 15 minutes
…rent a ladder rated for your actual working height. Modern 10-foot fiberglass step ladders cost $85 to rent for a weekend—less than the deductible on most homeowner insurance policies after a fall-related injury claim. Your life isn’t worth gambling with a cobbled-together solution when purpose-built equipment is readily available.
The safest height extension is the one you never attempt. Invest in a ladder that meets ANSI A14.2 standards for your typical projects, and you’ll eliminate the dangerous temptation to improvise. Remember: No paint job, lightbulb change, or holiday decoration is worth permanent injury. When in doubt, call a professional—their specialized equipment exists for good reason. Your family needs you grounded, not hospitalized.


