
Ever struggled to collapse your step ladder only to have it snap shut unexpectedly, nearly crushing your fingers? You’re not alone. Properly folding a step ladder is a critical safety skill that many homeowners and professionals overlook—until they suffer a painful pinch injury or damage their equipment. Knowing exactly how to fold a step ladder correctly prevents common accidents that send thousands to emergency rooms each year. This guide delivers the precise sequence you need to follow for any standard step ladder, ensuring smooth operation every time while protecting your fingers and extending your ladder’s lifespan.
Most ladder-related injuries occur during setup and takedown rather than actual use, making proper folding technique essential for anyone who regularly works at height. Whether you’re storing a compact 4-foot household ladder after changing a lightbulb or collapsing a heavy-duty 10-foot model after painting your ceiling, following the correct folding procedure takes less than a minute but prevents significant risks. By the end of this guide, you’ll master the exact hand positioning, safety checks, and folding mechanics that keep you and your equipment safe through hundreds of uses.
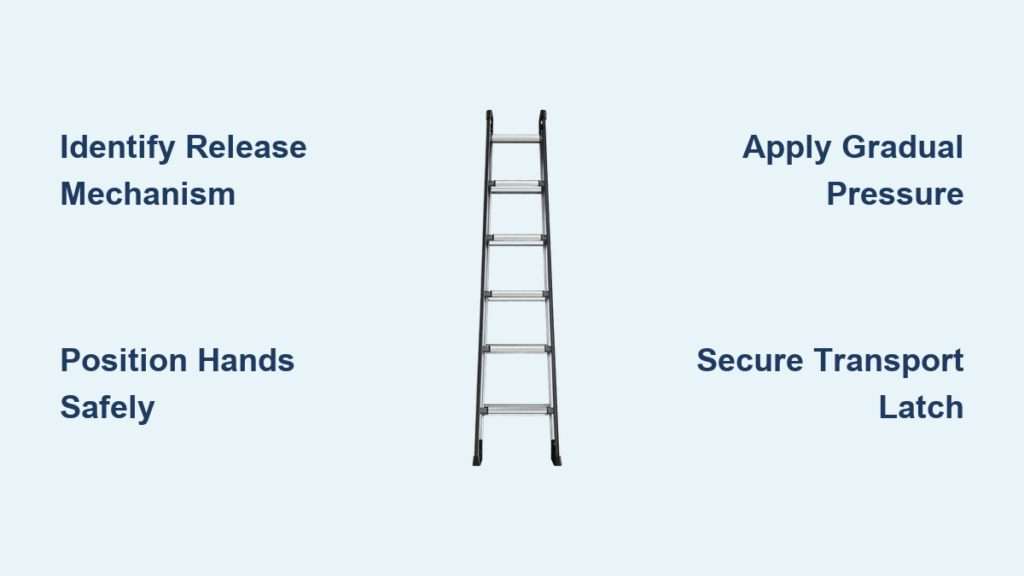
Identify Your Step Ladder’s Specific Folding Mechanism First
Before attempting to fold any step ladder, you must identify its unique safety mechanism—this varies significantly between manufacturers and ladder types. Confusing a squeeze-release lever with a pull-pin system is the most common reason people force their ladders and cause damage. Stand directly in front of your ladder and carefully examine the spreader bars (the metal braces connecting front and back sections), looking specifically for any levers, pins, or latches that lock the ladder in its open position.
Locate the Primary Release Mechanism on Standard Models
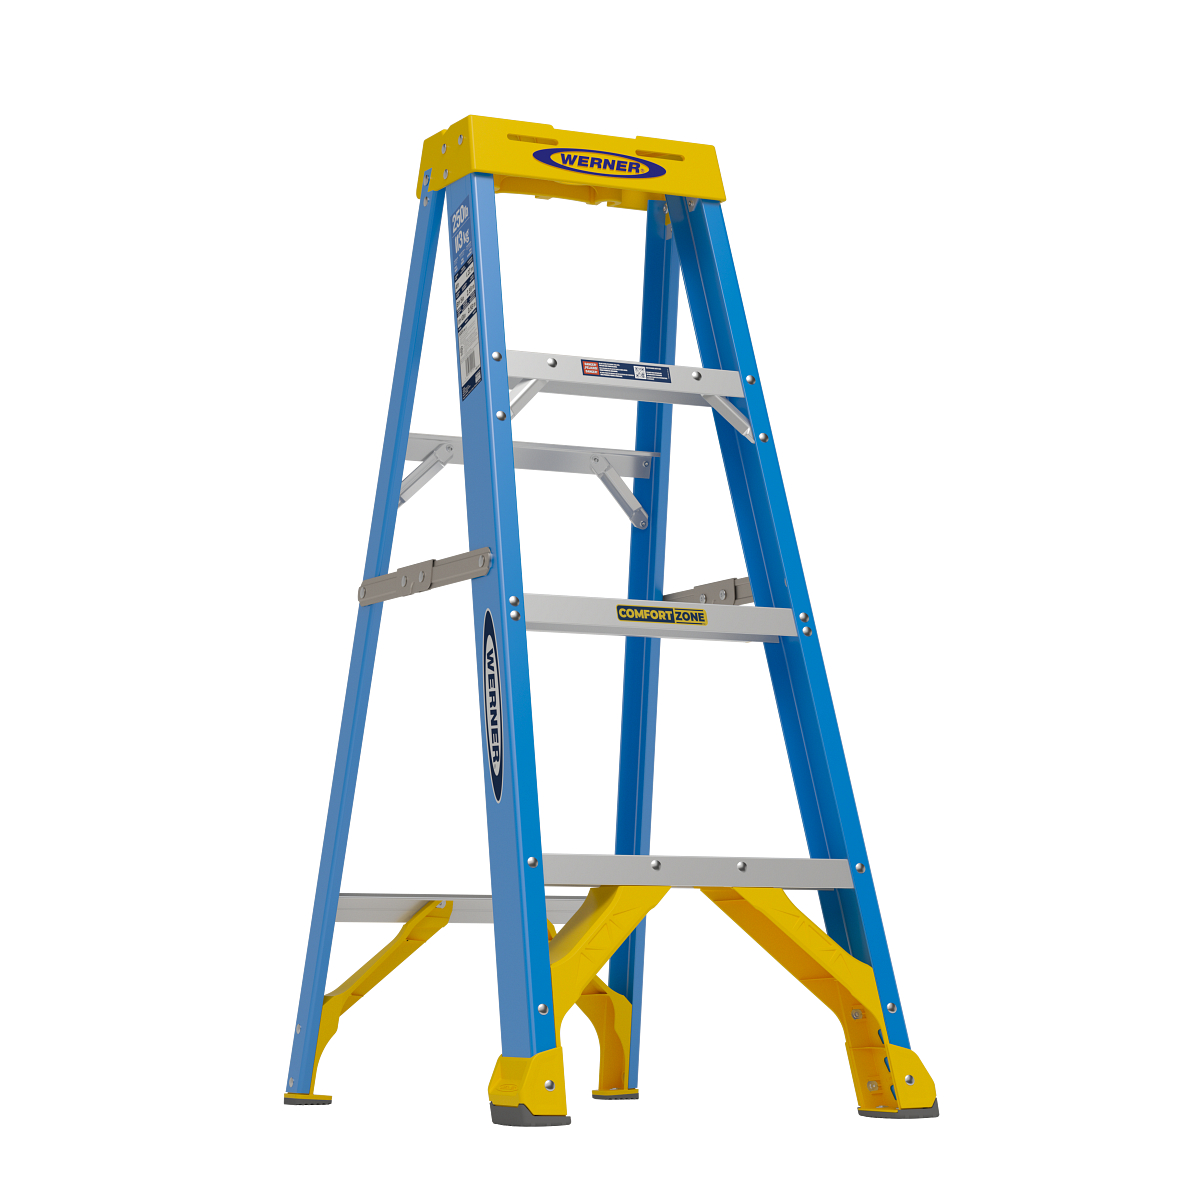
Most household step ladders (like Werner, Louisville, or Kidde brands) use one of three release systems. For squeeze-release models, you’ll see rubber-coated handles on both spreader bars—simultaneously squeeze these inward while applying gentle folding pressure. If your ladder uses pull pins, look for small metal rings or tabs protruding from the hinge points that you must pull outward before folding. Some commercial-grade ladders feature a single central release lever near the top platform that disengages both sides when pressed downward.
Check for Secondary Locks on Heavy-Duty Ladders
Professional work platforms and extension-style step ladders often incorporate additional safety locks beyond the main spreader bars. Inspect the top platform area for any sliding bolts or twist locks that must be released before the ladder can fold. Never assume both sides operate identically—some models require releasing one side completely before touching the other. If you can’t identify your ladder’s specific mechanism, consult the manufacturer’s label usually found on the bottom step or back rail before proceeding.
Execute the Three-Point Folding Sequence Without Injury Risk
The actual folding motion requires deliberate hand placement and controlled movement to prevent sudden closure. Rushing this step causes most finger injuries, so take five seconds to position yourself correctly before applying pressure.
Position Your Hands for Maximum Control and Safety
Stand centered behind the ladder with feet shoulder-width apart for stability. Place your dominant hand on the front rail near the top step and your non-dominant hand on the rear rail at the same height—never place hands near the hinge points where fingers could get trapped. Your thumbs should rest on the outside of the rails while fingers grip the interior, creating a “cradle” that guides the rails together smoothly. This hand position gives you maximum control while keeping digits clear of danger zones.
Apply Gradual Pressure While Monitoring Hinge Movement
Slowly bring your hands together while watching the hinge mechanisms—never force the ladder shut. The initial movement should feel smooth with minimal resistance. If you encounter stiffness, stop immediately and recheck for obstructions or un-released locks. As the rails come together, shift your grip downward to the middle steps while maintaining even pressure on both sides. The final 6 inches of closure often requires the most control, so reduce your speed as the ladder nears the folded position.
Secure the Transport Latch Before Moving the Ladder
Once fully closed, immediately engage the transport latch or strap—this critical step prevents accidental reopening during carrying. Most ladders feature spring-loaded clips that snap into place with an audible click when properly secured. For models with Velcro straps, wrap them tightly around both rails and press firmly to ensure full adhesion. Give the folded ladder a gentle shake to verify it won’t spring open before lifting it. Never carry an unsecured folded ladder, even for short distances.
Avoid These Five Dangerous Folding Mistakes That Cause Injuries
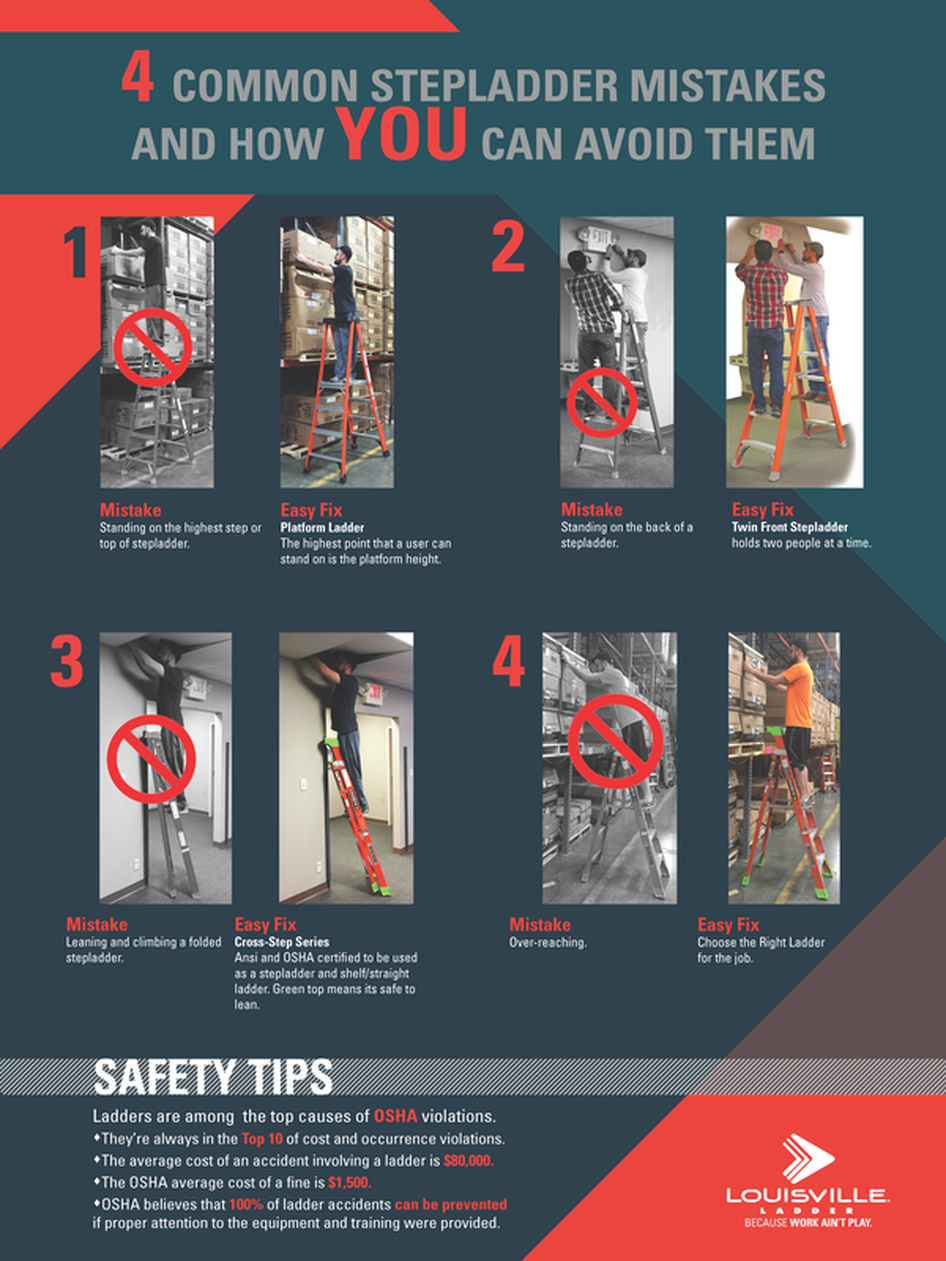
Nearly 80% of step ladder folding accidents happen due to preventable errors that compromise both user safety and equipment longevity. Recognizing these common pitfalls protects you from painful consequences.
Forcing the Ladder When It Resists Closure
When your ladder won’t fold smoothly, your instinct might be to apply more pressure—but this bends hinge pins and damages locking mechanisms. Instead, return the ladder to fully open position and systematically check each spreader bar for proper release. Often, one side’s mechanism hasn’t fully disengaged. If resistance continues after double-checking releases, inspect for debris in the hinges or signs of damage before attempting again.
Folding on Uneven or Slippery Surfaces
Attempting to fold your ladder on sloped driveways, wet garage floors, or carpeted surfaces creates instability that leads to uncontrolled closure. Always move the ladder to a hard, level surface before folding. If working outdoors, clear loose gravel or leaves from the folding area—these small particles create uneven pressure points that jam mechanisms.
Ignoring Manufacturer-Specific Folding Requirements
Different ladder designs have unique folding protocols that violate “standard” procedures. Aluminum extension ladders with dual-pivot hinges require partially closing one section before the other, while fiberglass models with insulated rails often have more sensitive locking mechanisms. Your specific model’s folding sequence is always printed on a safety label—take five seconds to locate and follow these instructions before proceeding.
Carrying the Ladder Horizontally When Folded
Transporting a folded ladder sideways across your body prevents you from seeing obstacles and shifts weight unnaturally. Always carry folded ladders vertically with the top resting against your shoulder, bottom end clear of the ground, and transport latch facing outward. This position gives you maximum control and visibility while keeping the ladder’s center of gravity stable.
Skipping Post-Folding Maintenance Checks
Failing to inspect hinge condition after each fold allows minor issues to become major hazards. Before storing your ladder, quickly verify that all spreader bars move freely through their full range and that locking mechanisms engage crisply. Wipe moisture from metal components with a dry cloth to prevent corrosion that causes sticking. A 30-second maintenance check after folding prevents 90% of future folding problems.
Troubleshoot Stuck Ladders Without Causing Further Damage
When your step ladder refuses to fold despite following proper procedure, systematic troubleshooting prevents costly mistakes. Never resort to hammering, prying, or excessive force—these often turn minor issues into irreparable damage.
Diagnose Jammed Release Mechanisms in Three Steps
First, return the ladder to fully open position on level ground. Second, manually move each spreader bar through its full range while listening for grinding or scraping sounds. Third, visually inspect the hinge pins for bent metal or accumulated debris. If one side moves freely while the other sticks, focus your attention on the problematic side—most often caused by a misaligned release pin or accumulated paint overspray.
Free Stiff Hinges Using Proper Lubrication Techniques
Apply a silicone-based lubricant (never WD-40 which attracts dirt) to hinge points using an eyedropper for precision. Work the ladder through multiple open/close cycles to distribute the lubricant, wiping away excess with a clean cloth. For severe stiffness, disassemble the hinge pin following manufacturer instructions—clean both pin and bushing with a soft brush before reapplying lubricant. Most stiff-hinge issues resolve with proper cleaning and lubrication rather than part replacement.
Store Your Folded Ladder to Ensure Next-Time Readiness
Proper storage after correct folding maintains your ladder’s folding mechanism for years of reliable service. Hang folded ladders vertically on wall hooks that support the bottom rail—not the top—to prevent hinge stress. In damp environments like garages, place a moisture-absorbing product near stored ladders to prevent corrosion. Never stack heavy items on top of folded ladders as this bends rails and misaligns hinge points.
Before your next use, perform a quick folding mechanism check: open the ladder fully, then partially close it to verify smooth operation through the first 30 degrees of movement—the most critical range for detecting developing problems. Address any resistance immediately rather than waiting for complete failure. A well-maintained folding mechanism makes your ladder safer, easier to use, and significantly extends its service life—turning what seems like a simple task into a critical safety practice that protects you every time you work at height.


