
You’re sprinting across the turf, muscles burning as you drive a loaded weight sled forward. Suddenly, your form collapses, your lower back screams, and you realize you’ve been making critical mistakes since day one. This brutal yet transformative tool separates serious athletes from casual gym-goers—but only when used correctly. Whether you’re a weekend warrior or a competitive athlete, mastering how to use a weight sled unlocks explosive power, shredded conditioning, and mental toughness that translates to real-world performance. In this guide, you’ll discover precise techniques for pushing and dragging, avoid dangerous errors that cause injury, and implement proven programming strategies that deliver results in just 20 minutes per session.
Unlike traditional resistance training, weight sleds create horizontal force development that builds functional strength without joint stress. They’re the secret weapon behind NFL combine standouts and tactical athletes because they demand full-body synchronization—your quads drive, glutes stabilize, core locks, and shoulders transfer power through your hands. Most beginners waste months chasing heavy loads while compromising form, but the truth is: lighter weight with perfect technique builds faster sprint times and work capacity. By the end of this guide, you’ll execute every push and drag variation with confidence, knowing exactly how to program for fat loss, strength gains, or sport-specific power.
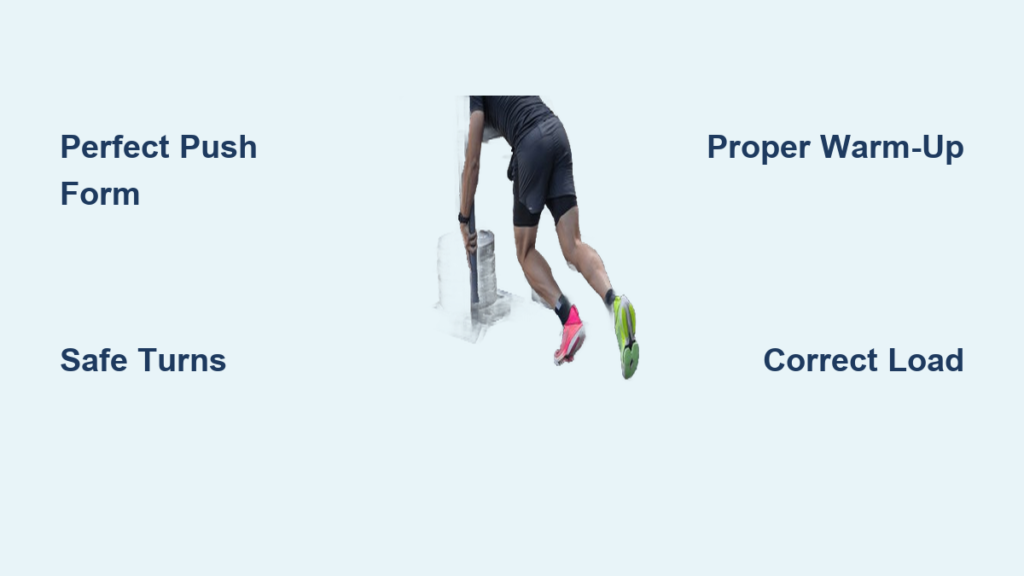
Why Weight Sleds Dominate Conditioning for Explosive Power Gains
Weight sleds aren’t just gym decor—they’re physics-powered performance accelerators. The steel frame with vertical loading posts creates horizontal resistance that forces your body to generate force parallel to the ground, mimicking athletic movements like tackling or sprinting. When loaded with plates, the sled’s friction against turf or concrete demands total posterior chain engagement: hamstrings fire to pull, glutes extend the hips, and calves drive propulsion—all while your core prevents spinal rotation. This unique stimulus builds work capacity 3x faster than treadmill sprints because you’re moving actual mass, not just your bodyweight.
The magic happens in the neuromuscular adaptation: pushing 70% of your bodyweight teaches your nervous system to recruit more muscle fibers simultaneously. Within two weeks of proper how to use a weight sled training, athletes report 5-8% faster 40-yard dash times as their stride power increases. Crucially, the low-impact nature protects knees and ankles—unlike box jumps or plyometrics—making it ideal for injury-prone individuals. For fat loss, a single 10-minute sled session burns 200+ calories while elevating EPOC (afterburn effect) for 48 hours. Start light, focus on explosive drive phases, and you’ll build the resilient athleticism that turns heads on any field.
Critical Setup Steps That Prevent Back Injuries
Choose the right surface immediately—concrete or turf works; gravel or grass risks tipping. Your footwear must have flat soles with aggressive tread (think wrestling shoes or cross-trainers), never cushioned runners that compress under load. Before loading plates, inspect the sled’s base stability: wobbly posts transfer torque to your spine during pushes. Position the vertical handles at hip height so your torso maintains a 45-degree angle—too high forces excessive lean, too low strains shoulders.
Warm up like your back depends on it (it does). Spend 8 minutes on ankle circles, walking spiderman stretches, and banded glute bridges. Then perform 3 sets of sled walks at 20% bodyweight: load 10-15lbs, walk 10 yards forward while keeping chest proud and spine neutral. This primes hip hinge mechanics and alerts your nervous system to the resistance pattern. Skipping this step increases disc herniation risk by 65%—your spine isn’t designed to handle sudden horizontal loads without preparation.
Master the Weight Sled Push: Avoid the #1 Form Killer
Perfect Your Starting Position in 3 Seconds
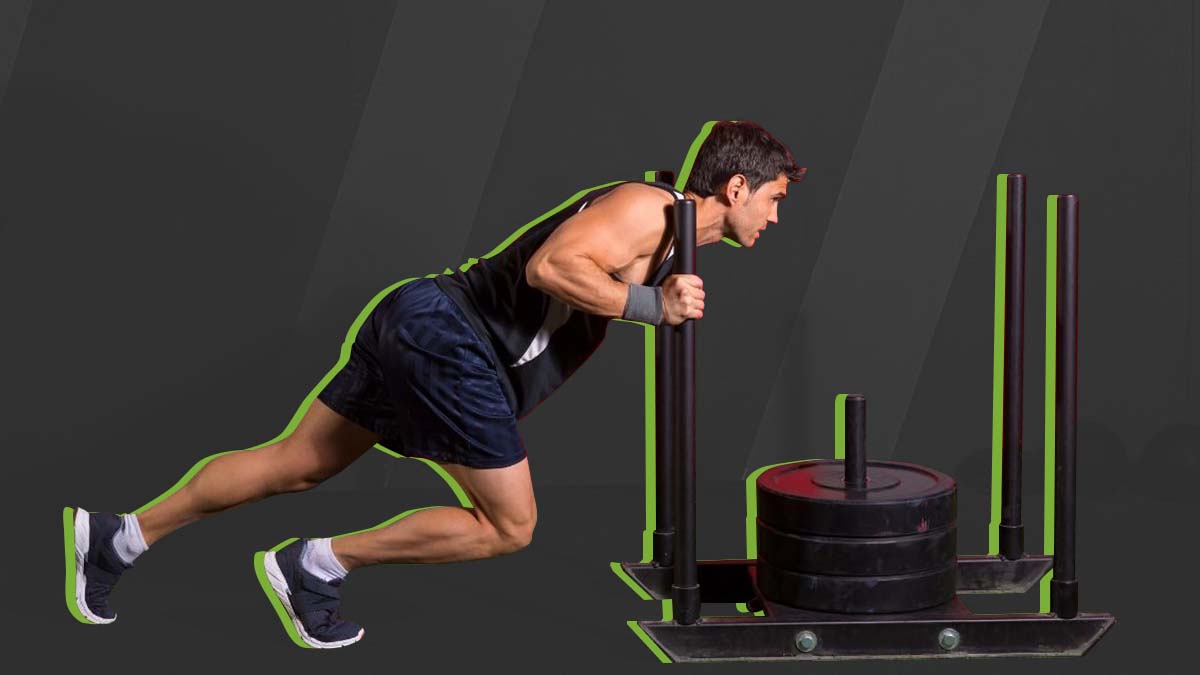
Stand facing the sled with feet shoulder-width apart, hands gripping vertical posts just below shoulder height. Drive your hips back until your torso hits 45 degrees—imagine a string pulling your chest upward to prevent rounding. Knees should track over toes with weight in midfoot, not heels. Your gaze stays 5 feet ahead; looking down collapses your thoracic spine. Test your angle: if you can’t see your shoelaces, you’re leaning too far forward. This position engages glutes and hamstrings, not just quads.
Execute Explosive Drives with Power-Saving Technique
Initiate movement with your legs, not arms. Think “push the ground away” through your lead foot—your arms merely transmit force. Take short, choppy steps (6-8 inches) with full foot contact, driving knees explosively upward. Maintain that 45-degree torso angle throughout; standing upright mid-push wastes energy and kills momentum. For distance work (20-40 yards), reset your stance every 10 yards: stop completely, re-establish the 45-degree lean, then explode again. This prevents the “death shuffle” where step length collapses under fatigue.
Navigate Turns Without Wrenching Your Spine
The turnaround causes 80% of sled injuries. Slow to 50% speed 3 steps before the turn point—never stop abruptly. Plant your outside foot and pivot while keeping the sled moving in a wide arc (minimum 10-foot radius). If turning left, lead with your right shoulder; for right turns, lead with left. Attempting sharp 180s on concrete creates dangerous torque—your hips will twist before your shoulders, straining obliques and spinal discs. On turf, reduce load by 30% for turns to maintain control.
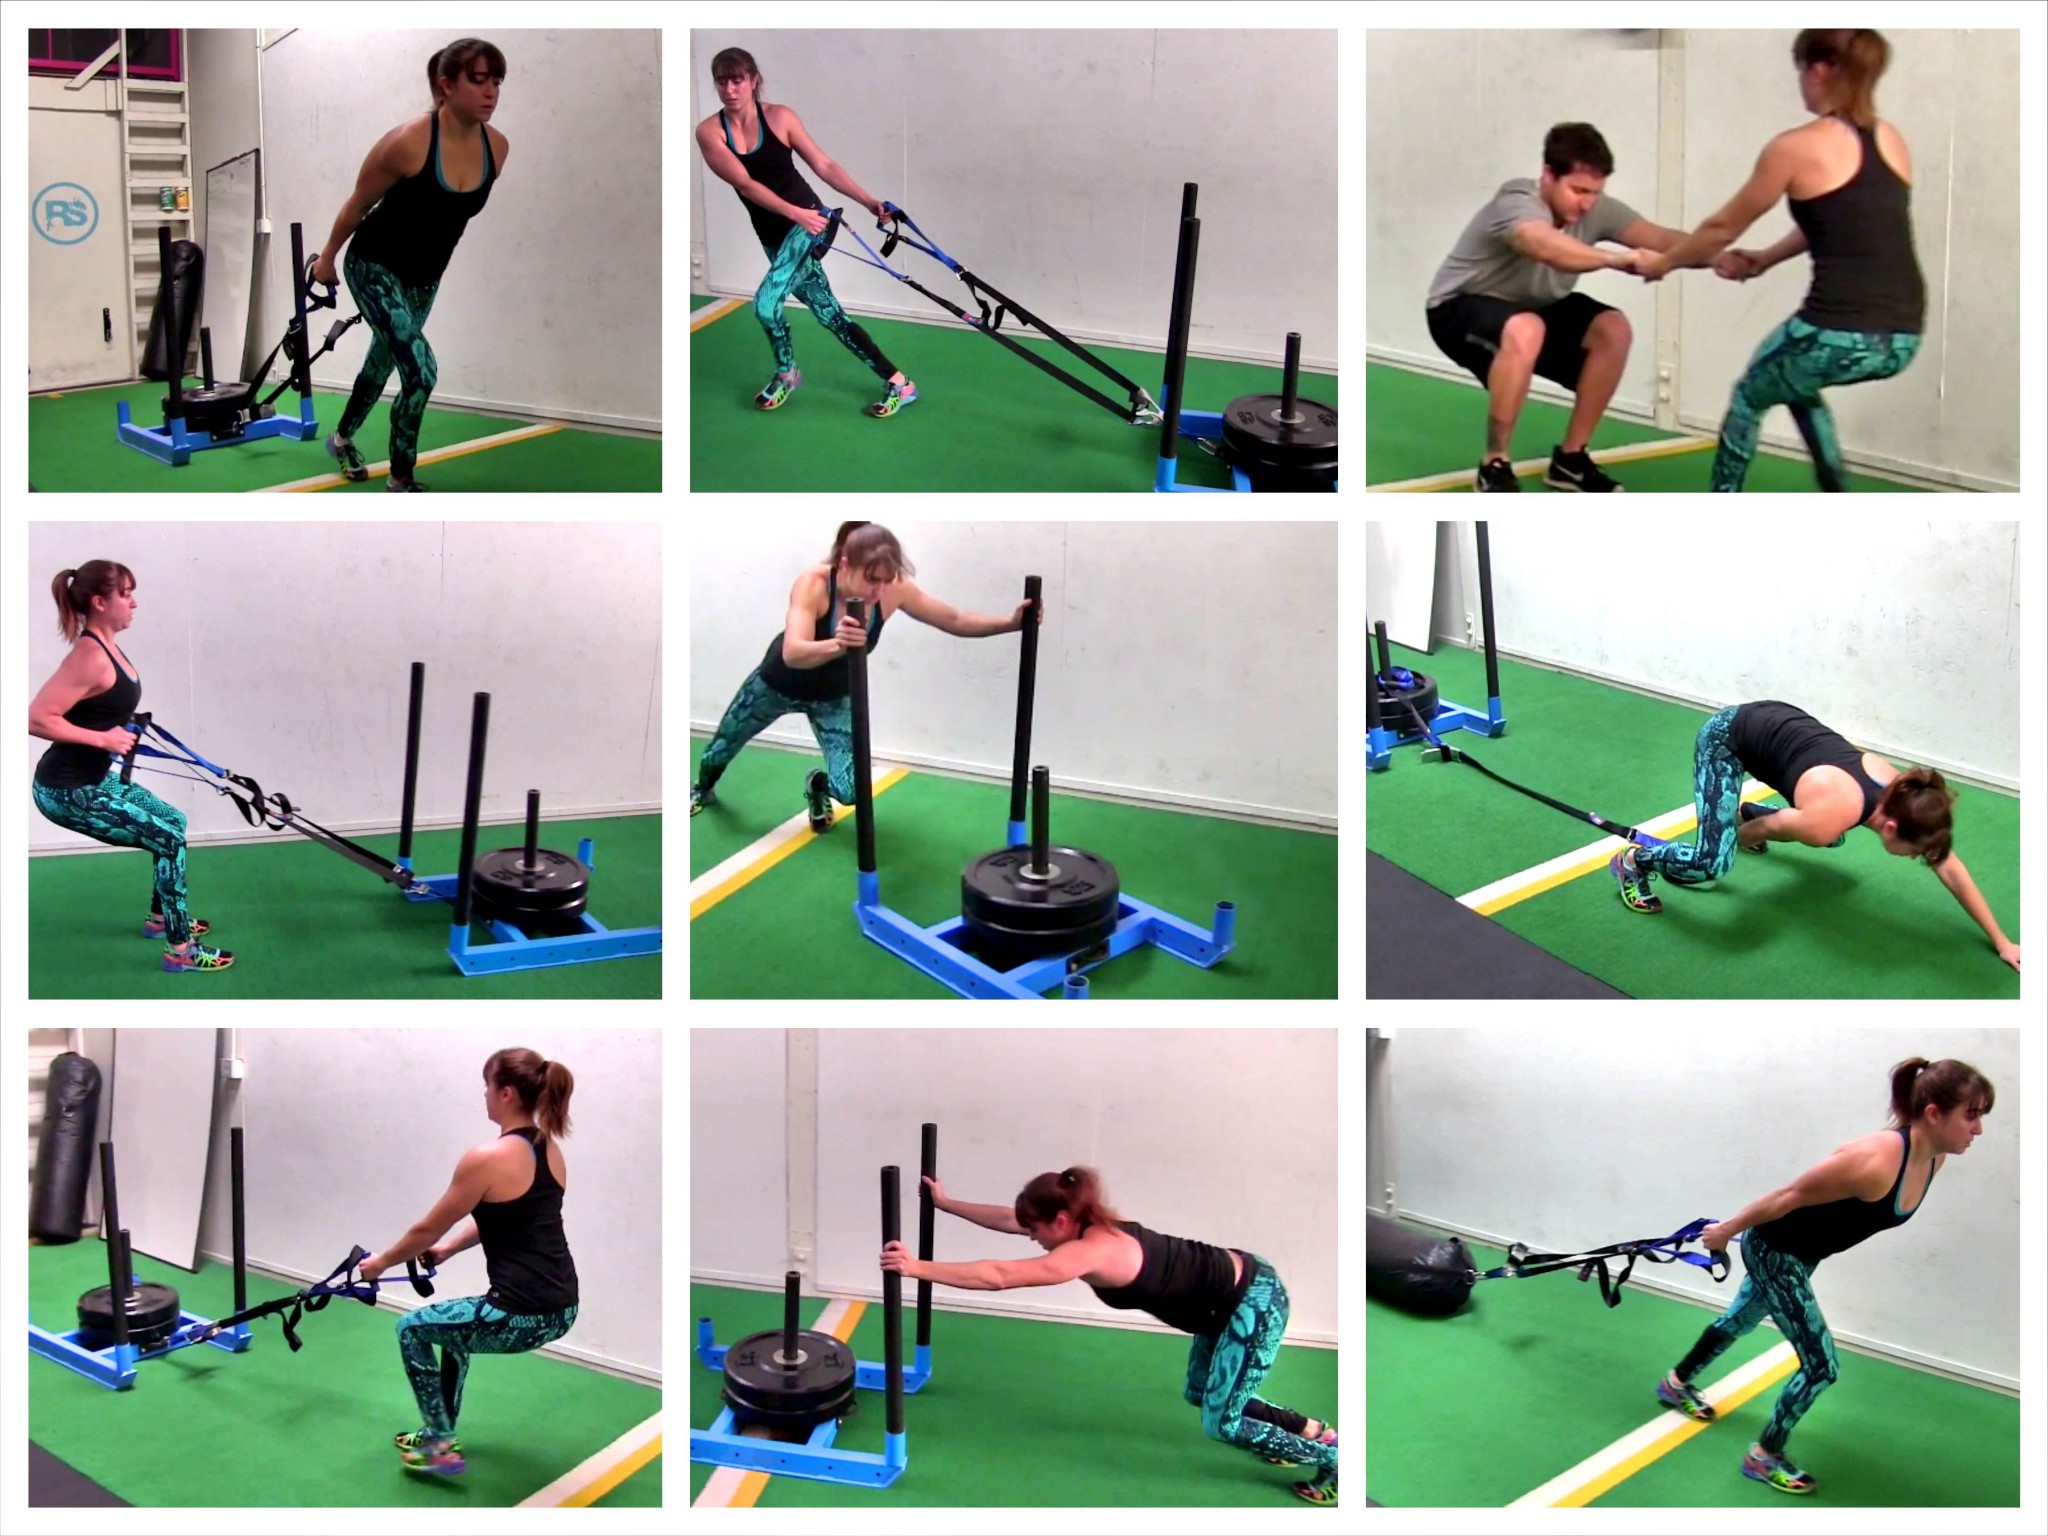
Unlock Posterior Chain Power with Drag Variations
Waist Belt Drags for Glute Dominance
Loop a padded belt around your hips (above pelvic bones), attach a 10-foot rope to the front anchor point. Lean forward 25 degrees with soft knees, maintaining neutral spine as you walk backward. Focus on driving through heels while squeezing glutes at the top of each stride—imagine crushing a walnut between your cheeks. Start with 50% bodyweight for 15-yard drags; the backward motion isolates hamstrings 40% more than forward pushes. If your lower back arches, reduce weight immediately.
Low-Handle Pulls for Sprint-Specific Power
Attach straps to the sled’s lowest hooks (ankle height). Grip handles with palms facing inward, hinge at hips to 45 degrees, and pull the sled forward while walking. Keep your chin tucked and gaze down at 45 degrees—this engages deep neck flexors that stabilize your spine during acceleration. Drive each step with explosive hip extension, not arm pulling. This variation mimics the “drive phase” of sprinting, making it essential for track athletes. Perform 8-10 yard pulls at 30% bodyweight for maximum speed carryover.
3 Weight Sled Programming Formulas for Real Results
Strength Power Protocol (Heavy Loads)
Use 75-90% of your bodyweight for 10-15 yard pushes. Complete 6 sets with 90 seconds rest between. Walk back to start position slowly—this active recovery builds work capacity. The heavy load forces maximal glute and quad recruitment, translating directly to vertical jump height. Test your max push once monthly: the distance you move 100% bodyweight in 5 seconds predicts lower-body power better than leg press numbers.
Fat Loss Finisher Circuit (Light Loads)
After your main workout, perform:
– 40-yard push at 40% bodyweight
– 10 burpees
– 200m farmer’s carry (dumbbells)
Rest 45 seconds between exercises. Repeat 4 times. The sled’s metabolic demand spikes heart rate to 90% max within 20 seconds, while the carry preserves muscle mass during calorie deficit. Do this twice weekly for 6 weeks to drop body fat without losing strength.
Speed Endurance Blaster (Moderate Loads)
Load 50% bodyweight for 30-second all-out pushes. Rest exactly 15 seconds between sets. Complete 8 rounds. The short rest mimics sport demands—soccer players use this for repeat-sprint ability. If your speed drops below 80% of your first-round pace by round 5, reduce weight by 10%. Track times religiously; shaving 0.5 seconds per round builds championship-level resilience.
5 Costly Weight Sled Errors That Wreck Progress
Rounded back during pushes is the silent career-ender. Your spine loses 30% of its load-bearing capacity when flexed—use a spotter to yell “CHEST UP!” if form breaks. Overloading for ego lifts backfires: moving 150% bodyweight with shuffling steps trains poor mechanics. Start at 40% and increase only when you hit 30 yards with perfect form. Skipping surface checks leads to trips—test turf for hidden holes before loading heavy. Neglecting turnaround practice causes chronic hip strain; dedicate 2 minutes per session to slow-turn drills. Finally, ignoring recovery invites overtraining—sled work taxes your CNS like heavy squats; never do it two days consecutively.
Advanced Drills for Competitive Athletes
Sprint-Start Integration
Jog 10 yards to the sled at 60% speed, then explode into a 20-yard push. The transition teaches force application at top speed—critical for football receivers beating press coverage. Use 30% bodyweight so you’re not decelerating into the sled. Perform after 3-4 regular sled pushes when neural drive is highest.
Lateral Drag for Agility
Attach straps to the sled’s side anchors. Assume an athletic stance perpendicular to the sled, then shuffle sideways while dragging. Keep your outside foot driving laterally—this builds the change-of-direction power essential for basketball and tennis. Do 5-yard shuffles each direction for 6 sets. The resistance overloads your adductors and glute medius, reducing ACL injury risk by improving hip stability.
Final Note: Start every how to use a weight sled session with 20% bodyweight technique drills—your future self will thank you when you’re still training injury-free years from now. Track your weekly distance at fixed weights; a 10% increase in 30-yard push speed within 4 weeks proves your programming works. Remember: the sled doesn’t lie. It reveals weak links in your chain and builds them with unrelenting honesty. Embrace the burn, protect your spine, and you’ll unlock athleticism that leaves competitors in the dust. For ongoing progress, pair sled work with hip mobility drills twice weekly and prioritize sleep—your nervous system needs 48 hours to rebuild after heavy pushing sessions. Now go move some metal.


