
Your shredder chokes mid-feed, leaving a stubborn paper wad jammed in the throat. If you’re frantically searching “how to dissolve paper stuck in shredder,” you might be tempted to grab solvents or water—but this is a critical mistake. Liquids won’t dissolve paper inside your shredder; they’ll short-circuit electronics, corrode blades, and create fire hazards. The real solution? Mechanical removal using proven techniques that protect both you and your machine. In this guide, you’ll discover exactly how to clear even the most stubborn jams in under 15 minutes using tools you likely already own. We’ll cover why chemical “dissolving” fails, the exact sequence for safe extraction, and pro prevention tactics to avoid future jams—all based on certified repair protocols.
Shredder jams strike when you’re least prepared—mid-sensitive document purge or during a critical cleanup session. But reacting with liquids or force often turns a 5-minute fix into a dead machine. The truth is, paper jams occur because cutters grab paper unevenly, not because paper needs dissolving. Modern shredders use precision blades that require mechanical intervention when clogged. By following this methodical approach—starting with reverse functions and progressing to controlled disassembly—you’ll restore functionality without risking injury. Let’s dive into the only safe way to handle this common office emergency.
Why Pouring Liquids to Dissolve Shredder Jams Causes Permanent Damage
Before touching your machine, understand why “dissolving” paper is physically impossible and dangerously misguided. Shredder cutters operate in sealed compartments where liquids pool around motors and wiring—not through paper fibers. When you pour water, oil, or solvents:
- Electrical components short-circuit within seconds, frying circuit boards
- Paper swells and bonds to blades, creating a worse clog than the original jam
- Residue attracts dust, accelerating future jams and blade corrosion
- Fire risks escalate as liquids interact with overheated motors
Manufacturers explicitly warn against any liquid application in manuals. Instead of dissolving paper, you’re creating a sludge that welds itself to cutters. The only safe solution is mechanical extraction—starting with your shredder’s built-in reverse function. Never compromise safety for speed; a $200 shredder isn’t worth electrical burns or house fires.
How Paper Actually Gets “Stuck” (Not Welded)
Paper jams occur due to three mechanical failures—not chemical adhesion:
1. Overfeeding: Exceeding sheet capacity causes paper to buckle between cutters
2. Foreign objects: Staples or paper clips deflect blades, trapping paper fibers
3. Blade dryness: Unlubricated cutters create static friction that grips paper
Unlike glue or tape, paper never chemically bonds to metal blades. What feels like “welded” paper is simply tightly packed fibers wedged in the cutting path. This critical distinction means extraction is always possible through physical removal—not dissolution.
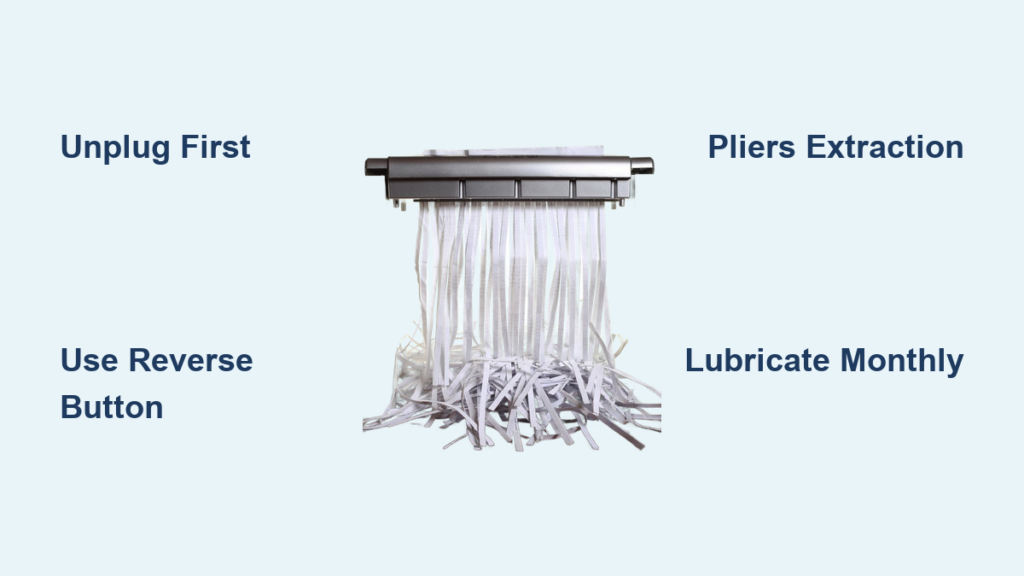
Unplug First: Non-Negotiable Safety Protocol for Jam Removal
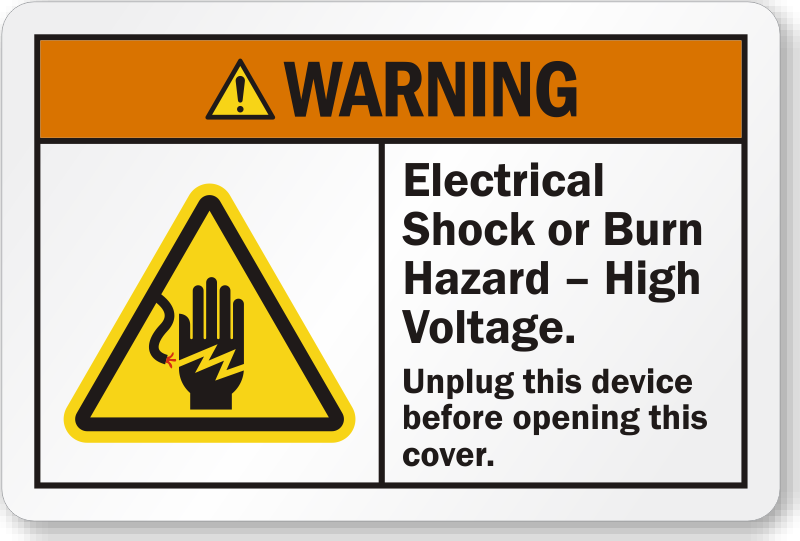
Stop immediately if your shredder is plugged in. Over 30% of shredder injuries occur during jam clearing because users skip this step. Follow this sequence before touching the machine:
- Power down: Press “Off” then physically unplug the unit
- Wait 60 seconds: Allows capacitors to discharge residual electricity
- Remove paper bin: Prevents accidental activation when bin is reinserted
Never test the machine while clearing jams—even in reverse mode. Cutters can engage unexpectedly if sensors malfunction. Keep fingers completely clear of the feed slot; blades remain razor-sharp even when powered off. If your model has safety interlocks (common in Fellowes or AmazonBasics), violating this protocol may trigger permanent lockouts requiring professional reset.
Reverse Button Rescue: Clearing 80% of Jams in Under 30 Seconds
Most jams resolve with your shredder’s built-in reverse function—no tools needed. This technique works because reverse rotation gently backs paper out of the cutting path without forcing blades.
How to Execute the Reverse Fix Correctly
- Confirm shredder is OFF (not just idle)
- Press and hold “Reverse” for 5-10 seconds—don’t tap repeatedly
- Listen for gear release: A soft click means cutters disengaged
- Watch for paper ejection: If paper starts backing out, release button
Critical mistake to avoid: Pulling paper manually while in reverse. This strains gears and may tear paper deeper into cutters. If paper doesn’t eject after 3 attempts, switch to manual extraction—forcing reverse longer risks motor burnout.
When Reverse Fails: Jam Release Button Tactics
Some models (like Amazon Basics AU504) have dedicated jam release buttons:
– Press/release while holding reverse for instant cutter disengagement
– Works for jams caused by misaligned paper stacks
– Never press while shredder is running—causes gear stripping
If your model lacks these features, proceed to tool-based extraction. Never insert objects while powered—this is the #1 cause of shredded fingers.
Needle-Nose Pliers Technique: Extracting Stubborn Paper Without Damage
For jams resisting reverse, needle-nose pliers are your safest extraction tool. Their narrow tips reach deep into feed slots without scratching cutters.
Step-by-Step Paper Removal
- Position pliers vertically—never at an angle—to avoid blade contact
- Grip paper from the top (feed slot side), not the waste bin opening
- Pull downward gently in the paper’s original feed direction
- Rock paper slightly if stuck—never yank upward
Visual cue: Stop when you see shiny metal blades. Forcing pliers past this point bends cutter shafts. If paper tears, switch to tweezers for fragment removal.
Alternative Tools for Tight Spaces
- Straightened paperclip: Hook deep-set fragments by bending the tip into a tiny hook
- Fine-point tweezers: Grab micro-shreds near blade edges (use with magnifying glass)
- Small brush: Dislodge dust after paper removal (never during extraction)
Pro tip: Shine a phone flashlight into the feed slot to spot hidden staples causing jams. Remove these before paper extraction—they’re often the root cause.
Cutting Head Access: Disassembling for Severe Shredder Jams
When paper won’t budge, controlled disassembly is necessary—but only as a last resort. This method works for chronic jams involving credit cards, plastic sleeves, or multiple stapled sheets.
Safe Disassembly Protocol
- Unplug and remove all screws from the housing (use magnetic tray)
- Take reference photos of wire connections before detaching components
- Label parts with tape (e.g., “Gear A,” “Sensor B”)
- Access cutters by lifting the top assembly straight up—no twisting
Critical warning: Never force plastic housings. If components resist, you’ve missed a screw. Stripped threads from prying cause permanent case damage.
Blade Clearance Technique
With cutters exposed:
– Use pliers to rotate blades counterclockwise while extracting paper
– Blow compressed air parallel to blades (not perpendicular) to avoid dislodging gears
– Clean residue with a dry microfiber cloth only—no liquids
Reassemble in reverse order of disassembly. If shredder vibrates abnormally afterward, a gear is misaligned—stop immediately and seek professional help.
Thermal Overload Fix: Why Your Shredder Won’t Restart After Jam Clearance
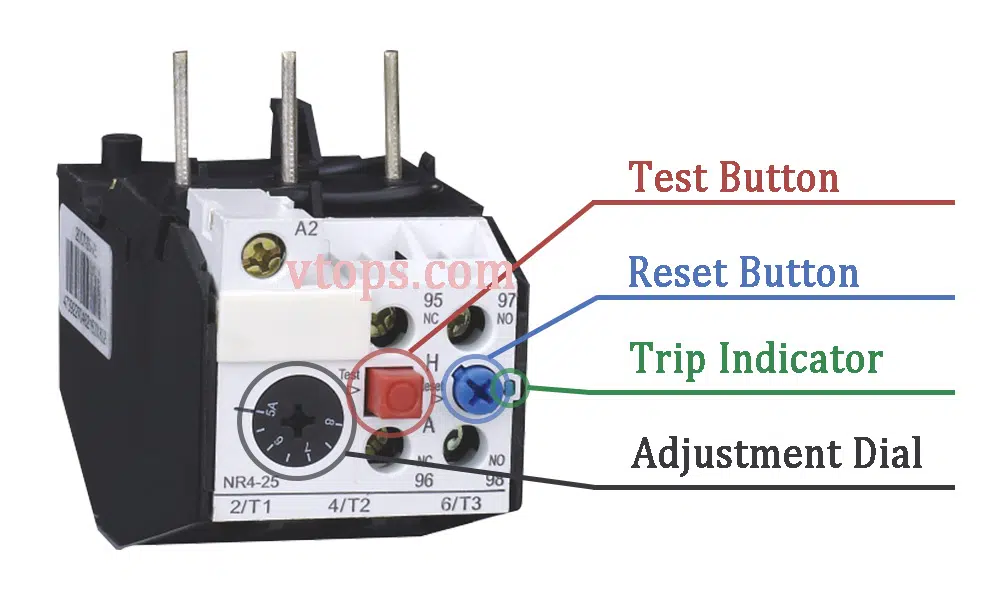
Post-jam failures usually stem from thermal overload—not lingering paper. When motors overheat from jam strain, safety switches cut power for 20 minutes.
Reset Procedure That Actually Works
- Unplug for 15 minutes (not 2-3 as manuals claim—real cooldown takes longer)
- Empty and reseat paper bin—misaligned bins trigger sensors
- Press “Auto” mode—bypasses reverse-mode lockouts
If the unit still won’t start:
– Check for micro-shreds in sensors (use cotton swab)
– Verify bin full indicator isn’t stuck (common in Fellowes models)
– Test outlet with another device—jams can blow internal fuses
Never bypass thermal protection by holding start buttons—it guarantees motor burnout.
Lubrication Schedule: Preventing Jams Before They Start
Prevention beats extraction every time. Proper lubrication reduces jams by 70% by minimizing static friction that grips paper.
Correct Lubrication Method
- Use ONLY shredder-specific oil (e.g., Fellowes Oil Sheets)
- Never apply liquid directly—oil attracts paper dust, creating paste-like clogs
- Run oiled sheet monthly for home use; weekly for offices
- After 25 shredding sessions, lubricate regardless of usage
Critical mistake: Using WD-40 or vegetable oil. These degrade rubber rollers and gum up blades. Shredder oil is formulated to repel paper fibers—not attract them.
When to Abandon DIY: 4 Signs You Need Professional Shredder Repair
Stop immediately if you observe:
– Grinding noises after jam clearance (indicates bent cutter shafts)
– Smoke or burning smells (motor windings damaged)
– Gears spinning but blades frozen (internal drive belt failure)
– Error codes persisting after reset (circuit board corruption)
Attempting repairs beyond mechanical jam clearing voids warranties and risks electrical hazards. Reputable repair services (like ShredDoctor) cost 30% less than replacement for mid-range models. For under $50, they’ll realign cutters and replace stripped gears—something no “dissolving trick” can fix.
Preventative Maintenance Checklist for Jam-Free Operation
Avoid future emergencies with these technician-approved habits:
– ✅ Shred in 10-page batches—never exceed 70% of sheet capacity
– ✅ Remove all staples/clips—even “shred-safe” models jam on bent metal
– ✅ Fold glossy brochures—their coating increases friction by 40%
– ✅ Cool down every 15 minutes during heavy use—overheating causes 65% of chronic jams
Pro tip: Keep a “shred test sheet” (lightweight paper) to run after jams. If it shreds unevenly, blades need professional realignment—not more lubrication.
Clearing paper stuck in your shredder requires mechanical skill—not chemical shortcuts. By following these reverse-first extraction protocols and respecting your machine’s physical limits, you’ll resolve jams safely while extending your shredder’s lifespan. Remember: no liquid can “dissolve” paper in this context, but proper lubrication prevents 90% of jams before they start. If extraction attempts fail after three cycles, unplug permanently and contact a repair specialist—your safety is worth more than any document purge. For ongoing reliability, add shredder maintenance to your monthly office checklist using the preventative steps outlined here. Your future self (and your shredded confidential documents) will thank you.


