
You unboxed your Ninja Foodi last week, but it’s still gathering dust beside the microwave. That intimidating tower of buttons and two lids has you stuck cooking frozen fries while dreaming of restaurant-quality meals. Stop feeling overwhelmed—your Foodi isn’t just another appliance; it’s your instant pressure cooker, air fryer, and slow cooker combined into one countertop hero. Within 24 hours of following these ninja foodi recipes for beginners, you’ll be pressure-cooking tender chicken thighs and air-crisping golden potatoes with zero guesswork. This guide cuts through the confusion with exact times, foolproof techniques, and the exact sequence to transform your Foodi from a paperweight to your most-used kitchen tool.
Why Your Ninja Foodi Solves Beginner Cooking Nightmares
Forget juggling multiple appliances—your Foodi handles pressure cooking, air frying, steaming, and slow cooking in one pot. The magic happens when you pressure-cook proteins until fork-tender, then instantly switch to air-crisp mode for caramelized perfection without transferring dishes. Beginners especially love the built-in safety features: the lid won’t unlock until pressure drops, and the control panel guides you through every step with clear prompts. Most importantly, it turns frozen ingredients into dinner in under 30 minutes—no more last-minute panic when you forget to thaw chicken. With just two lids (or one on Smart-Lid models), you’ll achieve results that make Instant Pot and air fryer veterans jealous.
Your 30-Minute Confidence Builder: The Water Test Run
Skip straight to testing your appliance with this zero-risk ritual:
1. Wash all components—inner pot, air-fry basket, and both lids—before first use
2. Install the condensation cup on the back panel (that small plastic piece that clicks into place)
3. Run the water test: Add 3 cups water to the pot, seal with pressure lid (valve set to “SEAL”), select HIGH PRESSURE for 5 minutes. When it beeps, quick-release pressure—this confirms perfect sealing
4. Burn off factory oils: Air-fry empty basket at 400°F for 5 minutes (essential for non-stick performance)
Pro Tip: Keep this cheat sheet taped inside your cabinet:
– Pressure mode minimum liquid: 1 cup (prevents “BURN” errors)
– Air-crisp preheating: 3 minutes (creates instant crispness)
– Natural release rule: Always wait 10 minutes after pressure cooking meats
Breakfast Recipes That Build Instant Confidence
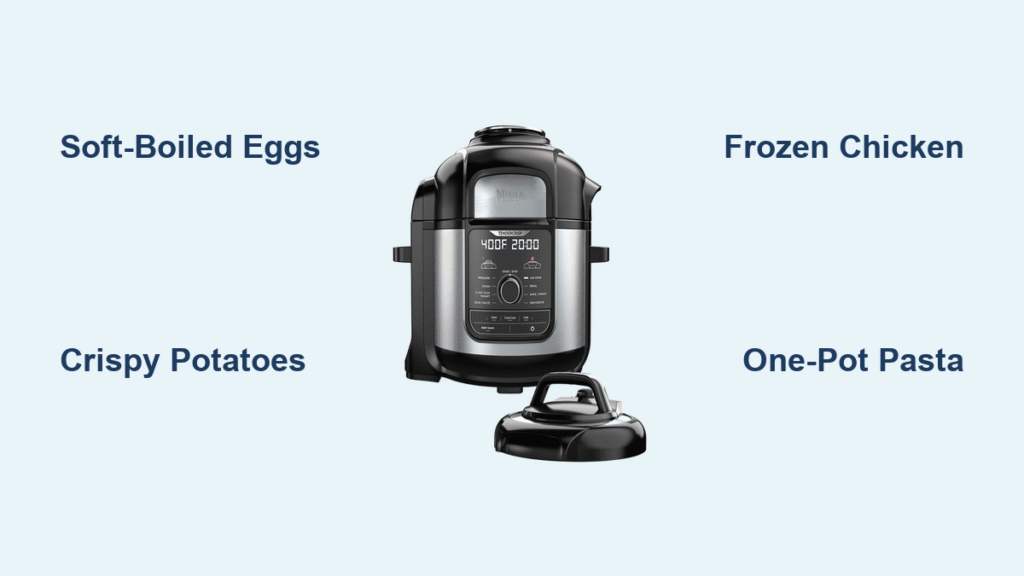
Perfect Soft-Boiled Eggs in 5 Minutes Flat
Place 1 cup water in the pot. Set steamer basket with 4-6 eggs (cold straight from fridge). Pressure cook 3 minutes on HIGH, then quick-release. Immediately plunge eggs into ice water for 2 minutes. Peel under running water for flawless results every time—jammy centers guaranteed. Why beginners win: No timing guesswork, no sulfur smell, and peels effortlessly.
Crispy Breakfast Potatoes Without Standing Guard
Dice 3 russet potatoes into ½-inch cubes. Toss with 1 tbsp oil, 1 tsp garlic powder, salt, and pepper. Air-fry at 400°F for 15 minutes, shaking the basket twice. They’ll emerge crispy outside and fluffy inside—no babysitting required. Avoid this mistake: Overcrowding the basket causes steaming instead of crisping. Cook in a single layer!
Make-Ahead Egg Bites for Stress-Free Mornings
Whisk 6 eggs with ¼ cup milk, ½ cup shredded cheddar, and ¼ cup cooked bacon. Pour into silicone egg molds. Pressure cook 8 minutes on HIGH, then natural release for 5 minutes. Store in the fridge for 5 days—grab one while coffee brews. Time-saver: Double the batch and freeze extras for emergency breakfasts.
Weeknight Chicken Wins That Feel Like Cheating
Mexican Shredded Chicken (10 Minutes Active Time)
Pour 1 cup salsa verde into the pot. Add 4 bone-in chicken thighs (frozen works!). Pressure cook 12 minutes on HIGH, then natural release 10 minutes. Shred meat with two forks, then air-crisp 3 minutes at 400°F to caramelize edges. Pro move: Skip the fork-shredding—use kitchen shears while chicken rests in juices.
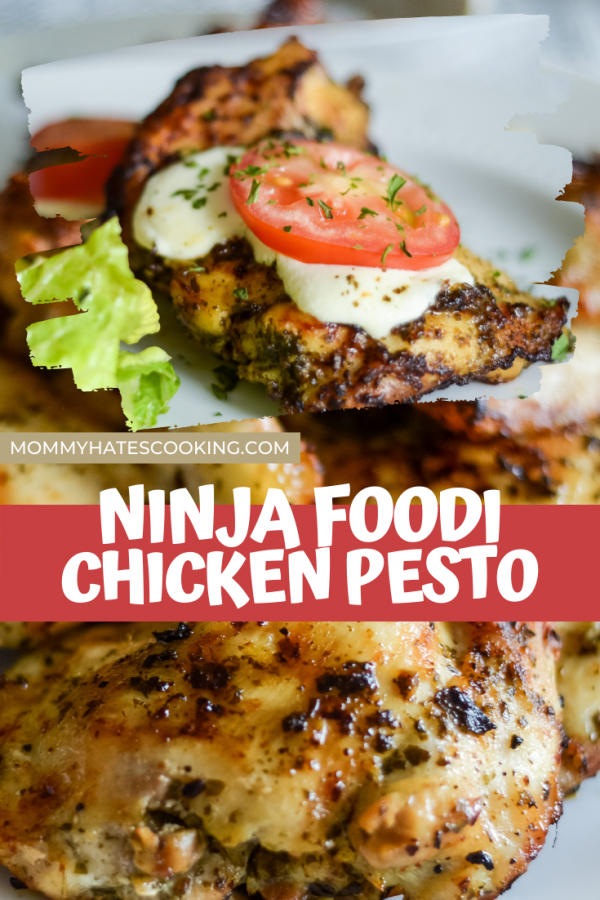
Pesto Chicken Breasts That Never Dry Out
Butterfly 2 chicken breasts (slice horizontally). Coat generously with 3 tbsp basil pesto. Air-crisp at 370°F for 12 minutes, flipping once. The hinged lid creates convection heat that locks in juices while crisping the exterior. Critical step: Pat chicken dry with paper towels first—wet surfaces steam instead of crisp.
Frozen Food Magic: No Thawing Required
Frozen Chicken Breasts to Dinner in 25 Minutes
Place frozen breasts in the pot with 1 cup low-sodium broth. Pressure cook 12 minutes on HIGH, natural release 10 minutes, then air-crisp 5 minutes at 390°F. Seasoning hack: Wait until after cooking to add salt—spices stick better to hot, slightly moist surfaces.
Frozen Salmon That Tastes Fresh-Caught
Brush frozen salmon fillets with olive oil and lemon pepper. Pressure cook 4 minutes on HIGH, then air-crisp 7 minutes at 400°F. The pressure phase keeps it moist while air-crisping creates restaurant-quality texture. Visual cue: Salmon is done when it flakes easily with a fork at the thickest part.
One-Pot Pasta Meals That Kids Devour

Cheesy Taco Pasta (15 Minutes Total)
Brown 1 lb ground beef on SAUTÉ mode. Add 2 cups elbow pasta, 1.5 cups broth, and 1 cup salsa. Pressure cook 4 minutes on HIGH, quick release. Stir in 2 cups shredded cheddar until melted. Parenting win: The kids won’t even notice the hidden veggies—add ½ cup corn during pressure cooking.
Vegetable Sides That Convert Veggie-Haters
Crispy Brussels Sprouts With 3 Flavor Twists
Halve 1 lb sprouts, toss with 1 tbsp oil and salt. Air-fry at 400°F for 15 minutes, shaking twice. Try these instant upgrades:
– Garlic Parmesan: Sprinkle 2 tbsp grated Parmesan and ½ tsp garlic powder in the last 3 minutes
– Balsamic Glaze: Toss with 2 tbsp reduction immediately after cooking
– Buffalo Style: Toss with 1 tbsp hot sauce and 1 tsp melted butter post-cooking
Carrot Fries That Rival Fast Food
Cut carrots into ¼-inch sticks. Toss with 1 tbsp oil, ½ tsp garlic powder, and salt. Air-fry at 400°F for 15 minutes, shaking twice. Texture secret: Soak cut carrots in ice water for 10 minutes before cooking—they crisp better!
Critical Beginner Mistakes (And How to Fix Them)

Burn Notice Panic: Instant Solution
Why it happens: Not enough liquid or food stuck to the pot bottom after sautéing. Fix now: Add ½ cup broth, scrape the bottom clean with a wooden spoon, then restart. Prevent next time: Always deglaze with ¼ cup water after sautéing before pressure cooking.
Soggy Air-Fry Results: The 3-Second Fix
Why it happens: Wet food or overcrowded baskets create steam instead of crispness. Fix now: Pat proteins dry with paper towels, preheat the basket for 3 minutes, and cook in a single layer. Pro tip: For chicken skin, rub with 1 tsp cornstarch before air-crisping—it pulls moisture for extra crunch.
Lid Won’t Open: The Pressure Valve Check
Why it happens: The float valve hasn’t dropped (indicating residual pressure). Fix now: Wait 2-3 minutes for natural release to complete. Never force it—if impatient, carefully quick-release remaining pressure using a long spoon handle to avoid steam burns.
Cleaning Hacks That Take 2 Minutes Daily
Skip the dishwasher for daily maintenance. While the pot is still warm:
1. Remove inner pot and basket, rinse under hot water (soap only for greasy residues)
2. Wipe lid seals with a damp cloth—dried food wipes off easily when warm
3. Pop out the silicone ring weekly; wash with soapy water to prevent odor buildup
Monthly deep clean: Run 1 cup water + 1 cup vinegar on STEAM mode for 2 minutes to eliminate stubborn smells. For burnt-on residue in the air-fry basket, make a paste of baking soda and water—scrub gently with a non-abrasive sponge.
Start with soft-boiled eggs tomorrow morning—your first Foodi victory takes just 5 minutes. By dinner, pressure-cook that frozen chicken for effortless tacos. Within a week, you’ll be air-crisping ribs and meal-prepping breakfasts like a pro. These ninja foodi recipes for beginners turn kitchen anxiety into confidence, one perfectly cooked meal at a time. Your countertop powerhouse isn’t gathering dust anymore—it’s finally earning its place as your most trusted cooking companion.


