
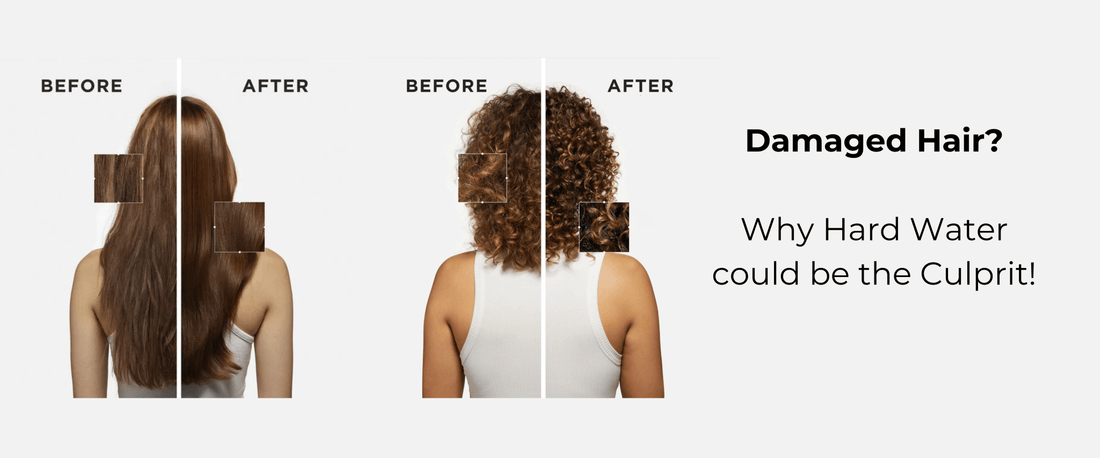
You’ve probably tried Googling “how can I make shampoo” only to find recipes featuring baking soda or castile soap that left your hair feeling like straw. Many DIY enthusiasts unknowingly damage their hair with harsh ingredients promoted online, not realizing these common solutions disrupt your scalp’s natural pH balance. The truth is, creating effective homemade shampoo requires understanding which natural ingredients truly cleanse without stripping – and which popular methods are actually harmful. In this guide, you’ll discover scientifically sound DIY shampoo techniques proven through years of community testing, including the surprisingly gentle rye flour wash that cleans without that dreaded “squeaky clean” feeling. We’ll cut through the misinformation to show you exactly how can I make shampoo that works for your specific hair type and water conditions.
Stop wasting money on commercial shampoos filled with sulfates only to replace them with DIY recipes that cause even more damage. The key lies in leveraging nature’s gentle cleansers while avoiding the alkaline traps that ruin hair cuticles. By the end of this guide, you’ll know precisely which ingredients to use (and which to avoid), how to customize recipes for your hair type, and crucial solutions for hard water problems that cause waxy buildup. Most importantly, you’ll learn why proper rinsing technique matters more than the recipe itself – a detail 90% of online tutorials completely ignore.
Why Baking Soda and Castile Soap Are Ruining Your Hair
The internet is flooded with “how can I make shampoo” tutorials featuring baking soda and castile soap, but these ingredients are disastrously alkaline for regular use. Baking soda has a pH of 9 while castile soap ranges from 8-10, far above your scalp’s natural acidic pH of 4.5-5.5. This extreme alkalinity forces hair cuticles to lift open, causing irreversible damage that manifests as frizz, breakage, and that unpleasant “straw-like” texture. Commercial shampoos use sulfates that are harsh but at least pH-balanced; baking soda and soap bases provide no such protection.
The Science Behind Alkaline Hair Damage
When hair cuticles stay lifted from alkaline cleansers, moisture escapes and external irritants penetrate deeper. This explains why many experience increased dryness and scalp irritation after switching to DIY methods. The damage accumulates silently – you might not notice immediate breakage, but after 3-4 washes, combing becomes painful as weakened strands snap. Crucially, this isn’t a “transition period” as some claim; it’s actual structural damage requiring months of repair.
Recognizing Early Warning Signs
Watch for these red flags that your DIY shampoo is too harsh: persistent itching within 24 hours of washing, increased tangles when hair is wet, or a rough texture when sliding fingers down strands. If your hair feels “clean” but lacks shine and feels stiff when dry, alkaline damage is already occurring. Stop using the recipe immediately and switch to gentler alternatives – your hair won’t “adjust” to constant pH disruption.
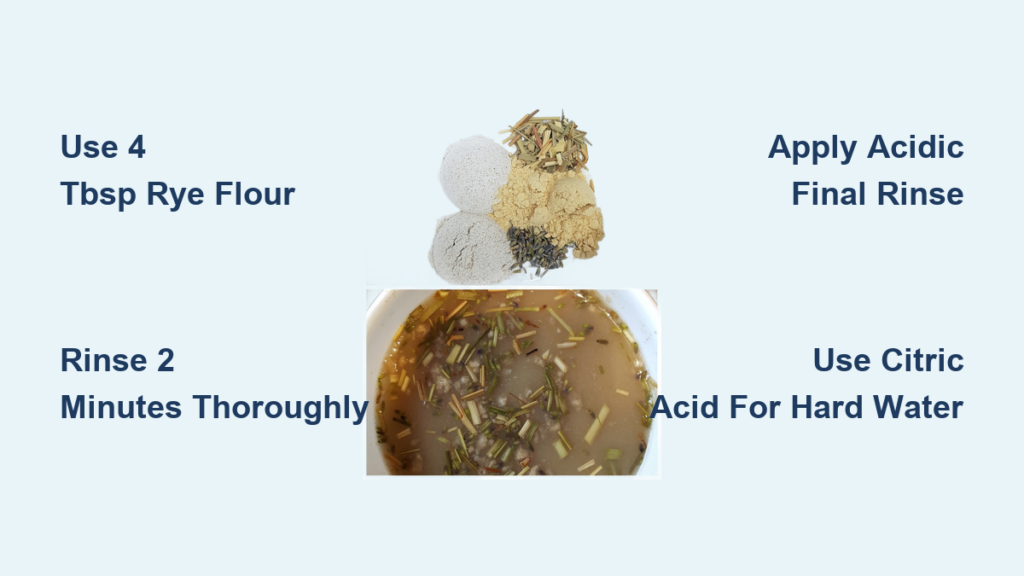
The 4-Tablespoon Rye Flour Wash That Cleans Gently
Forget complicated recipes – the most consistently successful method for how can I make shampoo requires just two ingredients. Rye flour contains natural saponins that create mild lather without disrupting pH, making it ideal for daily use. Unlike soap-based cleansers, it removes buildup while preserving your scalp’s protective acid mantle. Thousands report softer hair, reduced frizz, and zero “squeaky clean” stripping after switching to this method.
Step-by-Step Rye Flour Application
- Blend to perfection: Combine 4 tablespoons rye flour with warm water in a blender until smooth as pancake batter (lumps cause buildup)
- Apply to wet hair: Section hair and massage paste directly onto scalp using fingertips, not nails
- Work through lengths: Pull paste through mid-lengths to ends – focus on roots where cleansing is needed
- Rinse like your hair depends on it: Use warm water for 2 full minutes, tilting head back to prevent residue
Critical Rinsing Techniques Most Miss
Thorough rinsing separates success from failure with flour washes. After initial rinsing, cup water in palms and “squish” it upward through hair 5-7 times – gravity pulls residue downward otherwise. For thick hair, use a wide-tooth comb under running water to catch hidden particles. If you detect grittiness when rubbing strands between fingers, rinse 2 minutes longer. This step is non-negotiable for avoiding the waxy buildup that plagues DIY attempts.
How to Create the Perfect Acidic Final Rinse for Shine

No discussion about how can I make shampoo is complete without addressing pH restoration. Alkaline cleansers (even gentle ones like rye flour) temporarily raise hair’s pH, leaving cuticles open. An acidic rinse seals them shut, locking in moisture and creating instant shine. Skip this, and you’ll wonder why your hair looks dull despite using the “right” recipe.
Apple Cider Vinegar Rinse Protocol
Mix 1-2 tablespoons raw, unfiltered ACV with 2 cups cool water in a spray bottle. After shampooing, spray liberally focusing on ends, wait 90 seconds (not 5 minutes – that’s overkill), then rinse with cool water. The vinegar smell dissipates completely when hair dries. Pro Tip: Add 5 drops rosemary essential oil to the mix – it neutralizes odor while stimulating follicles.
Citric Acid Rinse for Hard Water Rescue
In hard water areas, minerals bind to cleansers causing film. A citric acid rinse chelates these minerals: dissolve 1/16 teaspoon food-grade citric acid powder in 2 cups water. Spray after shampooing, wait 60 seconds, then final rinse. This unscented solution outperforms ACV in hard water and won’t discolor blonde hair. Keep a pre-mixed bottle by your shower – it takes 10 seconds to apply.
Fixing Hard Water Film With a Citric Acid Rinse
Hard water (high in calcium/magnesium) reacts with natural cleansers to create “soap scum” on hair – that waxy, heavy feeling no amount of washing fixes. You’ll recognize it when hair feels gritty when wet but coated when dry. Standard ACV rinses often fail here; citric acid is the targeted solution.
Why Citric Acid Beats Lemon Juice
Lemon juice contains sugars that feed scalp yeast, potentially causing flaking. Citric acid powder (found in canning sections) provides pure chelating action without organic matter. Use 1/8 teaspoon per gallon of rinse water – more causes dryness. Apply as a final step before your cool water rinse for instant mineral removal.
Hard Water Diagnostic Test
After washing, run fingers through wet hair. If it feels “sandy” but then suddenly slick, you have hard water film. Confirm by washing with distilled water – if hair feels clean, hard water is your culprit. Install a $20 shower filter for persistent issues, but always keep citric acid rinses as your first line of defense.
Scalp Scrubbers: The Overlooked Tool for Effective DIY Cleansing
Fingers alone can’t properly distribute DIY shampoo past the hair’s top layer. A $5 silicone scalp scrubber changes everything by exfoliating dead skin and ensuring paste reaches the scalp – where cleansing actually happens. This explains why many think “how can I make shampoo” recipes fail when the real issue is improper application.
Technique for Maximum Results
Wet the scrubber, apply rye flour paste directly to it (not hair), then massage in small circles for 3 minutes. The bristles work cleanser into follicles while stimulating blood flow. Rinse the scrubber mid-wash to prevent paste buildup on bristles. Use 2-3 times weekly – daily exfoliation causes irritation.
Oil Cleansing Method for Dry and Curly Hair Types

For very dry or coily hair, the oil cleansing method provides gentle cleansing without disrupting moisture. Unlike harsh shampoos, it dissolves sebum without stripping. This isn’t “no-poo” – it’s strategic pre-wash oiling that makes your DIY shampoo more effective.
Jojoba Oil Pre-Wash Protocol
- Apply 1 teaspoon jojoba oil to dry scalp, massaging 5 minutes
- Cover hair with shower cap, wait 20 minutes (overnight for severe buildup)
- Shampoo as usual with rye flour wash – the oil lifts dirt for easy removal
Critical Note: Use only liquid oils (jojoba, sunflower); coconut oil solidifies in hair causing waxy residue.
Avoiding the 2-Week Transition Period Pitfalls
When switching from sulfates, many experience 2-6 weeks of “waxy” hair as sebum production rebalances. But this isn’t inevitable – proper technique shortens it to days. The key is consistent gentle cleansing (rye flour every 2 days) while using a boar bristle brush to distribute oils from roots to ends.
Hard Water Accelerates Transition Issues
If your hair feels heavy and coated during transition, hard water is likely amplifying the problem. Implement citric acid rinses immediately – they cut transition time in half by preventing mineral buildup that mimics oiliness. Track progress by taking weekly photos; most see improvement by day 10 with this approach.
Monthly Clarifying Rituals to Prevent Buildup
Even perfect DIY shampoo needs monthly reset washes. After 3-4 weeks, natural oils and minerals accumulate, causing dullness. Skip this, and your “how can I make shampoo” efforts fail long-term.
Bentonite Clay Clarifying Treatment
Mix 2 tablespoons bentonite clay with equal parts apple cider vinegar and water to form paste. Apply to damp scalp, wait 5 minutes (no longer – it dries hard), then rinse with citric acid solution. Do this monthly – more often if hair feels heavy. Follow with deep conditioner since clay is drying.
Creating effective homemade shampoo requires respecting hair’s biological needs, not forcing harsh ingredients. By using the rye flour method with meticulous rinsing and pH-balancing rinses, you’ll achieve cleaner, healthier hair than commercial products provide. Remember: the goal isn’t to mimic sulfate shampoos but to work with your scalp’s natural ecosystem. Start with the 4-tablespoon rye recipe tonight – most notice improved shine and manageability after just one wash. For hard water sufferers, add the citric acid rinse immediately; it’s the difference between success and frustrating waxy buildup. Your journey to truly clean hair begins not with complex recipes, but with understanding how can I make shampoo that honors hair’s natural chemistry.


