
That frustrating moment when you step out of the shower with hair that’s still tangled, frizzy, or inexplicably flat? It’s rarely about your products—it’s almost always a conditioner application error. Applying conditioner correctly after shampooing transforms limp strands into soft, manageable hair that shines. This isn’t about complicated routines; it’s mastering the precise technique that lets conditioner work its magic where your hair needs it most. By the end of this guide, you’ll know exactly how to apply conditioner after shampoo for visibly healthier hair—no matter your texture or thickness.
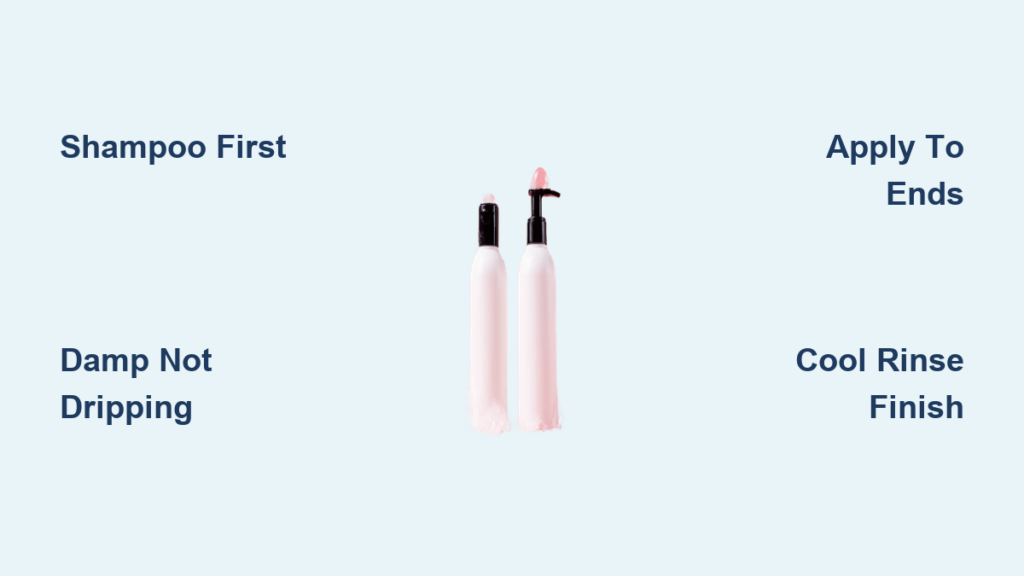
Why Shampoo Must Come Before Conditioner Every Time
Skipping shampoo before conditioning sabotages your results from the start. Shampoo’s cleansing action lifts the hair cuticle to remove oil buildup and impurities, creating a clean canvas. Conditioner then seals that cuticle shut with emollients and proteins. Apply conditioner first, and you’re smoothing a closed cuticle—only to have shampoo strip away those benefits moments later. This sequence isn’t optional; it’s non-negotiable chemistry. When you shampoo first, you enable conditioner to penetrate deeply instead of sitting on top of residue. Think of it like painting a wall: you’d never prime over dirt—you clean first, then prime. Your hair deserves the same logic.
Prep Work That Makes or Breaks Your Conditioning
Rushing from shampoo to conditioner guarantees diluted, ineffective results. Proper preparation takes 60 seconds but doubles absorption. Grab these essentials before your next shower: a wide-tooth comb (never a brush on wet hair), microfiber towel or old cotton tee, and your regular conditioner. For deep treatments, add a shower cap and warm towel.
Critical Water Removal Steps
Squeeze shampooed hair gently with your palms—never twist or wring. Hair should feel damp like a wrung-out sponge, not dripping. Why? Excess water dilutes conditioner, reducing its potency by up to 40%. For thick or curly hair, section into 4 parts using clips. Blot each section with a microfiber towel to remove surface moisture without friction. This “damp not dripping” state is the sweet spot where conditioner adheres properly. Skip this, and you’ll use more product chasing results that never come.
Exact Application Steps for Your Hair Type

Generic instructions like “apply conditioner” fail 90% of people because they ignore hair biology. Your ends are 2-5 years older than your roots and desperately need moisture, while roots produce natural oils. Here’s how to target correctly.
Fine or Oily Hair: The Precision Zone Method
Squeeze a dime-sized amount (seriously—less is more). Apply only from jawline down, avoiding the top third entirely. Use fingertips to rub conditioner between palms first—this warms and thins it for lighter absorption. Comb through with a wide-tooth tool, starting at ends. If you have bangs, keep product 1 inch away from the hairline. Why? Heavy conditioner near roots accelerates greasiness within hours. One study found fine-haired users who applied conditioner past their ears saw 3x faster oil reappearance.
Thick, Coarse, or Curly Hair: The Soak-and-Squish Technique
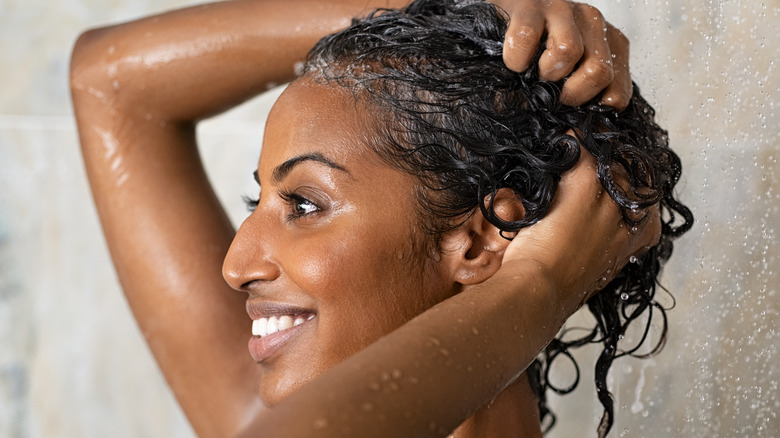
Use a quarter-sized dollop per shoulder-length section. Apply to soaking-wet, sectioned hair. Here’s the game-changer: after massaging conditioner in, fill your hands with cool water and “squish” upward toward your scalp 5-7 times. This traps water between strands, boosting hydration and curl definition. For 4C hair, apply conditioner while hair is still in twists or braids for maximum frictionless coverage. Coarse hair needs 2x more product than fine hair—your ends are parched deserts compared to the oil-rich roots.
Color-Treated or Damaged Hair: The Damage-Focus Approach
Apply from mid-lengths to ends first, then lightly sweep remaining product up to roots—never massage into scalp. Damaged hair absorbs conditioner rapidly, so use a generous amount (walnut-sized for shoulder-length). For bleached strands, add a heat cap after application: wrap hair in plastic, then a warm towel for 5 minutes. The gentle heat opens the cuticle for deeper repair. Never skip the cool-water rinse—it locks color pigments in place.
Processing Time Secrets They Don’t Tell You
Most people rinse conditioner after 30 seconds—wasting its potential. The 2-5 minute window is when magic happens: emollients swell the hair shaft, filling cracks and smoothing frayed cuticles. Set a timer! For standard conditioners, 3 minutes is ideal. Deep treatments need 10 minutes minimum. Here’s how to maximize this time:
- For limp hair: Massage conditioner into ends while upside down—gravity lifts roots
- For split ends: Pinch ends between thumb and forefinger while product sits
- For curls: Scrunch hair upward every minute to enhance clumping
Rushing this step leaves conditioner sitting on the surface instead of penetrating. If your hair still feels rough after rinsing, you likely cut processing time short.
Rinse Like a Pro: The Shine-Boosting Finish
How you rinse determines 50% of your shine outcome. Start with lukewarm water to dissolve product, then crucially switch to cool water for the final 20 seconds. Cold water flattens the cuticle like closing a zipper, locking in moisture and reflecting light. Tilt your head forward—water should run from roots to ends, not scalp to tips. Use your palms to “milk” water down each section toward the ends. Check for residue by running fingers through hair; if it feels slick, keep rinsing. Pay special attention behind ears and at the nape—common residue zones that cause greasy roots days later.
4 Costly Mistakes That Ruin Your Hair Days Later
Mistake #1: Conditioning Before Shampooing
This leaves conditioner trapped under oil and buildup. Shampoo then strips it away uselessly. Fix: Always shampoo first—even on second-day hair.
Mistake #2: Applying to Sopping-Wet Hair
Dripping hair = diluted conditioner. Fix: Squeeze water out until hair feels like a damp sponge.
Mistake #3: Skipping the Cool Rinse
Warm water leaves cuticles open, causing frizz and moisture loss. Fix: Always end with 20 seconds of cold water.
Mistake #4: Using the Same Amount for All Hair Types
Fine hair drowns in too much product; thick hair starves with too little. Fix: Measure by hair density—not length. Shoulder-length fine hair needs dime-size; same length thick hair needs quarter-size.
Advanced Fixes for Stubborn Hair Issues
When Ends Stay Dry Despite Conditioning
You’re likely not applying enough product or rinsing too long. Solution: Apply conditioner to wet hair, then immediately cover with a plastic cap for 5 minutes before rinsing. The cap creates a greenhouse effect for deeper penetration. For severely dry ends, try the “in-shower leave-in” trick: after applying rinse-out conditioner, add a pea-sized leave-in product, then rinse lightly—just enough to remove slip but leave a protective layer.
When Hair Feels Greasy Within Hours
You’re either applying too close to roots or using heavy formulas. Solution: For fine hair, switch to a mousse-based conditioner. Apply only from collarbone down, and use a dry shampoo at roots post-shower. For thick hair, clarify weekly with apple cider vinegar rinse (1 part ACV to 4 parts water) to remove buildup.
When Conditioner Causes Tangling
This indicates product overload or poor distribution. Solution: Use half your usual amount, apply only to mid-lengths (not ends first), then comb through before adding more. Always detangle with conditioner in—never on bare wet hair.
Post-Shower Habits That Lock In Results
Never towel-rub hair—it frays cuticles. Instead, squeeze water out gently with a microfiber towel. While hair is 80% dry, apply a rice-grain amount of leave-in conditioner only to ends. For heat styling, use a spray-on protectant—not cream—to avoid weighing hair down. Sleep on silk pillowcases to reduce friction that undoes your conditioning work overnight. These steps extend your salon-fresh results from 1 day to 3+.
Why This Method Beats Generic Advice Every Time
Conditioner isn’t one-size-fits-all—it’s precision haircare. By targeting product where biology demands it (ends), avoiding where nature provides moisture (roots), and respecting the chemical window for absorption, you transform a mundane step into targeted treatment. The right application after shampoo delivers softer strands, reduced breakage, and shine that lasts days longer. Stop guessing—start applying with intention. Your healthiest hair starts at the shower drain.


