
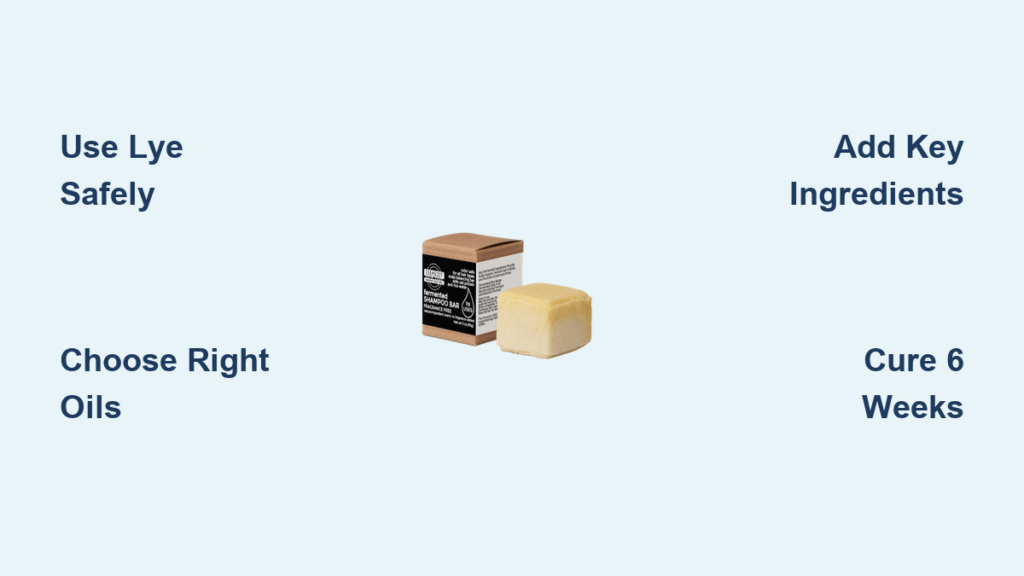
Tired of plastic shampoo bottles piling up in your bathroom? You’re not alone—over 550 million empty shampoo containers end up in landfills annually. Learning how to make bar shampoo at home solves this eco-crisis while giving you complete control over ingredients. Unlike commercial liquid shampoos loaded with sulfates and silicones, handmade shampoo bars cleanse gently using natural saponification. This guide cuts through the confusion with field-tested methods that create long-lasting bars producing rich lather. Whether you have oily roots, dry ends, or color-treated hair, you’ll discover precise oil ratios and pro techniques to craft bars that transform your hair in just 6 weeks of curing.
Essential Safety Gear Before Handling Lye

Skipping proper protection when making shampoo bars risks chemical burns that require emergency care. You absolutely need chemical-resistant nitrile gloves (not latex), safety goggles that seal around eyes, and stainless steel containers—never aluminum, which reacts violently with lye. Work in a well-ventilated area away from children and pets, with vinegar nearby to neutralize spills. I learned this the hard way during my third batch when lye splashed near my wrist; the vinegar instantly stopped the burning. Always wear long sleeves and closed-toe shoes, and keep a dedicated “soap-making kit” stored separately from kitchen tools. This isn’t just caution—it’s non-negotiable for anyone serious about how to make bar shampoo safely.
Why Lye Must Always Go Into Water (Not Vice Versa)
The critical rule “lye to liquid, never liquid to lye” prevents dangerous thermal eruptions. When water hits concentrated lye, it can cause explosive boiling and splattering of corrosive solution. Instead, slowly pour lye flakes into cool distilled water or pre-prepared beer while stirring constantly in a heat-safe container. Expect temperatures to spike above 200°F and fumes that sting your eyes—this is why ventilation is essential. For beer-based shampoo bars (ideal for volume), degas flat beer by boiling 15 minutes, then chill overnight before measuring. Always use 50% beer and 50% water in your lye solution to control reactivity. Wait until the mixture cools to 100-110°F before combining with oils—this precise temperature window prevents “false trace” where soap appears set but hasn’t fully saponified.
Oil Selection: Formulas for Oily, Dry, and Color-Treated Hair

Your hair type dictates oil ratios—using generic recipes causes waxy buildup or excessive dryness. For oily hair, combine 40% coconut oil (deep cleans pores), 30% olive oil (gentle), 20% castor oil (lather), and 10% avocado oil (light conditioning) with a 3-5% superfat. Dry or damaged hair needs 25% coconut oil, 25% castor oil, 20% olive oil, 15% avocado oil, 15% sunflower oil, and 5% cocoa butter with 8-10% superfat for intense moisture. Color-treated hair requires gentler cleansing: use 40% olive oil, 25% coconut oil, 25% sunflower oil, and 10% castor oil with 8-10% superfat and silk protein powder (½ tsp per pound of oils) to seal cuticles. Never exceed 40% coconut oil—it strips natural oils despite its lather benefits. Always run recipes through a lye calculator to adjust for superfat levels; 5-8% is ideal for most shampoo bars.
The 4 Must-Add Additives for Professional Results
Sugar and salt transform mediocre bars into salon-quality cleansers when added correctly. Dissolve 1 teaspoon sugar per pound of oils in warm water before mixing with lye—it boosts lather without drying hair. Similarly, 1 teaspoon fine sea salt per pound hardens bars significantly, extending their lifespan by 30%. For hard water areas, add 1 teaspoon citric acid powder per pound to prevent soap scum. Beer powder (1 tsp/pound) adds body for fine hair—mix with oils before adding lye solution. Crucially, add these before trace to ensure even distribution. Skip these, and you’ll battle soft bars with weak lather that dissolve in weeks instead of months.
Step-by-Step: Mixing Oils and Lye for Perfect Trace
Achieving “trace”—when soap thickens to pudding consistency—is where most beginners fail. Start by melting solid oils (coconut, shea butter) over low heat, then add liquid oils (olive, castor) until fully combined at 100-110°F. Meanwhile, cool your lye solution to the same temperature range. Slowly pour lye into oils while blending with an immersion mixer at low speed. After 2-3 minutes, increase speed to create emulsion. Check trace by drizzling soap batter across the surface—it should leave a visible trail that sinks slowly. This “medium trace” stage (5-8 minutes total blending) is ideal for adding essential oils: 0.7 oz per pound of oils max to avoid skin irritation. For dandruff, blend tea tree (0.3 oz) and rosemary (0.2 oz); for shine, use lavender (0.3 oz) and ylang ylang (0.2 oz). Work efficiently—delaying additives risks “accelerated trace” where soap seizes before molding.
Why Your Shampoo Bar Must Cure 6 Weeks Minimum

Rushing to use uncured shampoo bars causes scalp irritation and poor performance. The 4-6 week cure allows residual lye to fully saponify while water evaporates, creating a harder, milder bar. Place cut bars on a drying rack in a cool, dark, ventilated space—never stack them. Turn bars weekly for even drying. Test readiness at 4 weeks with the “zap test”: touch a damp bar to your tongue. A slight tingling means it needs more time; no sensation indicates safe pH (8-9). Uncured bars often feel “waxy” on hair due to incomplete saponification. During curing, superfat oils continue conditioning the bar—this is why 8-week cures produce noticeably creamier lather. Patience here prevents the #1 reason beginners abandon how to make bar shampoo: using bars too soon and blaming the recipe.
Troubleshooting Flat Lather or Waxy Hair in 5 Minutes
When your shampoo bar produces skimpy lather or leaves hair feeling coated, fix it fast with these targeted solutions. For weak lather, dissolve 1 teaspoon sugar in warm water and remelt the shavings in a double boiler—add back to your next batch at trace. Waxy residue means your hair is adjusting from commercial shampoos; apply a 1:10 apple cider vinegar rinse (1 tbsp vinegar per cup water) after washing to dissolve buildup. If bars stay too soft after 4 weeks, increase hard oils by 10% (coconut/palm) or add sodium lactate (1 tsp per pound of oils) to your lye solution next time. White film on hair? You likely have hard water—add 1 tsp citric acid powder per pound of oils to bind minerals. These tweaks, documented in every batch, turn failures into perfect custom formulas.
How to Use Your Homemade Shampoo Bar for Maximum Shine
Rubbing the bar directly on wet hair creates the richest lather for thick strands, while fine hair benefits from lathering in your hands first to control application. Massage suds into your scalp for 60 seconds—this stimulates circulation better than liquid shampoo. Rinse thoroughly with cool water to seal cuticles. Always follow with an acidic rinse: 1 tablespoon apple cider vinegar in 1 cup water poured over hair. This neutralizes soap’s alkaline pH (9-10), restoring hair’s natural 4.5-5.5 balance for instant shine. Store bars on a draining soap dish between uses; moisture shortens lifespan by 50%. With proper care, one 4-ounce bar replaces 2-3 plastic bottles, lasting 50+ washes. Your hair will adapt within 2-4 weeks—initial “waxy” phases vanish as synthetic buildup clears.
Final Note: Start with a 1-pound batch of the basic recipe (40% coconut, 40% olive, 20% castor oil) before experimenting. Track humidity, oils, and results in a soap journal—your perfect formula emerges through iteration. Always zap-test bars after 4 weeks, and remember: true success in how to make bar shampoo lies not just in the bar, but in the ritual of caring for your hair and planet simultaneously. One batch today creates months of plastic-free hair care, proving that the most luxurious cleansers come from your own hands.


