
Your Ninja air fryer’s hidden heating coil silently collects grease splatters with every crispy batch of fries or chicken wings. While you regularly scrub the basket, that crucial heating element above it accumulates baked-on residue that causes smoking, unpleasant odors, and uneven cooking. Knowing exactly how to clean Ninja air fryer coil safely prevents costly damage while restoring peak performance—without requiring special tools or harsh chemicals.
Most users ignore this maintenance task because they can’t see the problem or fear breaking their expensive appliance. The reality? With the right technique and just five minutes of gentle attention, you can safely clean this critical component and extend your air fryer’s lifespan significantly. This guide reveals the manufacturer-approved method plus professional tips you won’t find in the manual.
Locate Your Ninja Air Fryer Heating Element First
Standard Models Coil Position
Flip your single-basket Ninja air fryer upside down on a stable surface to reveal the rectangular heating coil recessed into the top housing. This element sits directly above where the basket slides in, functioning like a hidden broiler that radiates intense heat downward. During normal operation, the metal housing surrounding the coil remains invisible while directing airflow around your food.
Dual Zone Heating Setup
Ninja Dual Zone models require special attention since they feature two separate heating elements positioned above each basket compartment. These independent zones mean one side might accumulate more grease than the other depending on your cooking habits. Carefully inspect both elements when cleaning, as uneven usage creates different cleaning needs for each zone.
Double Stack Access Method
The newer Ninja Double Stack design relocates heating elements vertically along the back wall instead of the traditional top position. This configuration makes the coils more visible behind perforated metal panels. When cleaning this model, simply remove both baskets and look toward the rear interior wall—you’ll see the heating elements clearly through the ventilation holes without flipping the unit.
Essential Safety Steps Before Cleaning
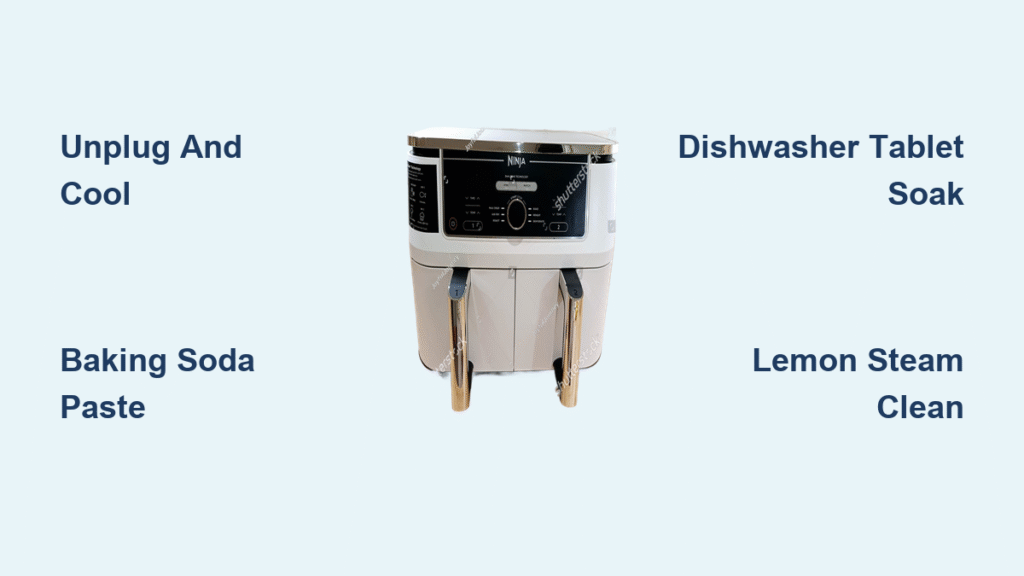
Unplug your air fryer completely and allow it to cool for at least 30 minutes before attempting coil cleaning. The heating element retains dangerous temperatures long after cooking stops, even when the exterior feels cool. Place the unit on a protected surface with good lighting and remove all baskets, racks, and accessories to prevent accidental damage during the process.
Never work on a plugged-in appliance—electrical components sit millimeters from the heating element, and even minimal moisture creates serious shock hazards. If you’ve just cooked greasy foods, wait the full cooling period to prevent steam burns when cleaning. This safety-first approach protects both you and your appliance.
Required Tools for Safe Coil Cleaning
Approved Cleaning Materials
- Microfiber cloth (lint-free to prevent fibers from sticking to coils)
- Soft-bristled dish brush (natural bristles won’t scratch delicate elements)
- Mild dish soap (food-safe formula only)
- Small bowl of warm water (never hot to prevent steam burns)
- White vinegar (for tough grease, mixed 50/50 with water)
Dangerous Tools to Avoid
Steel wool, metal scrubbers, and abrasive pads create microscopic scratches that accelerate future grease buildup and can permanently damage the heating element. High-pressure water sprays force moisture into electrical connections, while bleach or ammonia-based cleaners leave toxic residues that vaporize during cooking. Never use oven cleaners—their harsh chemicals corrode heating elements quickly.
Step-by-Step Ninja Air Fryer Coil Cleaning Process

Initial Assessment and Prep
Turn your unplugged, cooled air fryer upside down and examine the heating coil for visible grease splatter. Light brown residue indicates normal use, while thick black buildup requires immediate attention. Note any bent coils or discoloration before proceeding—these may indicate existing damage needing professional repair.
Gentle Surface Cleaning Technique
Dampen your microfiber cloth with warm, soapy water—wring it out thoroughly until just slightly damp. Using straight strokes following the coil direction, gently wipe the element surface starting from the outer edges moving inward. This technique lifts debris without pushing grease deeper between coils. Replace the cloth when it becomes saturated with grease.
Detail Cleaning Between Coil Gaps
For stubborn spots between coil loops, use your soft-bristled brush dipped in soapy water. Apply minimal pressure while working the bristles gently along the coil contours. The goal is loosening debris without bending the element—imagine you’re brushing fine china. Spend extra time on areas directly above where food typically splatters during cooking.
Vinegar Treatment for Baked-On Grease
For stubborn, carbonized residue, apply your 50/50 vinegar-water solution to a fresh cloth and let it sit on problem areas for 2-3 minutes. The mild acidity breaks down grease without harsh chemicals. Wipe clean with a water-dampened cloth afterward to remove any vinegar residue that could cause odors during next use.
Common Cleaning Mistakes That Damage Ninja Air Fryers

Viral Video Cleaning Hazards
Recent social media trends show people saturating air fryers with cleaning solutions while upside down—a dangerous practice that allows liquid to seep into electrical components. Never pour or spray liquids directly onto the heating element—even small amounts can cause short circuits or corrosion that ruins your appliance. These viral methods often lead to expensive replacements you could have avoided.
Chemical Damage from Improper Cleaners
Bleach, ammonia, and heavy-duty degreasers leave toxic residues that vaporize during cooking, potentially contaminating your food. These chemicals also accelerate corrosion on heating elements, causing premature failure. Stick to mild, food-safe cleaners designed for kitchen appliances—your health and appliance longevity depend on it.
Physical Damage from Aggressive Scrubbing
Using excessive pressure or metal tools bends heating coils out of alignment, creating hot spots that burn food and shorten element life. The metal appears sturdy but requires delicate handling—once deformed, coils cannot be properly realigned. If you encounter stubborn buildup, repeat the vinegar treatment rather than increasing scrubbing pressure.
Smart Maintenance Schedule for Longevity
Usage-Based Cleaning Frequency
Heavy users (daily cooking): Inspect monthly, clean when visible residue appears
Moderate users (3-4 times weekly): Check every 6-8 weeks
Light users (weekly or less): Evaluate quarterly or when odors develop
Warning Signs Requiring Immediate Cleaning
Clean your Ninja air fryer coil immediately if you notice:
– Smoke during preheating with no food inside
– Persistent burning smells unrelated to cooking
– Visible grease drips on the heating element
– Uneven cooking patterns or temperature fluctuations
– Excessive splatter on surrounding interior surfaces
Prevention Strategies That Reduce Cleaning Frequency

Cooking Smart Techniques
Line your basket with parchment paper (with cutouts for air flow) or silicone mats to catch drips before they reach the heating element. Reduce splatter by avoiding maximum temperature settings for extremely greasy foods—cooking at 375°F instead of 400°F often produces similar crispness with less mess. Clean minor spills immediately after cooking, before they bake onto the coil surface.
Quick Daily Habits
After each use, let the air fryer cool completely, then wipe visible spills from interior walls with a damp cloth. This 30-second habit prevents buildup from hardening on the heating element over time. Store your appliance with the basket inserted to prevent dust accumulation on the coil between uses.
When to Seek Professional Repair
Contact Ninja customer service if you discover:
– Bent, separated, or visibly damaged coils
– Electrical burning smells that persist after cleaning
– Heating element that fails to glow red during operation
– Visible corrosion around electrical connections
– Unit that trips breakers or shows other electrical issues
Improper cleaning methods often void manufacturer warranties. Always document your maintenance routine with photos if warranty issues arise—this demonstrates proper care practices to support your claim.
Quick Reference Cleaning Checklist
Before Each Cleaning:
– [ ] Unplug unit completely and wait 30+ minutes
– [ ] Remove all accessories and set up stable workspace
– [ ] Gather gentle cleaning supplies (no harsh chemicals)
– [ ] Work in well-lit area to spot problem areas
During Cleaning:
– [ ] Use only slightly damp cloth (never dripping wet)
– [ ] Apply minimal pressure throughout the process
– [ ] Clean from outside edges toward center
– [ ] Dry thoroughly before reconnecting power
Regular coil cleaning prevents smoking, eliminates odors, and ensures consistent cooking performance from your Ninja air fryer. By following these manufacturer-approved techniques, you’ll extend your appliance’s lifespan while maintaining safe, efficient operation. That hidden heating element may stay out of sight during normal use, but giving it occasional attention keeps your entire air fryer working like new for years to come.


