
That faint burning smell during your chicken wings cook time? Your Ninja air fryer’s wheezing like an asthmatic vacuum? These aren’t normal quirks—they’re screaming symptoms of a grease-choked vent. When your Ninja’s airflow clogs, cooking times balloon by 30% and crispy perfection becomes soggy disappointment. The culprit? A neglected vent system silently strangling your appliance’s performance. Cleaning your Ninja air fryer vent takes just 15 minutes with household items and instantly restores factory-level airflow. Skip this maintenance, and you’ll face shortened appliance life, uneven cooking, and potential fire hazards from overheated components.
Most Ninja owners mistake vent clogs for appliance failure. But here’s the good news: 90% of “broken” air fryers just need a vent cleaning. Your model’s vent—whether hidden under the lid of your Foodi or along the basket rim of an oven-style unit—traps grease and food particles like a kitchen air filter. Left uncleared, this gunk forces the fan to work harder while blocking the superheated air that creates crispy exteriors. In this guide, you’ll learn exactly where to find your vent, how to deep-clean it without damaging warranty-voiding covers, and the monthly habit that prevents performance crashes. Let’s rescue your appliance from grease buildup.
Locate Your Ninja Air Fryer Vent in 60 Seconds

Your Ninja’s vent system hides in plain sight but varies by model. Flip your appliance to inspect the back panel—most basket models tuck the vent assembly here behind a metal grate. For Foodi pressure cooker hybrids, check under the lid’s interior rim where a removable filter sits above the heating coil. Oven-style units like the AF400 feature vents along the top rear housing near the control panel.
Identify your specific vent type before cleaning: Metal mesh filters (found in 80% of models) require soaking and scrubbing, while newer models like the Foodi 10-in-1 use disposable paper filters needing replacement every 10 uses. The critical giveaway? Any component you can pull straight out for cleaning is your vent filter. Never force removal—if it resists, you’re likely prying at a fixed protective cover shielding the heating element. That cover stays ON during cleaning; only the mesh or paper insert comes out.
Critical Safety Steps Before Touching Your Hot Air Fryer
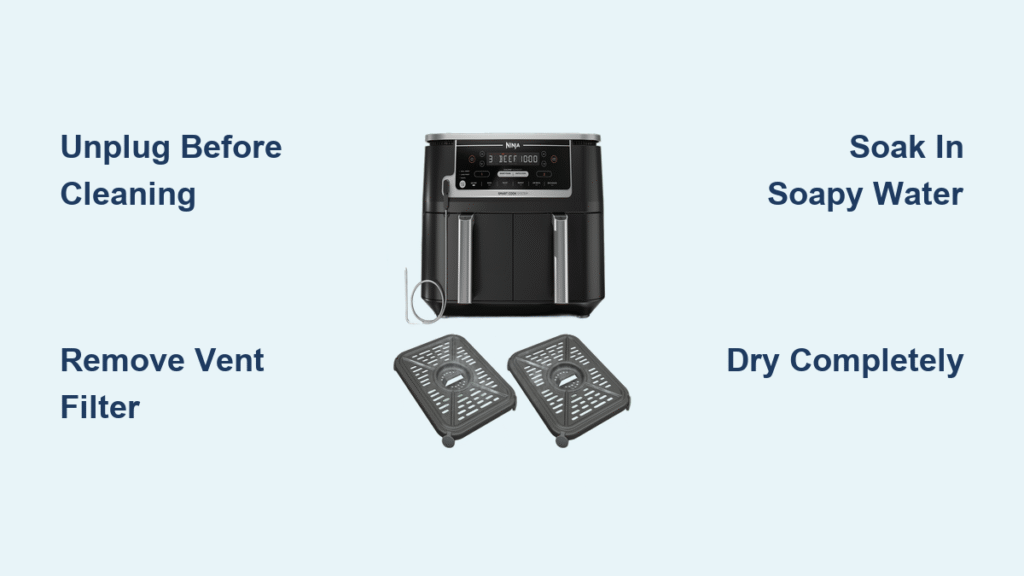
Unplug the unit immediately—never clean while plugged in, even if cool. This prevents electrical shorts when moisture contacts internal components. Then wait 20 minutes minimum after cooking before starting. Rushing this step risks third-degree burns from the 400°F heating element and warping plastic housings with cold water.
NEVER submerge the main unit in water or dishwasher—that’s the #1 cause of Ninja air fryer deaths. Only removable parts (basket, tray, filter) get wet. Crucially, do not remove metal protective covers over heating coils. This voids warranties instantly and exposes lethal electrical components. If your model’s grate won’t budge, it’s designed to stay fixed—clean around it only. Finally, verify 100% dryness before plugging in; residual moisture causes short circuits that fry control boards.
Remove Your Ninja Vent Filter Without Damage
Start by sliding out the basket and crumb tray—many users miss the tray’s hidden grease trap. For Foodi models, peel the silicone ring from the lid’s interior groove (it snaps back cleanly). Now locate the vent: On basket models, grip the metal mesh filter’s top edge and pull straight up—no twisting. It should release with gentle pressure. Foodi lids require lifting the entire filter assembly from the lid’s center.
Inspect your filter immediately. Metal mesh types show grease buildup as dark, sticky residue clogging the weave. Paper filters turn translucent yellow when saturated. If you spot warping, holes, or permanent discoloration, replacement is needed—don’t force damaged filters back in. For tight-fitting filters, wiggle side-to-side while pulling; never use pliers that scratch coatings. Pro tip: Take a photo of the filter’s orientation before removal—it reinserts one way only.
Deep Clean Caked-On Grease in 3 Ways

Basic Scrub for Light Buildup
Hold your metal mesh filter under warm (not hot) running water for 30 seconds to loosen debris. Apply one drop of dish soap to a soft toothbrush—never steel wool that shreds non-stick coatings. Scrub in circular motions, focusing on corner crevices where grease hides. Rinse until water runs crystal clear; soap residue ruins food taste and attracts more grime. Total time: 5 minutes.
Soaking Method for Burnt-On Grease
Submerge stubborn filters in a bowl of warm soapy water for 20 minutes. For baked-on gunk, make a baking soda paste (1:1 ratio with water) and coat the filter. Let sit 15 minutes, then scrub gently with a nylon brush. Rinse under running water while flexing the mesh to dislodge trapped particles. Never soak paper filters—replace them instead.
Emergency Vinegar Treatment for Smoke Emergencies
When your air fryer emits smoke during cooking, try this: Spray distilled white vinegar directly on the filter, sprinkle baking soda, and scrub with an old toothbrush. The fizzing action lifts grease instantly. Rinse thoroughly—vinegar fumes linger in food if residue remains. For internal vent housing (not filters), use a damp microfiber cloth only; never spray liquids inside the unit.
Dry Your Vent Filter Properly to Prevent Electrical Damage
Air-drying is non-negotiable—towel-drying misses hidden moisture in mesh crevices. Place the filter on a clean dish towel in a warm spot (near a heater vent works). Wait 4 hours minimum before reassembly; rushing causes steam explosions when powered on. To verify dryness, hold the filter to a light—any dark spots mean trapped water. Speed drying with a hairdryer on cool setting for 10 minutes, but never use heat that warps plastic frames.
Clean the Heating Element Without Voiding Warranty
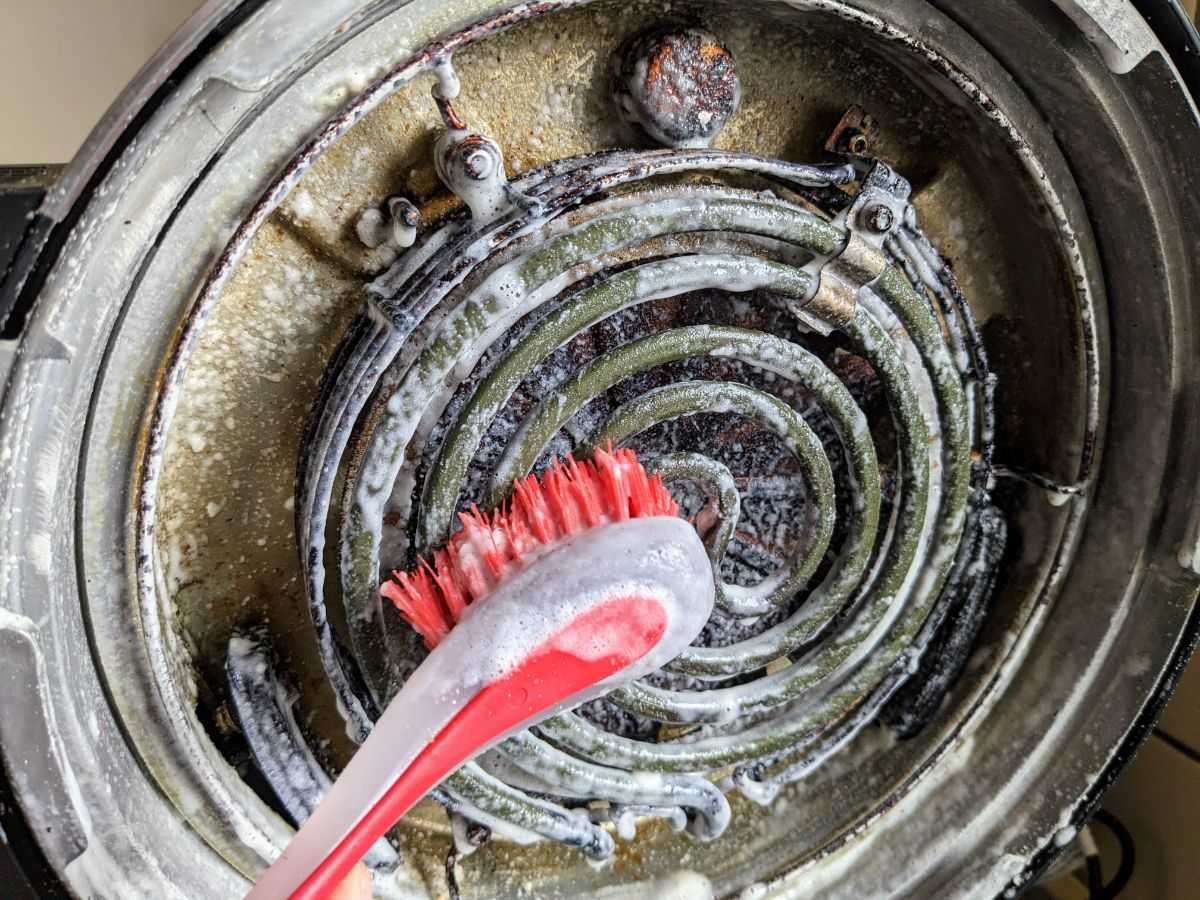
Your Ninja’s heating coil (visible as a metal spiral above the basket) needs gentle care. Dip a toothbrush in hot soapy water, then scrub around—not under—the protective metal grate. Never lift or remove this grate; it’s factory-sealed. Focus on grease-coated fan blades visible through the grate—buildup here reduces airflow by 50%. Wipe residue with a damp microfiber cloth, then dry with a second cloth. Skip this step, and your “clean” air fryer still underperforms due to blocked heat distribution.
Reinstall Your Filter Correctly to Avoid Performance Loss
An improperly seated filter causes more issues than a dirty one. Insert the 100% dry filter with the textured side facing up (smooth side down for most models). It should click into place with zero wobble—test by gently shaking the unit. If it shifts, realign until snug. Never force it; misalignment cracks plastic housings. Post-installation, run the empty air fryer for 2 minutes. Strong, consistent airflow from the vent confirms success—weak puffs mean repositioning is needed.
Spot When Your Vent Needs Cleaning Now
Don’t wait for smoke alarms. Clean immediately if:
– Cooking times increase by 5+ minutes
– You smell persistent grease odors between batches
– Visible grease drips from the vent during operation
– Food cooks unevenly (burnt tops, raw bottoms)
For maintenance, clean after every 7 uses—or after cooking bacon, wings, or fatty meats. Monthly deep cleans prevent performance crashes. Pro tip: Set phone reminders labeled “Ninja Vent Day” on your calendar.
Model-Specific Cleaning Rules You Must Follow
Foodi models: Remove the silicone ring before cleaning the lid vent—grease hides underneath. Never dishwasher this ring; hand-wash only. Oven-style units (AF400): Slide out the bottom crumb tray first—it catches vent overflow. 2-basket models: Hand-wash filters exclusively; top-rack dishwasher use cracks delicate frames. Paper filter models: Replace every 10 uses—no cleaning possible. Always check your manual’s “Cleaning” section; newer models like the Foodi 10-in-1 have unique vent layouts.
Fix Stubborn Grease When Standard Methods Fail
For cemented-on gunk: Soak the filter in equal parts vinegar and hot water for 30 minutes before baking soda scrubbing. Hard-to-reach corners need pipe cleaners—never metal skewers that scratch coatings. If the vent still smells rancid after cleaning, run an empty basket with lemon wedges at 400°F for 5 minutes to neutralize odors. Still smoking? Replace the filter—permanent damage has occurred.
Prevent Future Clogs With 2-Minute Daily Habits
Skip monthly deep cleans by adopting these habits:
– Line baskets with parchment paper (never foil—it blocks vents)
– Wipe the drip tray after every use with a soapy cloth
– Store with the basket inserted to block dust accumulation
– Never overload the basket—crowding forces grease into vents
Annual maintenance? Replace filters yearly even if they look clean—hidden grease degrades mesh efficiency. For persistent issues, contact Ninja support; 70% of “broken” units just need professional vent clearing.
Cleaning your Ninja air fryer vent every 5-10 uses takes less time than preheating the unit yet prevents 90% of performance failures. That restored crispy crunch on your fries? It’s your vent breathing freely again. Start today: unplug, locate that hidden filter, and reclaim factory-fresh results in 15 minutes flat—no special tools required. Your next batch of golden wings will thank you.


