
Stop wasting mornings watching pots bubble over or fishing cracked eggs from boiling water. Your Ninja Air Fryer transforms hard-boiled egg prep into a foolproof, water-free process that delivers consistently perfect results in under 15 minutes. No more sulfur smells, uneven cooking, or shell fragments in your breakfast—you’ll get smooth, creamy yolks every time with zero monitoring required. This guide reveals the exact Ninja Foodi settings tested across dozens of batches, so you can master hard-boiled eggs for meal prep, deviled eggs, or quick protein snacks without ever filling a pot.
Forget guesswork—this method works because the Ninja’s circulating hot air eliminates hot spots that plague stovetop boiling. You’ll learn why 300°F is the magic temperature, how to avoid the dreaded green yolk ring, and the ice bath trick that makes peeling effortless. Whether you’re a busy parent or meal-prep pro, these Ninja Air Fryer hard-boiled eggs will become your new kitchen staple.
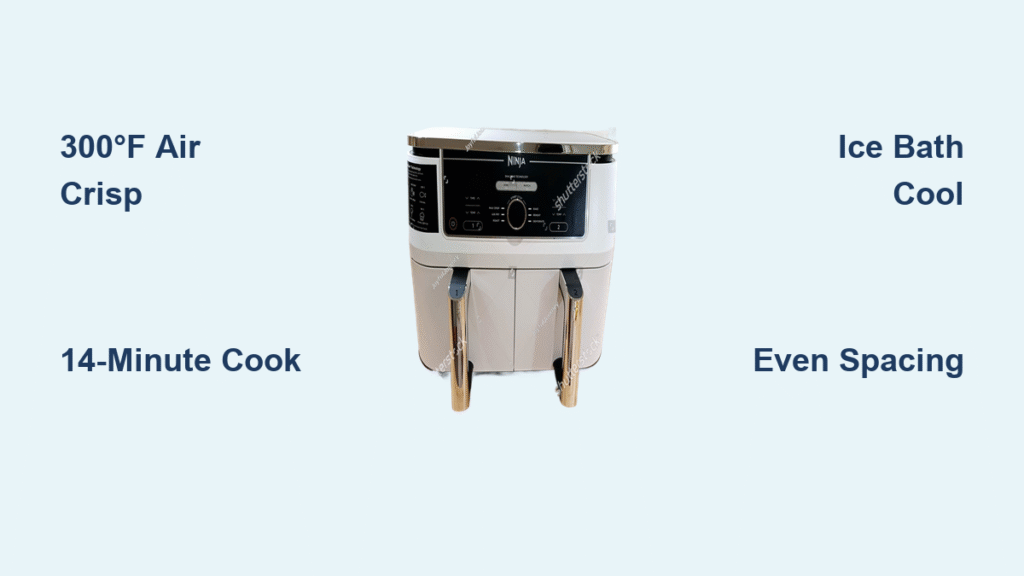
Ninja Foodi Settings for Flawless Eggs

Why 300°F Air Crisp Beats Boiling Water
Set your Ninja Foodi to Air Crisp mode at precisely 300°F—no preheating needed. This temperature creates optimal heat circulation that cooks eggs evenly from all sides, unlike water boiling where the bottom eggs overcook while top ones stay runny. The dry heat penetrates shells uniformly, preventing the green sulfur ring that forms when yolks overheat in water. You’ll notice the difference immediately: whites set firmly without rubberiness, and yolks stay vibrant yellow with that perfect creamy texture.
Critical insight: Cold eggs straight from the fridge work best here—no need to bring them to room temperature like stovetop methods require. The Ninja’s consistent airflow handles the temperature transition smoothly.
Exact Timing for Your Preferred Doneness
| Minutes | Result | Best For |
|---|---|---|
| 10-11 | Runny/jammy yolk | Ramen toppings, avocado toast |
| 12-13 | Firm white, slightly soft yolk | Salads, snacking |
| 14-15 | Fully set yolk, no green ring | Deviled eggs, meal prep |
Pro tip: Start checking at 14 minutes for your first batch. If yolks feel too soft when pressed gently (through paper towel), add 1 minute next time. Overfilling the basket is the #1 cause of undercooked centers—stick to the capacity rules below.
Basket Loading Rules for Even Cooking
- Maximum: 6 large eggs per batch (any more causes uneven results)
- Spacing: Maintain ½ inch between eggs—use a ruler if needed
- Positioning: Place eggs in a single layer, not touching sides
- Critical mistake to avoid: Never stack eggs or let them crowd together
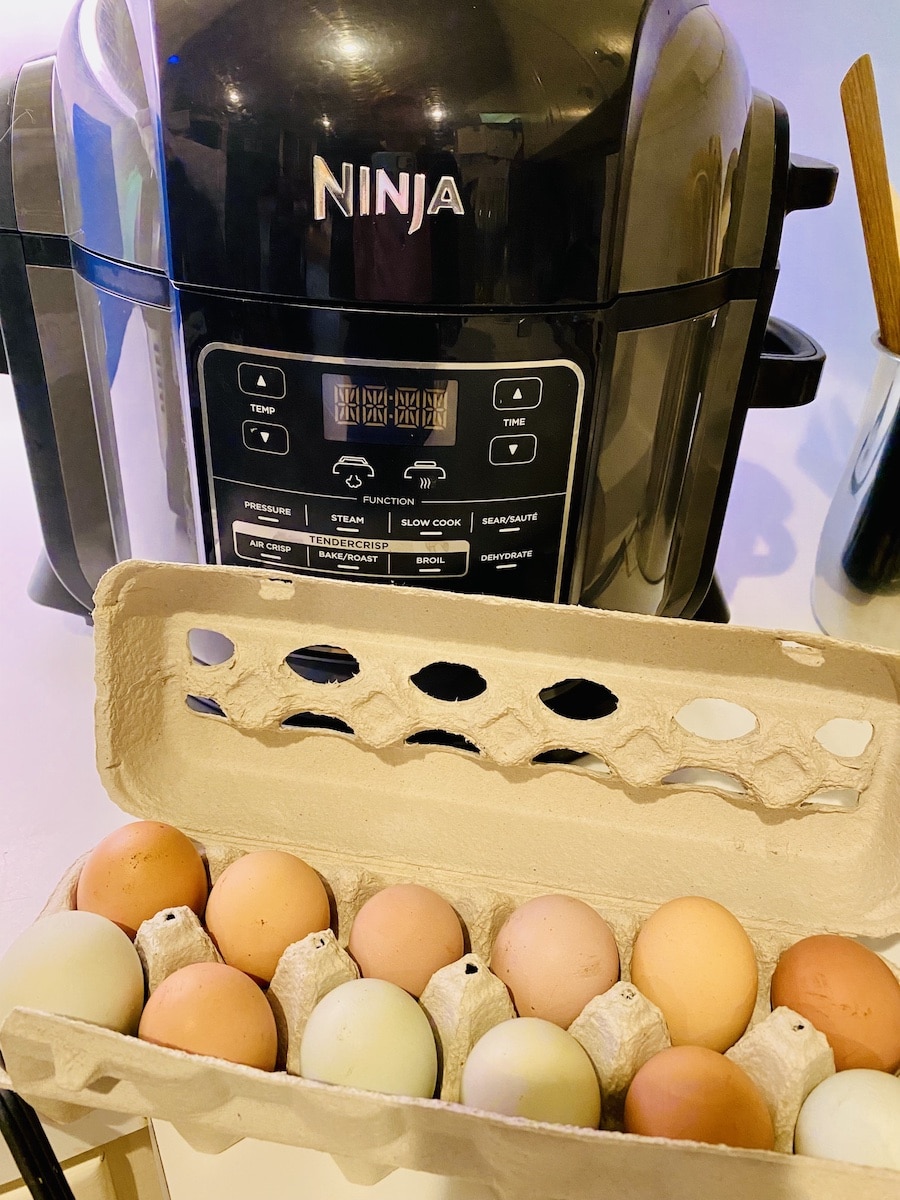
Step-by-Step Ninja Hard-Boiled Egg Method
Load and Program Your Foodi
Place cold eggs directly from the fridge into the clean basket, spacing them evenly. Select Air Crisp mode, dial to 300°F, and set the timer for your target doneness (14 minutes for classic hard-boiled). Close the lid and press start—no flipping or monitoring required. While they cook, prepare your ice bath: fill a large bowl with 2 cups ice plus cold water. This step is non-negotiable for easy peeling.
Time saver: Run this while making coffee—the entire process takes less time than your morning brew.
Ice Bath Technique That Guarantees Easy Peeling
The moment the timer dings, use tongs to transfer eggs immediately into the ice bath. Submerge completely for 5-10 minutes—this rapid cooling creates a steam pocket between the shell and membrane. Skimping here causes stubborn shells, so set a phone timer. You’ll know it’s working when you hear faint cracking sounds as the eggs contract.
Warning: Skipping this step makes peeling nearly impossible. Don’t even try it.
Foolproof Peeling Method
After cooling, gently tap each egg on the counter until the shell is webbed with cracks. Insert a spoon between the shell and egg white, rotating slowly to separate the membrane. The shell should slide off in large pieces with zero sticking. For extra-stubborn spots, peel under running water—the pressure helps lift fragments.
Pro move: Roll peeled eggs in everything bagel seasoning while still damp—it clings perfectly.
Fix These Common Ninja Egg Problems

Runny Centers After Full Cooking Time?
If yolks stay liquid at 15 minutes, your basket is likely overcrowded or eggs were too cold. Immediate fix: Add 1-2 minutes to your next batch. For prevention, leave eggs on the counter for 10 minutes before cooking, or reduce to 4 eggs per batch for better airflow. Never stack eggs—even one extra egg disrupts heat circulation.
Troubleshooting flow: Undercooked? → Check basket spacing → Reduce batch size → Increase time by 1 minute.
Green Ring Around Yolks?
This harmless but unappetizing discoloration means you’ve overcooked the eggs. Quick solution: Reduce time by 1-2 minutes (13 minutes max for firm yolks). The ring forms when sulfur in the yolk reacts with iron at high heat—your Ninja’s precise temp control prevents this when you stick to the timing chart.
Prevention tip: Set your phone timer 1 minute early as a reminder to check.
Shells Clinging to Whites?
Insufficient cooling is almost always the culprit. Guaranteed fix: Extend ice bath to 10 full minutes minimum. If peeling still frustrates you, add a teaspoon of salt to the ice water—it loosens the membrane. Never peel warm eggs; the residual heat makes whites stick to shells.
Peeling hack: Start at the wider end where air pockets form—it’s the natural separation point.
Storage and Safety Must-Knows
Refrigeration Rules That Prevent Dryness
Store unpeeled eggs in an airtight container for up to 5 days. For peeled eggs, layer them between damp paper towels in a sealed container to prevent drying at the edges. Always refrigerate within 2 hours of cooking, and keep your fridge at 40°F or below. Discard any eggs with cracks before cooking—they’re unsafe even if the shell looks intact.
Critical note: Peeled eggs absorb fridge odors quickly—never store them uncovered.
Food Safety Checkpoints
- Yolk temperature: Must reach 160°F (use instant-read thermometer if unsure)
- Danger zone: Keep eggs out of 40-140°F range for over 2 hours
- Ice bath necessity: Rapid cooling prevents bacterial growth during cooling
- Discard immediately: Any egg with sulfur smell or slimy shell
Meal Prep Power Applications
Weekly Protein Strategy
Cook 6 eggs every Sunday for grab-and-go breakfasts all week. They’re perfect for:
– Slicing onto avocado toast with everything seasoning
– Chopping into mason jar salads (keeps for 4 days)
– Packing in bento boxes with cherry tomatoes and almonds
– Making instant egg salad with 2 tbsp mayo and mustard
Time-saver: Cook double batches and freeze unpeeled eggs for emergency protein—thaw overnight in fridge.
Flavor-Infused Variations
While eggs cool in the ice bath, add game-changing twists:
– Spicy: 1 tsp hot sauce in the water for subtle heat
– Herbaceous: Toss in fresh dill or chives during cooling
– Umami boost: ½ tsp soy sauce in the ice bath
– Fiesta style: Roll warm eggs in Tajín before peeling
Pro tip: Season after peeling for maximum flavor control—residual moisture helps spices adhere.
Adapting for Other Air Fryers
Non-Ninja Model Adjustments
If you own a different brand, start at 250°F with a 2-minute preheat. Cook for 15 minutes, then check doneness. Compact models (like 3.7-qt units) may require 16-17 minutes due to weaker airflow. Always test with one egg first—your unit’s wattage drastically affects timing.
Troubleshooting: If yolks stay runny, increase temp by 10°F increments (max 270°F).
Size and Capacity Hacks
- Jumbo eggs: Add 1-2 minutes cooking time
- Mini fryers: Limit to 3 eggs with extra spacing
- Convection ovens: Reduce temp by 25°F (275°F instead of 300°F)
- Tray-style baskets: Rotate basket halfway through cooking
Critical reminder: Never exceed 6 large eggs regardless of basket size—crowding ruins results.
Master your Ninja’s egg personality: Your first batch teaches you its quirks. Note the exact time that gives your ideal yolk texture, then replicate it weekly. The beauty of this method? No water to boil, no shells to scrub, and no more guessing games. When you pull perfectly peeled hard-boiled eggs from your Ninja Air Fryer in just 15 minutes, you’ll wonder why you ever used a pot. Start with 14 minutes at 300°F tonight—you’ll have meal-prep ready by morning.


