

Tired of expensive juicers gathering dust while your Ninja blender sits idle? You can extract vibrant, nutrient-packed vegetable juice in minutes using the appliance already on your counter. Unlike dedicated juicers that discard pulp, your Ninja blender pulverizes entire vegetables—preserving fiber while delivering maximum nutrition. This guide reveals exactly how to transform your Ninja into a powerhouse juicing machine, whether you own the compact Nutri Pro or the industrial-strength Mega Kitchen System.
Forget complicated setups or wasted produce. With the right techniques, your Ninja blender creates silky-smooth juice rivaling $300 cold-press models. You’ll master vegetable ratios that prevent bitter flavors, discover the critical straining method for restaurant-quality texture, and learn seasonal recipes that boost immunity. Most importantly, you’ll never waste another beet top or carrot leaf again.
Ninja Blender Models That Actually Juice Well
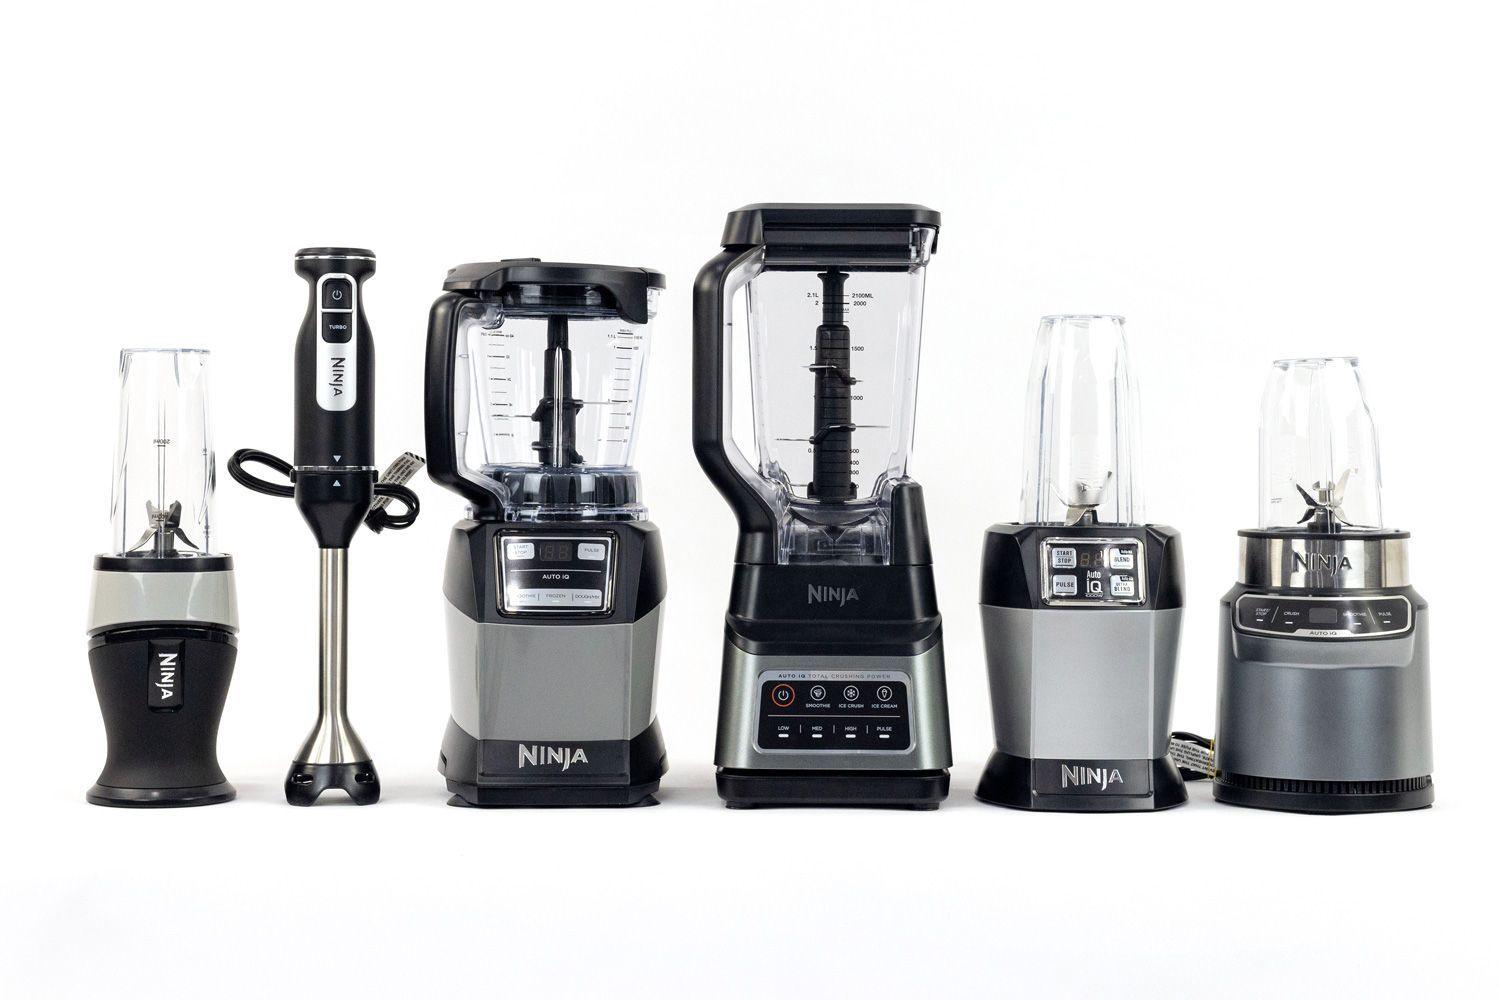
Professional Countertop Series Powers Through Fibrous Vegetables
The BL610 and BL660 models deliver 1000-1100 watts of crushing force through their 72-oz pitchers—essential for grinding tough beets and celery without overheating. Their stacked blade design creates a vortex that pulls vegetables downward, eliminating the need for constant tampering. When juicing dense produce like raw sweet potatoes, fill only halfway and add ½ cup extra water to prevent motor strain.
Mega Kitchen System Handles Family-Sized Batches Effortlessly
With a 1500-watt motor, the BL770 conquers hard vegetables in seconds. Use its 72-oz pitcher for 4-6 servings of red power juice, or switch to the 64-oz bowl for single-serve green blends. The secret? Start on Pulse mode to break down chunks before engaging High speed. This prevents the “chunky puree” problem that plagues weaker blenders when processing beets or carrots.
Compact Personal Blenders Excel at Single Servings
Models like the BL456 and BL480 (with 900-1000 watts) shine for individual juice portions in their 24-oz cups. Their compact size means you’ll use less produce—perfect for testing new combinations like ginger-kale tonics. Always add liquid first (½ cup per serving), then layer soft vegetables like tomatoes before hard items like carrots. The tamper tool included with most kits ensures no vegetable gets stuck near the blades.
Foodi Cold & Hot Blender Unlocks Nutrient-Rich Warm Tonics
The HB152’s heating element creates game-changing vegetable tonics. Warm vegetables release 23% more nutrients at 140°F—ideal for anti-inflammatory turmeric-ginger drinks. Heat chopped carrots and beets for 5 minutes before blending, then add cold spinach to preserve heat-sensitive vitamins. The integrated thermometer prevents overheating, while the 64-oz pitcher accommodates hearty batches.
Must-Have Tools for Perfect Juice Extraction
Skip these, and your juice will be pulpy or weak:
– Fine-mesh strainer or nut milk bag (essential for smooth texture)
– Rubber spatula (scrapes every drop of juice from pulp)
– Glass storage containers (16-32 oz with airtight seals)
– Sharp chef’s knife (prevents bruising during prep)
Upgrade your results with:
– Citrus juicer attachment (extracts every drop from lemons/limes)
– Vacuum sealer (extends freshness to 72 hours)
– Tamper tool (pushes stubborn pulp toward blades)
Vegetable Selection Secrets for Balanced Flavor
High-Yield Base Vegetables Prevent Costly Waste
Cucumbers form the ideal foundation with 96% water content—producing volume without overpowering flavor. Celery’s natural sodium content creates electrolyte-rich juice that hydrates better than water. For sweetness without sugar, use carrots (peel organic varieties only) or tomatoes (remove cores to avoid bitterness). Beets add stunning color but require straining through cheesecloth to eliminate grit.
Leafy Greens Need Special Handling to Avoid Fibrous Sludge
Spinach blends seamlessly without pre-treatment, but kale demands strategy. Tear leaves from tough stems, then pulse with ¼ cup water for 30 seconds before adding other vegetables. For Swiss chard, include colorful stems—they add natural saltiness and nutrients often discarded. Never exceed 2 cups of leafy greens per batch; they compress dramatically during blending.
Flavor Enhancers That Fix Common Taste Problems
Add ½-inch ginger to mask earthy beet flavors or ¼-inch turmeric for anti-inflammatory benefits (pair with black pepper to boost absorption). When juice tastes bitter, balance with ½ green apple—not sweetener. Parsley and cilantro combat metallic aftertastes while aiding detoxification. Start with small amounts (1 tablespoon herbs per quart), then adjust to preference.
Precision Cutting Techniques for Maximum Juice Yield
Wash vegetables in this order:
1. Soak in cold water + 1 tbsp white vinegar for 2-3 minutes
2. Scrub firm produce (carrots, beets) under running water
3. Rinse leafy greens in colander until water runs clear
4. Dry thoroughly—wet vegetables dilute juice
Cut vegetables to these exact sizes:
– Cucumbers: 1-inch chunks (peel waxed supermarket varieties)
– Carrots: ¼-inch coins (thinner than you’d chop for soup)
– Beets: ½-inch cubes (prevents motor strain)
– Celery: 2-inch pieces with leaves intact
– Tomatoes: Quartered with cores removed
Foolproof Base Juice Formulas That Never Fail
Green Vitality Blend (Beginner-Friendly)
Combine 2 cups cucumber chunks, 3 celery stalks, 1 cored green apple, 2 cups spinach, ½ peeled lemon, and 1-inch ginger. Add ½ cup cold water. This ratio ensures mild flavor even for kale skeptics—spinach provides nutrients without bitterness. Pro tip: Freeze the apple beforehand for a thicker, colder juice.
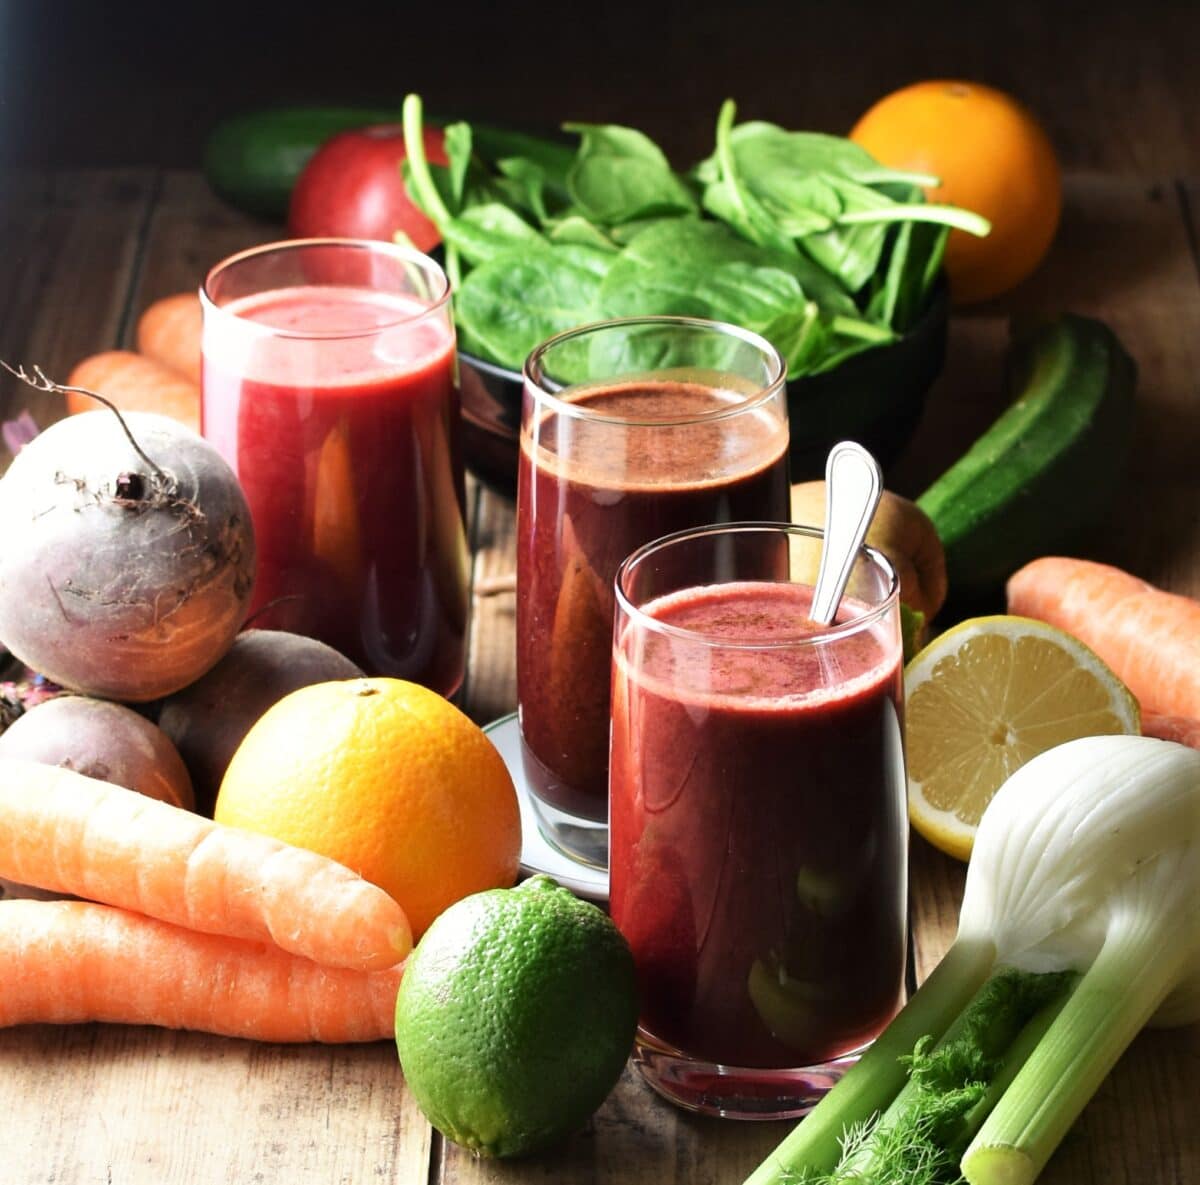
Red Power Juice (Nutrient-Dense)
Use 2 cubed beets, 3 sliced carrots, 1 seeded red bell pepper, 2 quartered tomatoes, ½-inch turmeric, and ¼ tsp black pepper. The tomatoes’ acidity balances earthy beets, while black pepper triples curcumin absorption from turmeric. Critical step: Strain twice—first through a mesh strainer, then a nut milk bag—to eliminate beet grit.
Golden Immunity Elixir (Winter Favorite)
Blend 3 large carrots, 2 peeled oranges, 1-inch ginger, ½ tsp turmeric, pinch of cayenne, and ¼ cup coconut water. Oranges add natural sweetness so no apple is needed, while coconut water preserves electrolytes. Warning: Never skip the cayenne—it enhances nutrient uptake but use sparingly (⅛ tsp max per quart).
Direct Blending Method: 90-Second Juice in 3 Steps
Layer ingredients correctly:
1. Liquids first (water, coconut water)
2. Soft vegetables (tomatoes, oranges)
3. Hard vegetables (carrots, beets)
4. Leafy greens on top
Blend using this sequence:
– LOW speed for 15 seconds (breaks down large chunks)
– HIGH speed for 45 seconds (creates vortex)
– PULSE 3 times (dislodges air pockets near blades)
Texture troubleshooting:
If too thick, add liquid 2 tablespoons at a time. If too watery, include ¼ avocado—it adds creaminess without dairy. Stop blending immediately when smooth; over-processing creates foam that dilutes flavor.
Strained Juice Technique for Restaurant-Quality Smoothness
After blending to a smooth puree, place a fine-mesh strainer over a large bowl. Pour small amounts (1 cup at a time) and press pulp with a rubber spatula in circular motions. For silky texture, transfer strained juice into a nut milk bag suspended over the bowl. Twist the bag tightly and squeeze—this extracts every drop while removing microscopic fibers. Key insight: Beet-based juices require double-straining; single-straining leaves gritty residue.
Fix Common Blending Disasters in Seconds

Overheating Solutions That Save Your Motor
If the blender shuts off mid-cycle, reduce batch size by ⅓ and add ¼ cup water. For fibrous vegetables like kale, pulse 10-second intervals with 20-second rests. Replace dull blades every 6 months with weekly juicing—dull blades strain motors and create heat. Never ignore burning smells: Unplug immediately and let cool 15 minutes.
Foam Reduction Tactics for Clear Juice
Add 1 teaspoon olive oil during blending—it breaks surface tension without altering flavor. Start at LOW speed for 10 seconds before increasing to HIGH. Remove foam with a spoon before straining; it contains oxidized compounds that cause bitterness. For persistent foam, strain through a coffee filter—time-consuming but effective.
Bitter Taste Fixes That Save Your Batch
Peel waxed cucumbers (bitter compounds concentrate in skin) and remove beet greens/carrot tops before juicing. Balance bitterness with ½ green apple or 2 mint leaves—not sugar. If juice turns out too earthy, add 1 tablespoon lemon juice and re-blend 10 seconds. Pro move: Freeze bitter batches into ice cubes for smoothies instead of discarding.
Storage Hacks That Preserve Nutrients for 48 Hours
Fill glass containers to the brim to minimize oxygen exposure—air causes rapid nutrient loss. Add 1 tablespoon lemon juice per 16 oz to slow oxidation (vitamin C preserves color and enzymes). Store at 35-40°F in the main fridge compartment—not the door where temperatures fluctuate. Critical rule: Consume within 24 hours for maximum enzymes; after 48 hours, nutrients degrade by 50%.
Transform Pulp Into Zero-Waste Gold
Don’t toss that fiber-rich pulp! Simmer with onion, garlic, and herbs for 30 minutes to create vegetable broth base. For seasoning powder, dehydrate pulp at 135°F for 8 hours, then grind in your Ninja’s dry blade. Mix pulp with oat flour and egg for dog treats (bake 20 minutes at 350°F). Gardening tip: Bury pulp directly in garden soil—it decomposes in 2 weeks, enriching beds naturally.
Cleaning Protocol That Prevents Stains and Odors
Immediately after juicing, fill the pitcher with warm water and 1 drop dish soap. Blend 30 seconds on HIGH, then rinse all parts thoroughly. For stubborn carrot stains, soak the pitcher in 1:3 vinegar-water solution for 10 minutes. Never skip this: Remove the blade assembly weekly to clean trapped pulp under the gasket—mold grows here within 48 hours. Air-dry all components completely before storage.
Maximize your Ninja blender’s juicing potential by starting with the Green Vitality Blend—its forgiving ratios build confidence. Within two weeks, you’ll graduate to complex seasonal recipes like Fall Harvest Blend (raw sweet potato adds creaminess without cooking). Remember: juice tastes best when consumed immediately, so blend only what you’ll drink within 20 minutes. Store any extras with lemon juice in amber glass containers to block light degradation. With these techniques, your Ninja blender becomes a nutrition powerhouse that costs pennies per serving—no expensive juicer required.


