
Your Ninja blender can transform cold heavy cream into cloud-like whipped perfection faster than you can say “dessert emergency.” Forget hand-whisking for 10 minutes or buying pricey aerosol cans—this powerhouse kitchen tool delivers stiff peaks in under 90 seconds with zero arm fatigue. Whether you’re topping last-minute sundaes or piping rosettes for a dinner party, mastering how to make whipped cream in a ninja blender means restaurant-quality results at the push of a button.
The secret? Your Ninja’s vortex action whips air into cream 3x faster than stand mixers while creating a uniquely stable texture that holds firm for hours. No more deflated dollops on warm pies or grainy disasters. With precise temperature control and these Ninja-specific techniques, you’ll never settle for store-bought again. Let’s unlock your blender’s dessert superpower.
Ninja Blender Models That Whip Cream Perfectly (Plus Must-Have Ingredients)
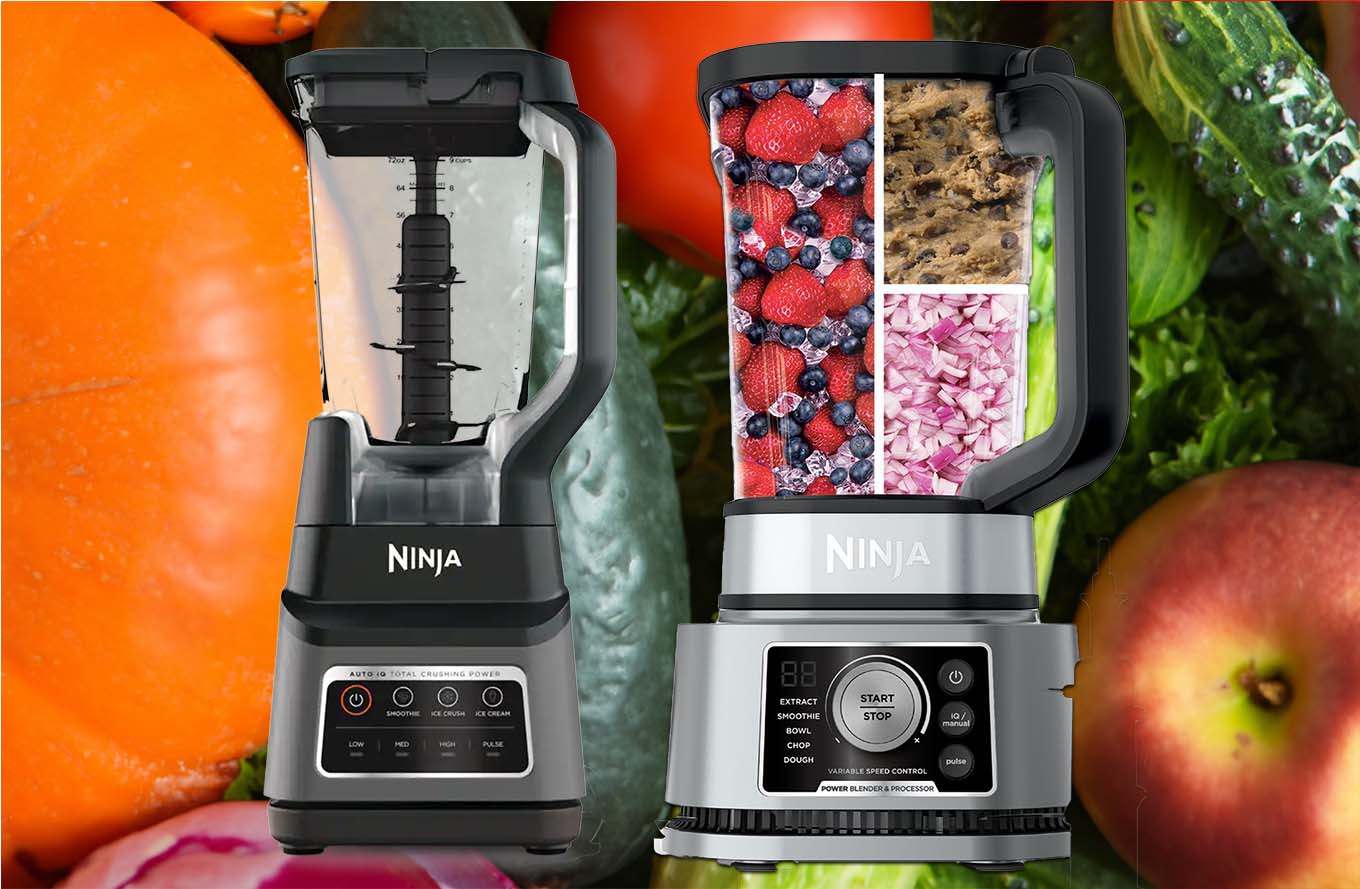
Every Ninja model succeeds—from compact Nutri Ninja cups to the Foodi Kitchen System—when armed with the right ingredients. Cold heavy cream (35-40% milk fat) is non-negotiable; lighter creams won’t thicken properly. For one cup of liquid cream, you’ll need:
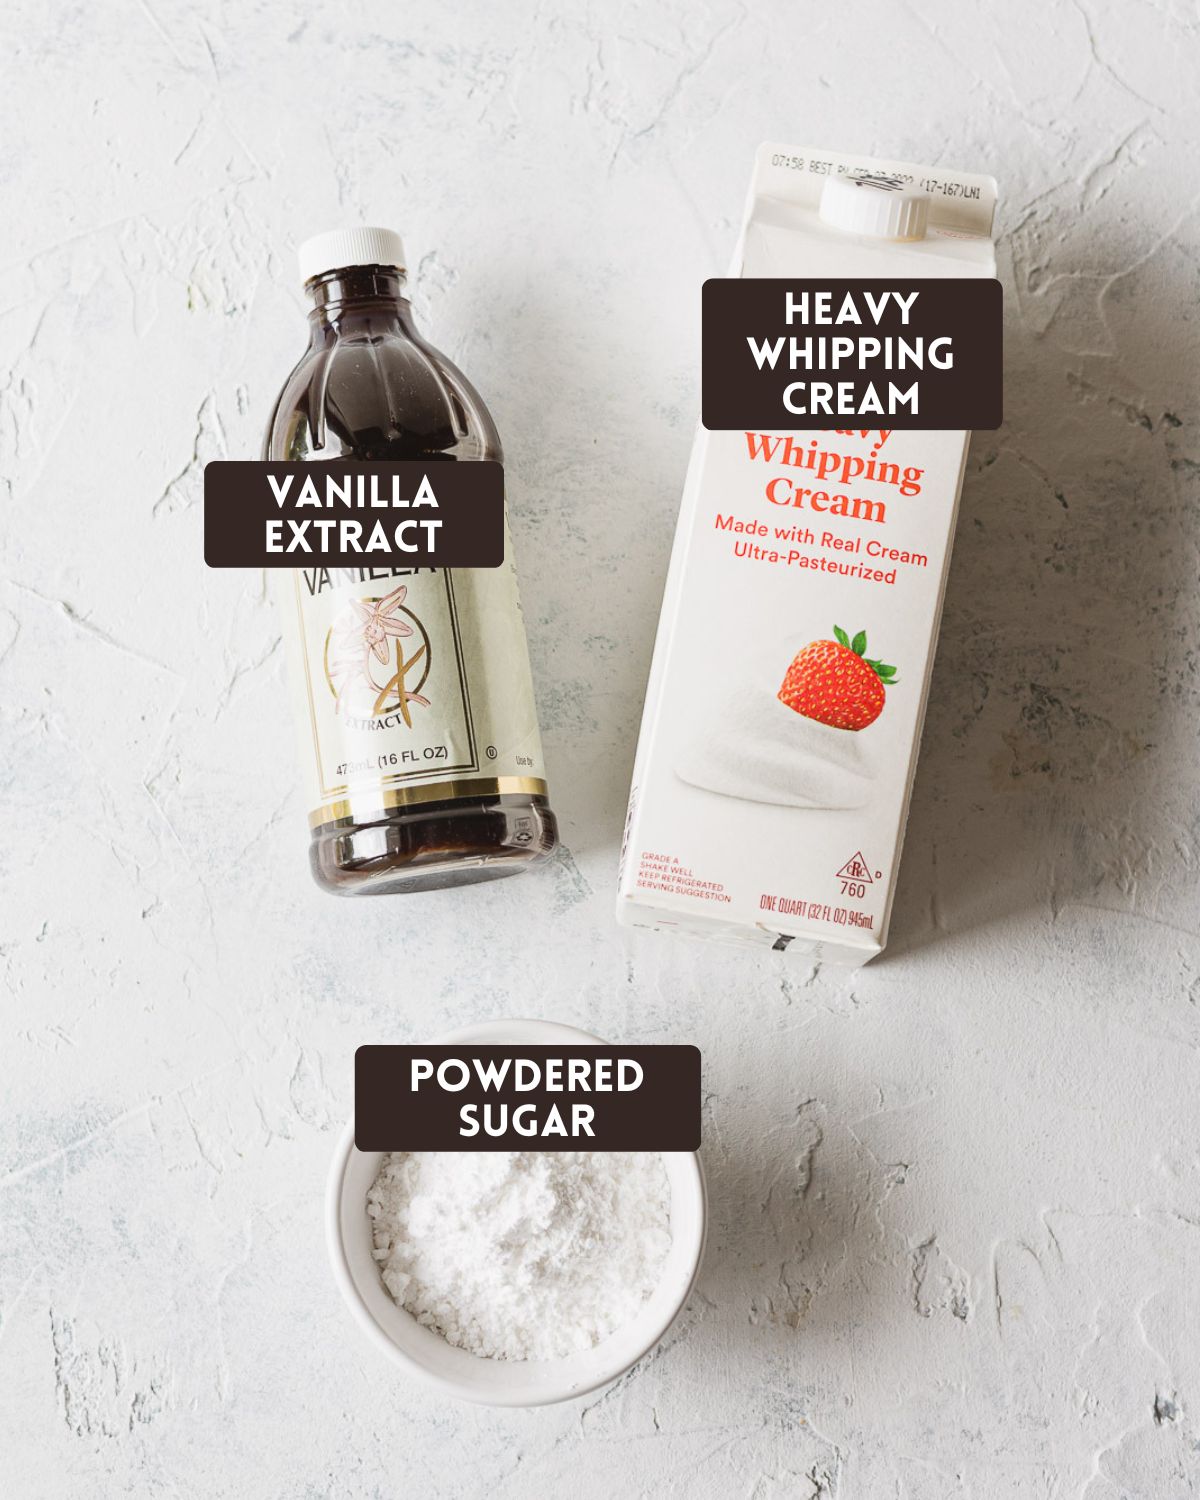
- 1 cup chilled heavy whipping cream (straight from the fridge)
- 1-3 tbsp powdered sugar (granulated won’t dissolve)
- ½ tsp vanilla extract (optional but recommended)
Pro flavor boosters that won’t ruin texture:
– Chocolate: 1-2 tbsp cocoa powder (sifted)
– Coffee: 1 tsp instant coffee dissolved in ½ tsp hot water
– Fruit: 1-2 tbsp freeze-dried fruit powder (strawberry, raspberry)
Never add liquid extracts beyond vanilla—they break the emulsion.
The 30-Minute Cold Trick That Saves 90% of Whipped Cream Disasters
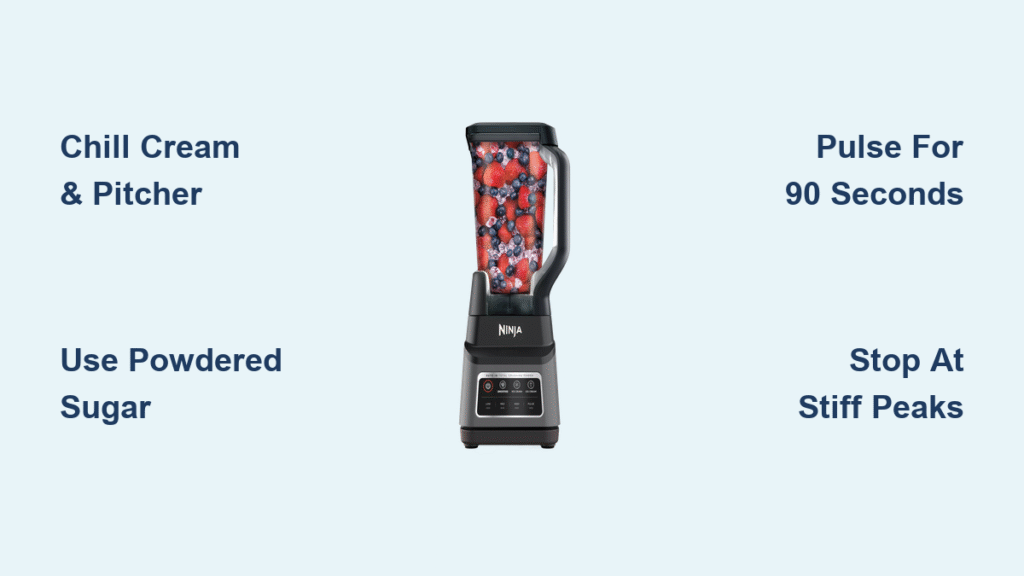
Temperature failure causes grainy or butter-like results 90% of the time. Your cream must stay below 40°F (4°C) throughout blending. Here’s your pre-chill protocol:
- Refrigerate heavy cream for 15+ minutes (don’t skip this—room-temp cream won’t whip)
- Chill Ninja pitcher and blade assembly in fridge for 15 minutes
- Pop empty pitcher in freezer for 10 minutes while measuring
Visual cue: Frost should form on the pitcher’s exterior before adding cream.
Critical mistake to avoid: Warming the pitcher with your hands. Hold it by the handle only—body heat melts fat crystals needed for structure.
Exact Cream-to-Sugar Ratios for Your Ninja Pitcher
Overfilling causes messy overflow; underfilling prevents proper blade engagement. Follow these Ninja-specific volume rules:
| Pitcher Size | Minimum Cream | Maximum Cream | Sweetness Guide |
|---|---|---|---|
| Single-serve cup | ¼ cup | ½ cup | ½ tbsp sugar |
| Standard pitcher | ½ cup | 1½ cups | 1-2 tbsp sugar |
| Mega pitcher | 1 cup | 2 cups | 2-3 tbsp sugar |
Why powdered sugar? Its cornstarch stabilizes peaks without dissolving issues. For stiff peaks (piping/decorating), use 3 tbsp sugar per cup of cream. For soft peaks (coffee/fruit topping), use 1 tbsp.
3 Ninja-Specific Blending Methods for Fluffy Peaks in 90 Seconds
Pulse Technique: Zero Over-Whipping Guarantee
This beginner-friendly method gives total control. Never exceed 90 seconds total blending time:
- Initial burst: 2-3 quick 1-second pulses (cream will look liquid)
- Check texture: Cream should coat pitcher walls like paint
- Build gradually: Shift to 2-second pulses every 5 seconds
- Stop instantly when trails form behind the blade (soft peaks)
Warning sign: If cream turns yellow or grainy, you’ve started making butter—stop immediately.
Variable Speed Control: Texture Precision
For stiff peaks in exactly 65 seconds:
– Speed 1 for 10 seconds (creamy swirls form)
– Speed 3 for 25 seconds (thick “ribbons” appear)
– Speed 2 for final 10 seconds (peaks hold shape)
Pro tip: Pause blending every 15 seconds to scrape sides with a cold spatula.
Auto-iQ Programs: Set-and-Forget Success
Compatible models only (Nutri Ninja Pro, Foodi):
– “Blend” program: 15 seconds for soft peaks
– “Puree” program: 22 seconds for stiff peaks
Always finish with 3 manual pulses—even with Auto-iQ—to perfect texture.
Rescue Over-Whipped Cream in 60 Seconds (Ninja Fixes)
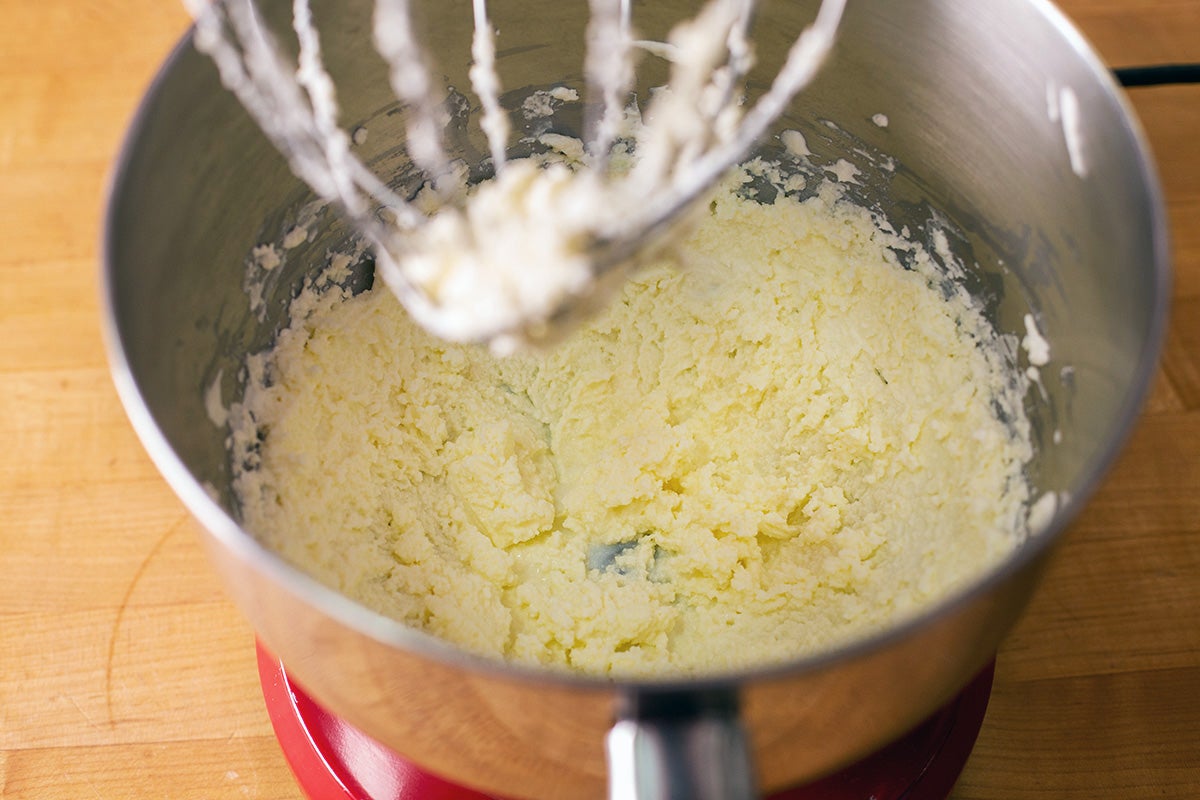
When Cream Turns Grainy or Yellow
This means you’re making butter—but you can save it:
- Stop blending immediately (don’t wait even 5 seconds)
- Add 1-2 tbsp fresh cold cream through the lid opening
- Fold gently by hand with a spatula—no more blending!
- Pulse 3 seconds max only if still lumpy
When Cream Won’t Thicken After 2 Minutes
Temperature and fat content are the culprits:
– Check cream is labeled “heavy whipping” (35%+ fat)
– Return pitcher to fridge 15 minutes if kitchen is warm
– Ensure blade clicks securely into pitcher base (a loose blade won’t whip)
Store Ninja-Blended Whipped Cream for 48 Hours Without Deflating
Refrigerator Storage That Works
Transfer immediately to an airtight container—whipped cream deflates fast at room temperature. For longest freshness:
- Press plastic wrap directly onto cream surface to prevent weeping
- Store for 24-48 hours max (discard if watery or sour-smelling)
- Revive texture: Hand-whisk 10 seconds before serving
Freezer Hacks for Emergency Desserts
Pipe dollops onto parchment-lined tray → freeze 2 hours → store in bags 2 months. Thaw 5 minutes at room temperature before topping hot chocolate or pie. Never refreeze thawed whipped cream.
5 Flavor Hacks for Ninja-Blended Whipped Cream (No Extra Cleanup)
Stabilized Cream for Hot Weather
Add 2 oz softened cream cheese with your sugar for humidity-proof peaks that hold shape 3x longer. Perfect for summer weddings.
Layered Flavor Trick
Make vanilla cream → transfer to piping bag → add cocoa powder directly to pitcher → blend 15 seconds for chocolate cream → layer in glasses. No pitcher washing between batches!
Sugar-Free Option
Replace sugar with powdered erythritol (1:1 ratio). Avoid liquid sweeteners—they prevent whipping.
Clean Your Ninja Pitcher After Whipping Cream in 2 Minutes
Dried cream residue ruins future batches. Do this immediately:
- Rinse with COLD water (hot water cooks proteins onto blades)
- Fill pitcher halfway with warm soapy water
- Run 10 seconds on “Clean” cycle
- Air-dry upside down—never towel-dry blades
Check for blade nicks monthly—a damaged blade creates uneven texture.
Homemade vs. Store-Bought: Ninja Whipped Cream Saves $0.40/Cup
Your cost per cup:
– Heavy cream: $0.40
– Powdered sugar: $0.05
– Total: $0.45 (yields 3 cups whipped)
Store-bought comparison:
– Aerosol can: $1.10/cup (with propellants and preservatives)
– Tub from fridge section: $0.75/cup (artificial stabilizers)
Plus: Zero palm oil, carrageenan, or nitrous oxide—just pure cream and sugar.
90-Second Ninja Whipped Cream: Exact Timing Cheat Sheet
From fridge to finished:
– 0:00-1:30: Blend using pulse method
– 1:31-1:45: Transfer to piping bag
– 1:46-2:00: Pipe rosettes onto dessert
Critical timing windows:
– 45 seconds: Soft peaks (melts into coffee perfectly)
– 65 seconds: Stiff peaks (holds decorative shapes)
– 76+ seconds: Butter risk zone (stop at 75!)
Your Ninja blender just became the MVP of dessert hour. With how to make whipped cream in a ninja blender mastered, you’ll create picture-perfect toppings in less time than it takes to preheat an oven. Start with the pulse method using chilled heavy cream and powdered sugar—then experiment with stabilized cream for summer parties or layered flavor combos. Remember the golden rule: cold gear, precise timing, and never overfilling the pitcher. In under 2 minutes, you’ll have fresher, creamier, and cheaper whipped perfection that store shelves can’t match. Next time dessert cravings strike, reach for your Ninja—not the grocery aisle.


