
Your Ninja blender suddenly starts leaking from the bottom during use, creating messy puddles on your countertop. That black rubber ring around the blade base—the gasket—is likely failing. This critical component creates the watertight seal between your blender’s blade assembly and container. When it wears out, you’ll experience frustrating leaks and compromised blending performance.
Replacing your Ninja blender’s rubber seal properly takes less than 15 minutes with basic household items. This guide provides verified steps based on official Ninja documentation to help you identify seal problems, find the correct replacement, and install it correctly—avoiding common mistakes that lead to continued leaking.
Identify Failing Seal Symptoms Before Replacement
Visible liquid leakage during operation: The most obvious sign appears when liquid seeps between the blade base and container while blending. You’ll notice drips forming underneath the pitcher or pooling on your counter—never ignore this warning sign.
Reduced blending efficiency: A worn seal creates air gaps that disrupt the vortex blending action. Your smoothies come out inconsistently textured rather than uniformly smooth, requiring extended blending time.
Black rubber particles in beverages: Degrading seals shed tiny particles that appear as black specks in your drinks—a clear indicator your seal needs immediate replacement.
Loose blade assembly: When removing the pitcher, the blade unit wobbles or feels less secure than when your blender was new, indicating the seal no longer provides proper tension.
Persistent unpleasant odors: Trapped food particles beneath deteriorating seals create stubborn smells that transfer to fresh ingredients, even after thorough cleaning.
Locate Your Exact Ninja Model Number for Seal Compatibility

Check the motor base sticker: Turn your blender base upside down and locate the white or silver sticker near the power cord entry. The model number begins with “BL” followed by specific digits (BL660, BL770, etc.).
Examine the pitcher container: Many Ninja models display the model number on the pitcher handle or near the pour spout—look closely as these markings can wear over time.
Review original documentation: If you kept your Ninja blender manual, the model number appears on the front cover and specifications section.
Take reference photos: Capture clear images of all identifying marks with your phone to ensure accurate part matching when ordering replacements.
Verify through Ninja’s official channels: Visit Ninja Kitchen’s customer support page to cross-reference your blender’s appearance with their model gallery if physical markings are illegible.
Purchase the Correct Replacement Seal for Your Model
Order genuine Ninja parts: Purchase directly from NinjaKitchen.com using your verified model number. Official seals typically cost $6-12 with reliable 2-5 day shipping.
Confirm Amazon compatibility: When searching “Ninja [your model] gasket,” carefully verify product listings match your exact model number—many similar-looking blenders require different seal sizes.
Consider multi-pack value: Buying 3-5 seals for $10-15 provides spares for future replacements, as most Ninja owners replace seals annually with regular use.
Evaluate aftermarket options cautiously: Third-party seals cost less but may have slight dimensional differences affecting performance. Always check return policies before purchasing.
Verify physical dimensions: Most Ninja seals measure approximately 3.5 inches outer diameter with 2.75 inches inner diameter—compare these measurements to your old seal before installation.
Prepare Your Workspace and Tools for Safe Replacement
Gather essential items:
– New rubber seal matching your model
– Warm soapy water solution
– Clean microfiber towel
– Small bowl for seal soaking
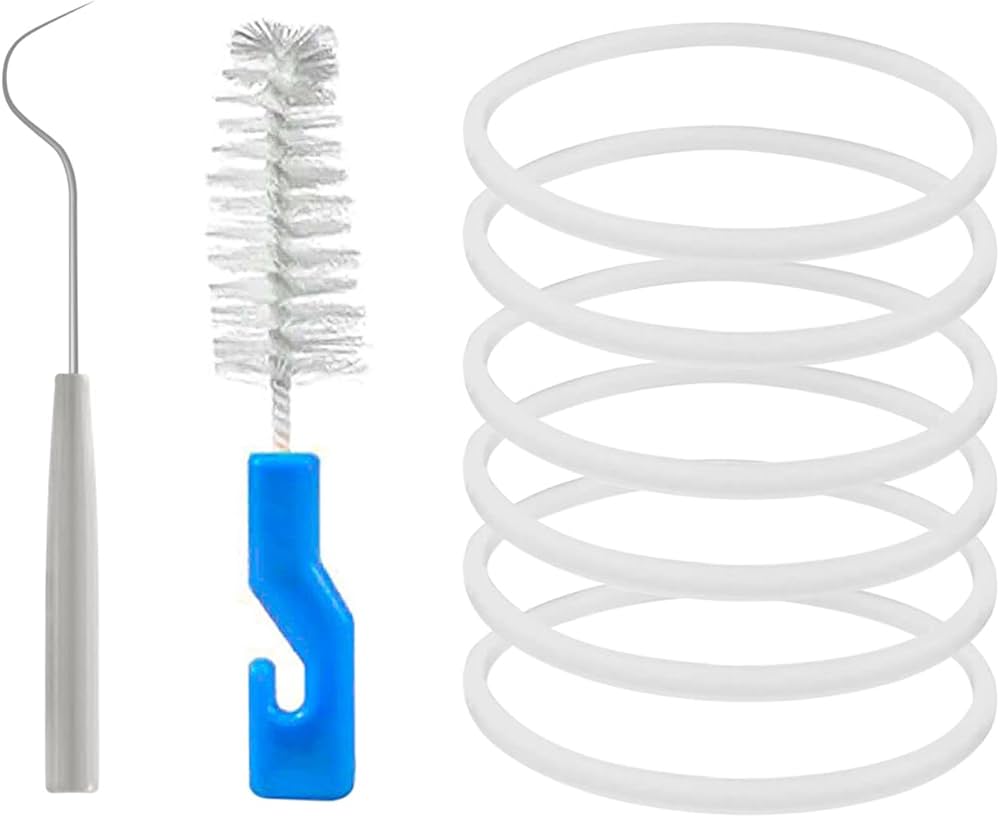
Recommended additional tools:
– Soft-bristled toothbrush for gentle cleaning
– White vinegar solution for sanitizing (1:1 with water)
– Non-slip rubber gloves for better grip on small parts
Workspace setup: Clear a well-lit countertop area, place a towel to catch drips, and ensure all components are completely cool before beginning.
Critical safety step: Unplug your Ninja blender from the power source—never attempt repairs while the unit remains connected to electricity.
Remove the Old Rubber Seal Without Damaging Components
Detach blade assembly correctly: Hold the pitcher firmly and twist the blade assembly counterclockwise to separate it from the container base. Lift straight up to avoid contact with sharp blades.
Locate the seal retention groove: Identify the shallow channel around the blade assembly’s outer edge where the rubber seal rests—this groove must be completely clean for proper new seal seating.
Remove seal gently: Use your fingernail to lift one corner of the old seal, then carefully work your way around the circumference, pulling evenly to avoid stretching or tearing.
Thoroughly inspect the groove: Check for food debris, mineral deposits, or rubber fragments stuck in the channel—these prevent proper new seal seating and cause immediate leaks.
Deep clean the assembly: Wash the blade unit in warm soapy water, using a soft brush to clean the seal groove. Rinse thoroughly and dry completely before proceeding.
Install Your New Rubber Seal Properly
Condition the new seal: Soak the replacement rubber seal in warm water for 30 seconds to increase flexibility and ease installation—this simple step prevents tearing during placement.
Identify correct orientation: Most Ninja seals have one flat surface and one slightly rounded edge. The flat side must face downward toward the blade assembly for proper sealing.
Position strategically: Place the seal at 12, 3, 6, and 9 o’clock positions first before working it into the groove—this ensures even tension and prevents twisting.
Seat completely: Gently press the seal into the groove all the way around, checking frequently that it sits flush with no gaps or raised sections that would compromise the seal.
Test Your New Seal Installation Thoroughly

Perform dry alignment check: Reattach the blade assembly to the empty pitcher and twist until you feel resistance. The assembly should sit perfectly level with no wobbling.
Conduct water test: Fill the pitcher with 2 cups of water, blend on low for 10 seconds, then carefully check for any leakage around the blade assembly.
Apply pressure test: Increase to high speed for 30 seconds while monitoring for seepage—any moisture indicates improper seal seating requiring reinstallation.
Verify under working conditions: After passing initial tests, blend a small smoothie to confirm everything functions correctly under normal blending loads before regular use.
Avoid These Common Seal Replacement Mistakes
Incorrect seal orientation: Installing the seal upside down creates immediate gaps and leaks. Always verify the flat side faces the blade assembly base.
Twisted or kinked installation: A seal with even a small twist won’t create proper compression. Remove and reinstall if you notice any irregularities during seating.
Over-stretching during installation: Pulling the seal excessively makes it loose and ineffective. Replace any seal that shows signs of over-stretching immediately.
Inadequate groove cleaning: Failing to remove all old residue prevents the new seal from seating flush. Always clean the groove thoroughly before installation.
Improper reattachment technique: Forcing the blade assembly when reattaching can damage threads. Align properly before twisting and stop when you feel solid resistance.
Maintain Your New Seal for Maximum Lifespan
Daily quick rinse: Rinse the seal area after each use to prevent food buildup—just 30 seconds of running water significantly extends seal life.
Weekly deep cleaning: Remove the seal weekly for thorough washing to prevent odor development and maintain rubber flexibility.
Avoid dishwasher exposure: High temperatures in dishwashers accelerate rubber degradation. Always hand wash seals in warm, not hot, water.
Proper storage of spares: Keep replacement seals in a sealed plastic bag away from direct sunlight—heat and UV rays degrade rubber quality quickly.
Follow recommended replacement schedule: Replace seals every 6-12 months with regular use, or immediately if any leaks develop despite proper installation.
Your Ninja blender should now operate without messy leaks or performance issues. Keep one spare seal on hand for quick future replacements—having the correct part ready saves frustration when leaks inevitably develop again. With proper installation and maintenance, your new seal will provide reliable, leak-free blending performance for months to come. For persistent issues after correct seal replacement, contact Ninja Kitchen customer support directly for model-specific troubleshooting assistance.


