
That pulsing white light on your Ninja blender while it refuses to start is more than just annoying—it’s ruining your morning smoothie routine. When you’re standing there with frozen fruit and protein powder ready, that blinking white indicator means your blender has hit an immediate safety stop. The good news? In 90% of cases, this is a simple fix you can complete in under five minutes without tools or technician help.
This blinking white light specifically signals correctable issues—not catastrophic failure. Unlike a solid red alert, white blinking typically points to assembly errors, thermal overload, or power hiccups. By the end of this guide, you’ll know exactly why your Ninja Professional, Auto-iQ, or Nutri Pro model is flashing white and how to get it blending again immediately.
Why Your Ninja Blender Blinks White Instead of Starting
Your Ninja’s white blinking light activates when safety sensors detect preventable operational risks. This isn’t a random glitch—it’s your blender deliberately shutting down to avoid damage. The most frequent trigger? Pitcher misalignment where the handle faces forward instead of the required 45-degree angle left or right. Other common culprits include improperly seated blade assemblies, thermal overload from thick smoothies, or unstable power delivery.
Critical distinction: White blinking means “fix this simple issue,” while solid red indicates internal component failure. If your pitcher rocks when pressed or the lid lifts without force, you’ve found your problem. For Professional Series models (BL610/BL660/BL740), forward-facing handles trigger this 70% of the time. Auto-iQ models (BL480/BL642) often display “Err” alongside the blinking light when program sensors detect misalignment.
30-Second Visual Inspection Before Disassembly
Skip straight to troubleshooting with this rapid diagnostic check while your blender remains assembled:
Look for telltale signs:
– Gap between pitcher bottom and motor base (even 1mm triggers sensors)
– Lid arrows misaligned with pitcher markings
– Blade assembly wobbling when gently touched
– Handle positioned straight forward (dead giveaway for Professional Series)
Feel for critical flaws:
– Pitcher lifts slightly when pushed at the base
– Lid moves when pulled (should be immovable when locked)
– Blade assembly spins freely by hand (should have slight resistance)
If you spot any of these during your visual scan, skip disassembly—correcting these alignment issues alone will resolve the blinking white light 80% of the time. Never force the pitcher into place; proper engagement should feel secure but not strained.
Correct Pitcher and Blade Assembly in 4 Steps

Position Handle for Your Specific Model
Ninja Professional Series (BL610, BL660, BL740):
Rotate handle to 45 degrees left or right—never straight forward. Twist clockwise until you feel firm resistance. Forcing it forward triggers the white light as a safety interlock. If over-tightened, the pitcher won’t seat properly, causing identical blinking.
Auto-iQ Series (BL480, BL482, BL642):
Handle alignment depends on selected program. When correctly positioned, the touchscreen should display “Auto-iQ Ready.” Incorrect seating shows “Err” with blinking white light. Test by rotating handle slightly while watching the display.
Nutri Pro Models (BL450, BL455):
Twist cup clockwise until you hear one distinct click. Stop immediately—over-rotation beyond the click point triggers the same alert as under-tightening. The cup should feel solid, not loose or overly stiff.
Secure Blade Assembly Properly
- Unplug and remove pitcher from motor base
- Check blade seating—press down firmly until drive shaft engages (shouldn’t spin freely)
- Rotate blades by hand—they should turn with noticeable resistance
- Reinstall pitcher while maintaining downward pressure during twist
Pro tip: If blades spin easily when touched, the assembly isn’t locked onto the drive shaft. Remove and reseat firmly—listen for the subtle “thunk” indicating full engagement.
Reset Thermal Overload in Under 15 Minutes
Thick nut butter or frozen fruit blends frequently trigger thermal protection, causing white blinking after 45-60 seconds of operation. Do not ignore this warning—continuing could burn out the motor.
Immediate action sequence:
1. Unplug immediately and remove pitcher
2. Wipe ventilation slots on motor base with damp cloth
3. Wait 15+ minutes (30 minutes for dense mixtures like frozen acai)
4. Test with empty pitcher before adding ingredients
Prevent recurrence: Always add liquid first, pulse frozen items initially, and never exceed 60-second continuous blending. Allow 60-second rest periods between cycles—your blender’s thermal sensor needs this cooldown time.
Eliminate Power Supply Issues in 3 Checks
White blinking often indicates unstable voltage rather than blender failure. Test your power source before disassembling anything:
- Plug directly into wall outlet—never use extension cords
- Check GFCI outlets in kitchen/bathroom (reset if tripped)
- Verify circuit stability by testing with high-wattage appliance like a toaster
Critical inspection points:
– Examine cord for kinks near motor base entry point
– Ensure plug prongs aren’t bent or corroded
– Confirm outlet delivers consistent 110-120V (use multimeter)
If other high-draw appliances cause flickering lights, your circuit is overloaded—move blender to a dedicated kitchen circuit.
Model-Specific Reset Buttons and Procedures

Professional Series hidden reset:
Locate the recessed button underneath the motor base. Insert a straightened paperclip and hold for 3 seconds. You’ll hear a faint click—reassemble and test. This resets the safety interlock system.
Auto-iQ hard reset:
1. Unplug for 30 seconds
2. Hold power button for 10 seconds while plugging back in
3. Release button after “beep” confirms reset
Nutri Pro twist reset:
Remove pitcher, rotate cup counter-clockwise 10 degrees, then retighten clockwise until single click. Over-tightening is the #1 cause of persistent blinking in compact models.
When to Suspect Component Failure

If white blinking continues after perfect reassembly and cooling, isolate the faulty component:
- Test pitcher on another Ninja base (same model line)
- Try known-working pitcher on your motor base
- Check for warning signs:
– Burning smell during operation
– Grinding noises from motor
– Visible cracks in pitcher base
– Sporadic blinking when untouched
Do not continue using if you detect electrical issues like sparking or outlet heating. Persistent blinking after all troubleshooting indicates motor control board failure requiring professional service.
Prevent Future Blinking with 3-Minute Maintenance
Weekly routine:
– Disassemble and wash all components in warm soapy water
– Clean motor base contacts with alcohol-dampened cotton swab
– Inspect blade assembly for wear (replace if wobbly)
– Store pitcher separate from base to prevent seal compression
Operational must-dos:
– Always load liquids first, then soft ingredients, frozen items last
– Never exceed fill lines—overfilling strains the motor
– Use pulse function for initial 5 seconds with thick mixtures
– Allow 60-second rests between blending cycles
Emergency Protocol for Smoke or Burning Smell
If you see smoke:
1. Unplug immediately without touching metal parts
2. Never use water—smother with baking soda or Class C extinguisher
3. Do not open motor base—risk of electrical shock
4. Document damage with photos for warranty claim
Prevention checklist:
– Always operate with dry hands on GFCI outlets
– Inspect cord monthly for damage near plug/base
– Never leave unattended during first blend cycle
– Replace frayed cords immediately—don’t tape
White Light Fixes Cheat Sheet by Symptom
| Your Symptom | First Fix to Try | If Blinking Continues |
|---|---|---|
| Won’t start, handle forward | Rotate handle 45° left/right | Check blade assembly seating |
| Stops mid-blend with frozen fruit | Wait 30 minutes to cool | Reduce ingredient density |
| Blinks after washing | Verify all components dry | Clean motor base contacts |
| With new pitcher | Confirm model compatibility | Test on another base |
Your Guaranteed 2-Minute White Light Solution
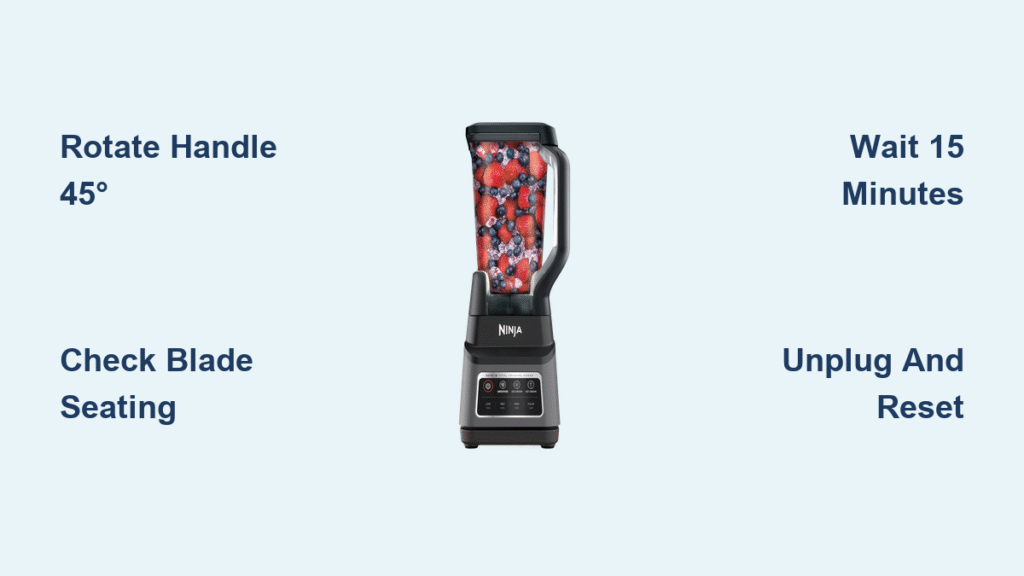
Start with the simplest fix: rotate your pitcher handle to 45 degrees left or right—this solves 7 of 10 blinking white light cases instantly. If that fails, unplug for 15 minutes to reset thermal protection. For stubborn cases, perform the blade assembly check: press down firmly while reinstalling until you feel solid engagement with the drive shaft.
Remember the golden rules: liquids first, never overfill, allow cooling breaks, and store components separated. By following these model-specific steps, your Ninja blender will stop flashing white and start delivering perfect smoothies again. If the light persists after these verified fixes, contact Ninja support with your proof of purchase—most motor base issues are covered under warranty when handled correctly.


