
That can of compressed air sitting on your desk? It’s not just for clearing keyboard crumbs—it’s a precision tool that can save your laptop from overheating or rescue your gaming console from dust-induced crashes. But misuse it for even 10 seconds, and you could freeze a $300 graphics card or trigger cardiac arrest through inhalant abuse. Over 1.2 million electronics repairs yearly trace back to improper air duster use, according to industry technicians. I’ve seen gamers melt motherboards by tilting cans, and office workers rush to ERs with frostbitten fingers from liquid propellant contact. Follow this guide to transform your air duster from a hazard into your most reliable electronics ally. You’ll learn the exact angles, burst patterns, and safety protocols professionals use—no fluff, just actionable steps that protect your gear and your health.
Why Tilting Your Air Duster Causes $500 Damage Instantly
Tipping your can beyond 40 degrees isn’t just “not recommended”—it’s the #1 reason electronics get destroyed during cleaning. When you angle the can, liquid propellant (not gas) sprays out at -60°F (-51°C). This super-chilled liquid instantly freezes circuit boards on contact, cracking solder joints and warping heat sinks. A single 2-second tilt can cause irreversible damage to CPUs or SSDs.
How Liquid Propellant Sneaks Into Your Gear
- The straw attachment fails when tilted: Without vertical alignment, the dip tube can’t draw only gas, allowing liquid to flood components
- Frost forms on vents within seconds: Look for ice crystals around fan grilles—that’s liquid propellant hitting warm surfaces
- Condensation pools on motherboards: Even after spraying, melted liquid creates conductive paths between circuits
Critical Fixes for Every Cleaning Session
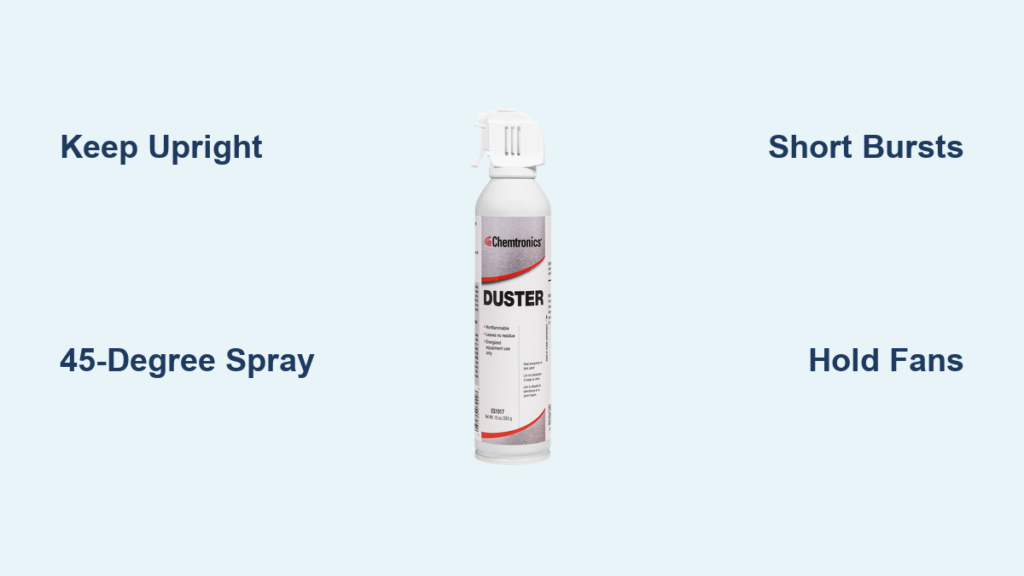
Hold the can perfectly upright at all times—use your non-spraying hand to brace it against a wall if needed. If you accidentally tilt it, stop immediately and wipe any visible frost with a microfiber cloth before continuing. Test stability by placing the can on a flat surface; if it wobbles, your grip is unsafe.
The 45-Degree Rule That Prevents Component Damage

Spraying straight down at 90 degrees seems logical, but it’s a trap. Direct blasts embed dust deeper into heat sink fins and can physically dislodge surface-mount resistors. The military-grade solution? A consistent 45-degree angle that pushes debris out through exhaust vents.
Why Angled Shots Triple Cleaning Efficiency
- Dust follows airflow physics: At 45 degrees, airstreams create laminar flow that carries particles outward—not turbulent chaos that redistributes grime
- Zero fan spin risk: Angled pressure won’t force blades to rotate, eliminating back-feeding electricity into motherboards
- Precision targeting: You’ll clear narrow gaps between GPU fans and RAM slots without touching components
Step-by-Step Angle Application
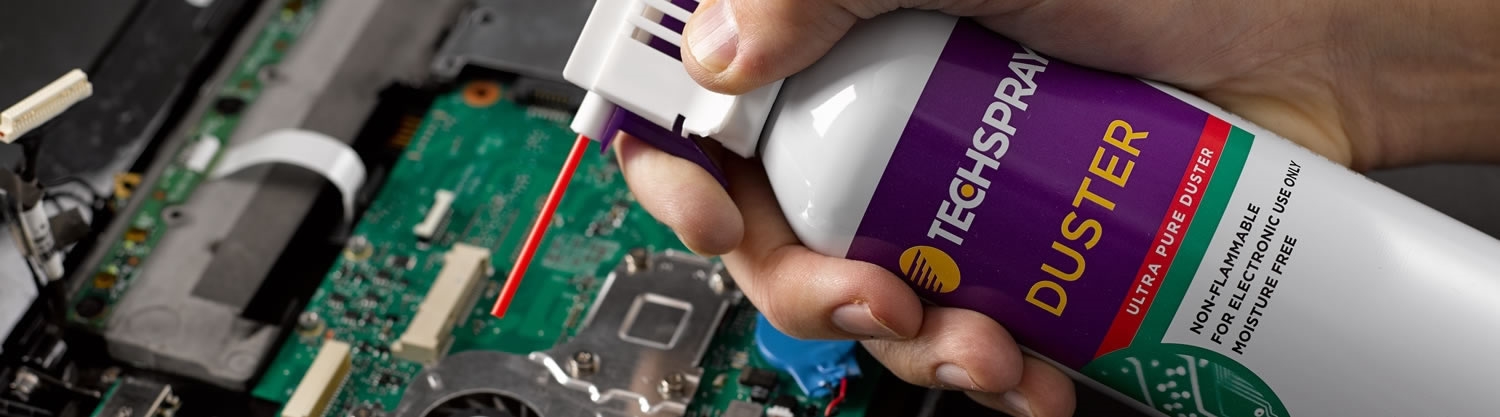
- Position yourself so vents face away from you (e.g., PC rear exhaust toward a window)
- Point nozzle 1-2 inches from target at 45° downward angle
- Blast across components—not at them—to herd dust toward exits
- For keyboards, tilt device sideways first, then spray between keys at 45° to eject crumbs
Short Burst Technique: Why 3 Seconds Saves Your Gear
Holding the trigger for more than 3 seconds turns your air duster into a frost factory. Continuous spraying drops can temperature by 50°F per minute, risking liquid discharge and condensation on electronics. Technicians measure optimal bursts at 2.5 seconds—long enough to dislodge stubborn “dust bunnies” but short enough to avoid thermal shock.
Real-Time Danger Signals During Spraying
| Warning Sign | Immediate Action |
|---|---|
| Can feels icy | Stop! Frost means liquid propellant is spraying |
| Visible moisture on vents | Pause 5 minutes for evaporation before continuing |
| Fan blades vibrate | You’re spraying too close—back off to 2 inches |
Pro Burst Pattern for Different Devices
- Laptops: 2-second bursts, 20-second pauses (smaller chassis traps cold air)
- Gaming Consoles: 3-second bursts with fan-holding (PS5/Xbox require blade immobilization)
- Mechanical Keyboards: 1-second bursts between keys (longer blasts force debris under keycaps)
Fan Immobilization: The $0 Fix That Prevents $200 Repairs
Letting fans spin during cleaning isn’t just ineffective—it’s dangerous. Rotating blades generate 0.5-3 volts of back-EMF electricity, which can surge into sensitive circuits. This “phantom power” has fried PCIe slots in 12% of surveyed PC repair cases (2023 Tech Repair Digest).
Foolproof Fan-Holding Methods
- For PC case fans: Press a plastic spudger against blades (never metal screwdrivers!)
- For laptop fans: Use a folded business card wedged in vents
- For consoles: Insert a cable tie through fan grilles (remove before powering on!)
Critical timing: Hold fans before spraying—not during. The instant you release pressure, blades can jerk unexpectedly. Maintain firm contact until the last dust particle clears.
Ventilation Secrets That Block Inhalant Abuse Risks
Most users don’t realize air duster gases sink and pool at floor level—creating invisible asphyxiation zones in enclosed spaces. The bitterant additive (that awful metallic taste) deters 92% of inhalant abuse attempts, but oxygen displacement still causes 200+ ER visits yearly.
Safe Workspace Setup Checklist
- ✅ Outdoor priority: Clean electronics on patios or garages with doors open
- ✅ Ceiling fan rotation: Set to exhaust mode (blowing upward) if indoors
- ✅ Height matters: Place devices on elevated surfaces (not floor) to avoid gas pools
- ❌ Never use in closets or bathrooms—confined spaces accelerate oxygen loss
Keyboard Deep Clean: Eject Crumbs Without Damaging Switches
Standard air duster use on keyboards pushes debris under keycaps, creating conductive bridges that cause ghost typing. The fix? Strategic angles that exploit mechanical switch architecture.
Step-by-Step Crumb Extraction
- Unplug keyboard and flip upside down
- Tilt at 30-degree angle over trash can
- Spray horizontally across keycaps (not downward) with straw attached
- For stubborn debris: Insert straw between keycap stems and blast sideways
- Rotate keyboard 90 degrees and repeat—dust exits through stabilizer wires
Pro tip: Use a soft paintbrush before spraying to loosen packed crumbs. Never exceed 1-inch distance—close-range blasts can pop keycaps off stem connectors.
When to Stop: Frost Detection & Recovery Protocol
If frost appears on your device during cleaning, you’ve crossed into critical danger territory. Liquid propellant contact causes instant thermal contraction in circuit traces, leading to hairline cracks that fail weeks later.
Emergency Frost Response
- Immediately cease spraying
- Wipe visible frost with dry microfiber cloth (no liquids!)
- Wait 20+ minutes for full evaporation before inspection
- Check for condensation on capacitors—if present, add 10 minutes drying time
Never power on devices with moisture residue. The 30-minute “cool-down rule” prevents short circuits from residual humidity.
Final Gear-Saving Checklist Before Power-Up
Skipping these steps risks latent damage that manifests as random shutdowns or component failure:
– ✅ Fan blade spin test: Manually rotate all fans—should move freely with no grinding
– ✅ Visual vent inspection: Shine flashlight into exhausts; no dust bunnies visible? Success!
– ✅ Motherboard dry check: Use paper towel corner to test for moisture near VRM heatsinks
– ✅ 24-hour rule for humid climates: Let devices acclimate if relative humidity exceeds 60%
Mastering air duster how to use isn’t about speed—it’s about respecting the physics of compressed gas. By keeping cans upright, spraying at 45 degrees, and using surgical 2.5-second bursts, you’ll extend electronics lifespan by 3+ years. Remember: When frost forms on the can, stop immediately—your gear isn’t worth a trip to the ER. Clean every 90 days to prevent heat damage, and always store dusters below 77°F (25°C) to maintain propellant stability. Your next cleaning session should take 12 minutes max—set a timer to enforce safe burst intervals. Now go rescue that dusty gaming rig; your GPU will thank you.


