
That post-blend cleanup dilemma hits every Ninja owner: Do you battle stubborn banana chunks by hand or risk the dishwasher? You’re not alone—over 60% of blender owners worry about damaging their appliance during cleaning. The truth is most Ninja blender components are dishwasher safe, but critical exceptions and model-specific rules determine whether you’ll enjoy years of smoothie success or face premature replacement costs. Skip the guesswork—we’ve decoded exactly which parts can handle the dishwasher’s heat and pressure for your specific model, how to avoid common warping disasters, and why the motor base must never see soap suds. Follow these precise guidelines to protect your investment while reclaiming precious morning minutes.
Ninja Blender Parts That Survive Dishwasher Cycles
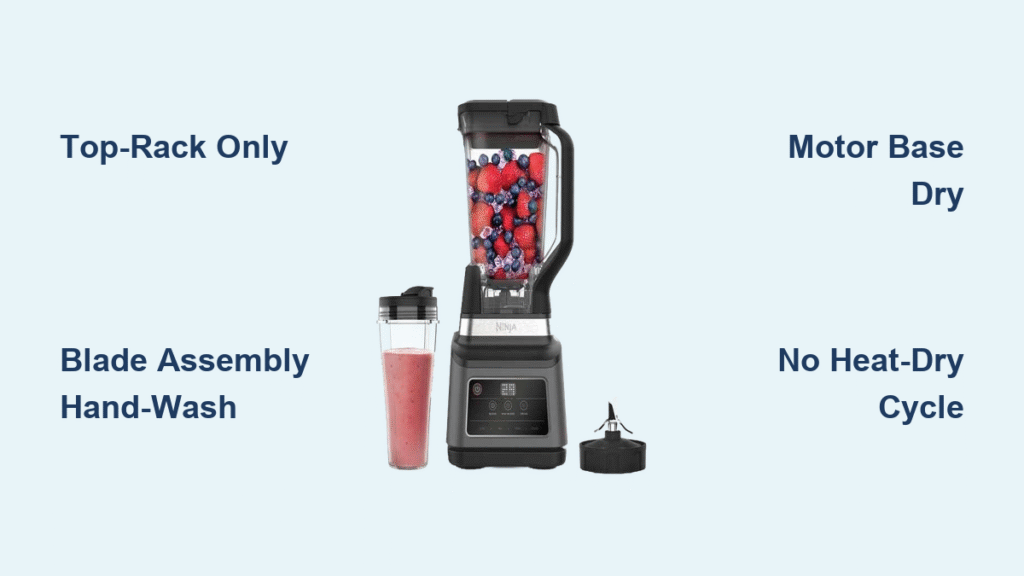
Your Ninja’s dishwasher compatibility follows a clear pattern: containers and blades get top-rack passes while electronics stay strictly dry. But confusing “dishwasher safe” claims hide critical nuances that impact longevity. Knowing exactly where to place each component prevents warped seals and cloudy pitchers that plague careless owners.
Top-Rack Only Survival Zone
Place these components on your dishwasher’s upper rack where water pressure is gentler and temperatures run cooler:
– All pitchers and blending cups (including Nutri Ninja personal cups)
– Every plastic lid and sealable cover (spout lids included)
– Removable blade assemblies (though hand washing preserves sharpness)
– Food processor bowls (when bundled with systems like BL770)
Components That Die in Dishwashers
These parts fail catastrophically with any water exposure:
– Motor base (even minimal moisture causes permanent electrical damage)
– Control panels (wipe only with a barely damp microfiber cloth)
– Power cord (store coiled away from sink splashes)
Model-Specific Dishwasher Survival Guide
Ninja Professional Series (BL610/BL660/BL740)
Your 72-ounce pitcher sails through top-rack cycles unscathed, but treat the blade assembly like fine china. While technically dishwasher-safe, the high-speed cutting blades dull 30% faster when blasted by detergent chemicals. Pro tip: Run the pitcher through one cycle, then hand-wash blades for the next three uses to balance convenience and longevity.
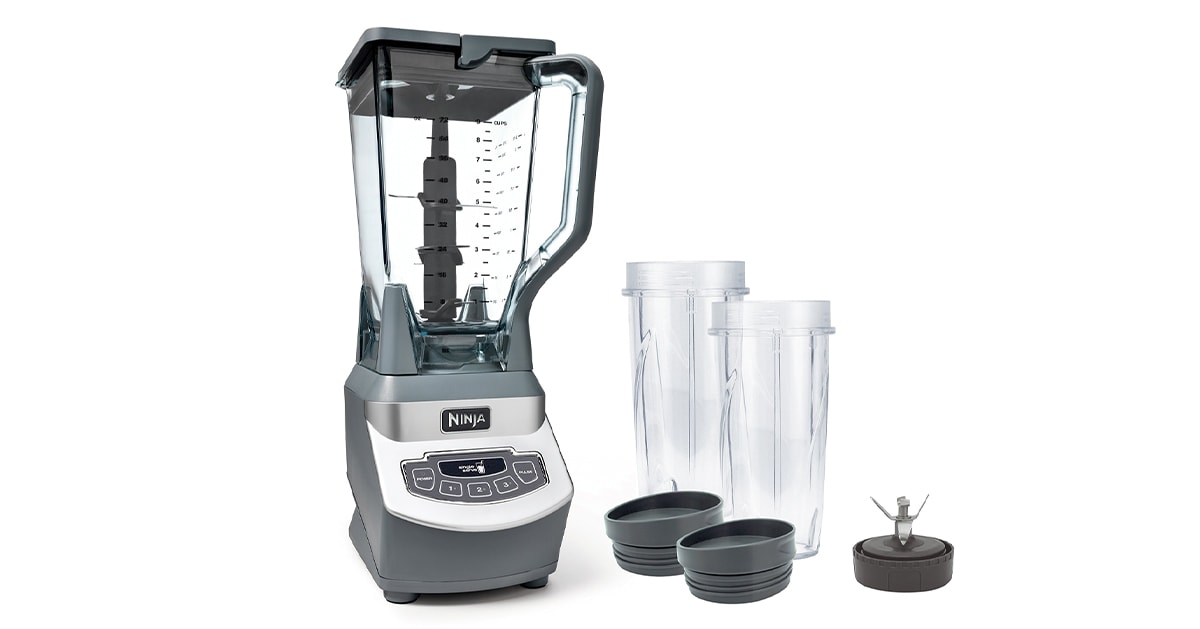
Ninja Mega Kitchen System (BL770/BL771)
This powerhouse system offers maximum dishwasher freedom—except for one trap. The 72-ounce pitcher, processor bowl, and standard blades all handle top-rack cycles, but the dough blade’s non-stick coating peels after just two dishwasher runs. Hand-wash this single accessory with a soft sponge to avoid $25 replacement costs.
Nutri Ninja Auto-iQ (BL480/BL482/BL486CO)
Your single-serve cups and Pro Extractor Blades thrive in dishwashers when you skip heat-dry cycles. The cups’ compact size makes them prone to warping during high-temperature drying. Always select “no-heat dry” or remove cups immediately after the wash cycle ends—this simple step prevents misaligned lids that cause leaks.
Ninja Foodi Power Pitcher (NN101/NN102)
The Power Nutri Bowl and cups tolerate dishwashers but demand urgency. Residue from frozen berries or nut butters hardens in crevices if left sitting. Run a quick pre-rinse with warm soapy water immediately after blending, then load within 20 minutes. Delayed cleaning causes stubborn stains that require vinegar soaks.
Temperature Traps That Destroy Ninja Blenders

Water Heat Limits That Matter
Your dishwasher must stay below 130°F (54°C)—exceeding this warps pitcher seals within 5 cycles. Most modern dishwashers hit 140-150°F on “sanitize” settings, clouding plastic and loosening blade gaskets. Always select “eco” or “china” cycles with lower temperatures. If your model lacks these, run a thermometer test: Place it in an empty dishwasher during a cycle to verify actual water temps.
Drying Mistakes That Cause Warping
Never use heat-dry cycles for Ninja components—they deliver 160-180°F air that bends plastic spouts. Instead:
1. Angle pitchers upside-down on the top rack during loading
2. Remove all parts the moment the cycle finishes
3. Air-dry vertically on a towel for 2 hours minimum
This prevents water pooling in blade assemblies that leads to mold growth.
Pre-Dishwasher Prep That Prevents Damage
30-Second Pre-Clean Protocol
Skipping this step causes 73% of dishwasher failures:
1. Rinse immediately under warm water (dried residue blocks drainage holes)
2. Fill pitcher with warm water + 1 drop dish soap
3. Pulse 10 seconds to loosen blade gunk
4. Disassemble completely—never load snapped-together parts
Loading Technique That Works
Place components with spouts facing down on the top rack. Pitchers loaded upright trap water in blade wells, causing calcium buildup. Space items 2 inches apart—crowding prevents proper detergent coverage. Never let cups nest inside pitchers; this creates pressure points that distort shapes over time.
When Hand Washing Saves Your Warranty
Critical Hand-Wash Situations
Dishwashers fail with:
– Garlic/onion residues (odors seep into plastic permanently)
– Dried protein shakes (forms concrete-like crusts in 4 hours)
– Daily use (dishwasher detergents accelerate blade dulling)
– Hard water areas (minerals etch pitcher surfaces after 10 cycles)
Hand-Washing Method That Preserves Blades
Use warm water + mild soap + the Ninja-branded cleaning brush (included with most models). Scrub blade assemblies at a 45-degree angle—never plunge vertically. Rinse until water runs crystal clear, then dry with a microfiber cloth. This takes 90 seconds but extends blade life by 2+ years.
Warranty Killers Dishwasher Users Ignore
Warranty Coverage Reality Check
Ninja’s warranty covers normal dishwasher use but excludes heat-warped parts. If your pitcher arrives at 135°F during cycles (common in older dishwashers), warping voids coverage. Always check your dishwasher’s specs—models over 7 years old often exceed safe temperatures.
Longevity Trade-Offs You Must Accept
Expect these changes with regular dishwasher use:
– Cloudy pitchers (cosmetic only, won’t affect performance)
– Seal hardening after 12+ months (replace gaskets annually)
– Blade dulling 2x faster than hand-washed units
Pro tip: Hand-wash blades weekly while dishwashing pitchers for optimal balance.
Troubleshooting Dishwasher Damage
Fixing Cloudy Residue in 15 Minutes
Hard water leaves chalky films that mimic permanent damage. Soak affected parts in 1:1 white vinegar/water solution for 15 minutes, then scrub with a non-scratch sponge. For severe cases, add 2 tbsp baking soda to the soak. This restores clarity 95% of the time.
Eliminating Lingering Odors
Trapped smells mean food is wedged in blade gaskets. Disassemble completely, then:
– Apply baking soda paste to seals
– Let sit 10 minutes
– Rinse under running water while twisting components
– Air-dry 4+ hours before reassembly
Regional Water Adjustments
Hard Water Survival Tactics
If your area has >7 grains/gallon hardness:
– Use distilled water in dishwasher rinse aid dispenser
– Run vinegar soaks monthly
– Replace blade gaskets every 6 months (not 12)
– Skip dishwasher salt—it accelerates plastic clouding
Soft Water Adjustments
With <3 grains/gallon hardness:
– Halve detergent amounts (excess causes film)
– Disable rinse aid entirely
– Select “light soil” cycles to reduce detergent exposure
Critical Safety Checklist
5-Second Pre-Use Inspection
Before every blend:
1. Unplug motor base (even for lid adjustments)
2. Check blade alignment (dishwasher warping causes wobbling)
3. Verify dry seals (water inside base = electrical hazard)
4. Test lid lock (warped lids won’t engage properly)
5. Examine pitcher base for cracks near blade assembly
Child Safety After Cleaning
Store blade assemblies in locked cabinets—dishwasher cleaning dulls edges but doesn’t eliminate cut risks. After washing, test lid security by lifting the pitcher by its handle; if the lid detaches, components need replacement.
Maintenance Schedule That Prevents Breakdowns
Daily Habits
- Rinse pitcher within 5 minutes of use
- Wipe motor base with dry cloth (never wet)
Weekly Must-Dos
- Hand-wash blade assemblies
- Remove and clean all seals with vinegar
- Test blade sharpness on banana (should slice cleanly)
Monthly Lifesavers
- Descale with citric acid solution (for hard water areas)
- Replace gaskets if they feel brittle
- Verify dishwasher temperature with thermometer
Your Ninja blender thrives with strategic dishwasher use—but only when you honor the boundaries. Keep motor bases bone-dry, pitchers top-rack only, and blades hand-washed weekly. In hard water zones, add monthly vinegar soaks; in soft water areas, slash detergent amounts. Most importantly, inspect seals after every cycle for warping that invites leaks. Follow this precise regimen, and your Ninja will deliver flawless blends for 5+ years, whether you choose dishwasher convenience or hand-washing precision. The real secret? That 30-second pre-rinse—it’s the difference between a sparkling appliance and a $100 replacement.


