
You’re sitting outside on a warm summer evening when you realize the familiar ZAP of your Black & Decker bug zapper has gone silent. Without that reassuring sound, mosquitoes and other pests are free to attack. A malfunctioning bug zapper isn’t just annoying—it leaves you vulnerable to biting insects when you need protection most. The good news is that most Black & Decker bug zapper not working issues can be diagnosed and fixed with basic tools and some careful troubleshooting. This guide will help you identify exactly why your bug zapper failed and provide step-by-step solutions to get it zapping again.
Why Your Black & Decker Bug Zapper Suddenly Stops Zapping
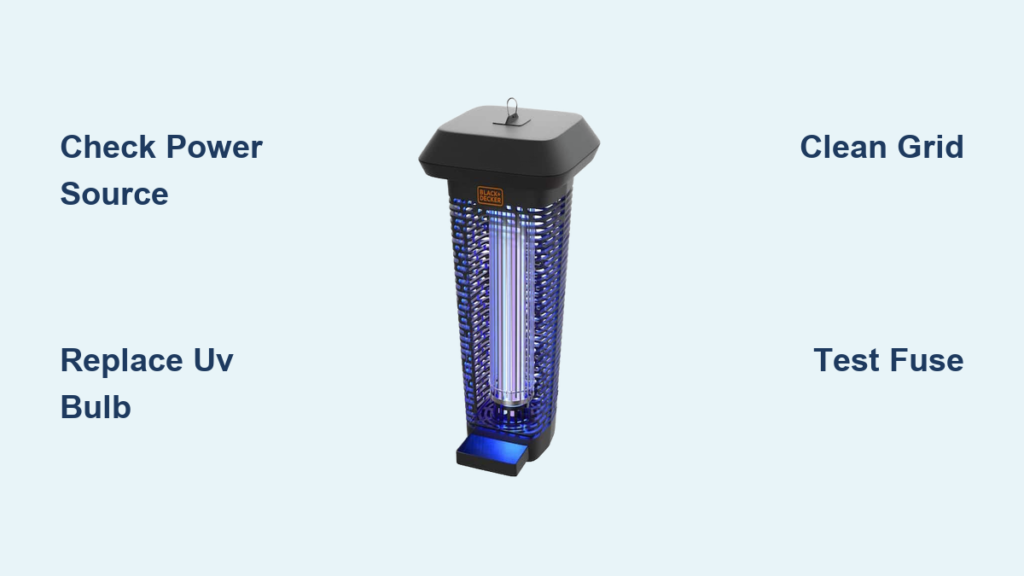
Before grabbing your toolbox, you need to understand what’s actually broken. Most Black & Decker bug zappers fail for one of three reasons: power supply problems, UV bulb failure, or issues with the high-voltage grid system. The key is determining which component failed without wasting time on unnecessary repairs. Start with the simplest checks first—many “broken” zappers merely need a bulb replacement or grid cleaning.
How to Quickly Determine If It’s a Power Supply or Component Failure
Begin your Black & Decker bug zapper not working diagnosis with these critical checks:
- Verify your power source: Plug a working lamp into the same outlet to confirm electricity is flowing. For outdoor units, check if GFCI outlets have tripped—these safety features often shut off power during minor electrical fluctuations.
- Inspect the power cord: Look for cracks, cuts, or rodent damage, especially at connection points where stress fractures commonly occur.
- Listen for transformer hum: When powered on, a functioning high-voltage transformer emits a faint but distinctive high-pitched buzz. No sound suggests power isn’t reaching internal components.
Pro Tip: If your bug zapper has a collection tray, remove it and check for moisture. Water intrusion from rain or sprinklers often causes short circuits that trip internal safety mechanisms.
What to Look for When Your Bug Zapper Has Power But No Zap Sound
When your Black & Decker unit shows signs of life (UV bulb glowing) but produces no zapping sound, you’re dealing with a high-voltage circuit issue. Carefully examine the electrified grid for visible debris bridges—dead insects packed between wires create short circuits that prevent the necessary voltage buildup for zapping. Shine a flashlight at different angles to spot these hidden connections. If you see blackened areas on the grid wires, that indicates previous arcing that may have damaged the transformer.
How to Identify If Your UV Bulb Is the Culprit
UV bulb failure is the most common reason for a Black & Decker bug zapper not working properly. Unlike regular light bulbs, UV bulbs can appear intact while still being ineffective. Check for these telltale signs:
– Darkened ends: Black deposits at the bulb’s base indicate the bulb has reached end-of-life
– Flickering: Intermittent operation suggests failing filaments
– Reduced insect attraction: If fewer bugs are drawn to the unit despite normal operation
Expert Note: UV bulbs lose effectiveness long before they completely burn out. Replace annually for optimal performance, even if they still glow.
Fixing a Black & Decker Bug Zapper That Turns On But Won’t Zap
When your Black & Decker bug zapper powers up but remains silent, the high-voltage circuit has likely failed. This system transforms standard household current into the 2,000-4,000 volts needed to zap insects. The good news is that most failures in this circuit stem from simple issues you can fix yourself with basic tools.
How to Properly Clean a Bug-Blocked Electrified Grid in 3 Steps

Dead insect buildup is the #1 cause of a Black & Decker bug zapper not working properly when the bulb still glows. Follow this safe cleaning process:
- Unplug the unit and wait 30 minutes to ensure capacitors discharge—high voltage can remain dangerous even when unplugged
- Remove the outer housing and collection tray according to your model’s instructions
- Clean the grid using compressed air first, then a soft brush for stubborn debris. For baked-on residue, use isopropyl alcohol and cotton swabs—never water
Warning: Never use metal objects to clean the grid while the unit is plugged in. Even after unplugging, wait the full 30 minutes before touching internal components.
Why a Shorted Grid Prevents Zapping (And How to Fix It)
When insect carcasses bridge the gap between grid wires, they create a continuous electrical path that prevents voltage buildup. This short circuit diverts power away from creating the necessary spark. After cleaning, inspect wires for proper spacing—bent wires touching each other will cause the same problem. Gently straighten any misaligned wires using plastic tweezers to maintain the critical 1/8-inch gap required for proper arcing.
How to Test and Replace a Failed High-Voltage Transformer
If cleaning doesn’t solve your Black & Decker bug zapper not working issue, the transformer may have failed. Test it with a multimeter set to measure resistance:
– Unplug the unit and wait 30 minutes
– Locate the transformer (typically a small black or silver box near the grid)
– Check for continuity between primary windings (should show 1-10 ohms)
– Check secondary windings (may show higher resistance)
No continuity indicates a failed transformer. Replacement requires soldering skills—consider professional help or replacement if you’re uncomfortable with electronics work.
Troubleshooting a Black & Decker Bug Zapper With No Power
When your bug zapper shows no signs of life—not even a faint glow from the UV bulb—you’re dealing with a complete power failure. These issues are often simpler to fix than partial failures, as they usually involve easily accessible components like fuses or power cords.
How to Test If Your Outlet or Power Cord Is the Problem
Start with the most basic possibilities before diving into internal components. Test your outdoor outlet with a known-working device, especially if it’s a GFCI outlet that may have tripped. Inspect the entire power cord path for damage, paying special attention to where it enters the housing—a common failure point. For cordless models, check battery contacts for corrosion and verify the battery holds a charge.
Where to Find and Replace the Hidden Fuse in Your Bug Zapper

Most Black & Decker models contain a small glass fuse (typically 1A or 2A) that protects internal components. To access it:
– Remove the outer housing according to your model’s design
– Locate the fuse holder near the power input
– Carefully remove the fuse and inspect the filament
– Replace with an identical rating fuse—never use a higher amperage
Pro Tip: Keep spare fuses on hand—they’re inexpensive and often the quickest fix for a completely dead bug zapper.
Essential Safety Steps Before Repairing Your Black & Decker Bug Zapper
Working on bug zappers requires special precautions due to the high-voltage components that remain dangerous even when unplugged. Never skip these critical safety steps:
How to Properly Discharge High-Voltage Capacitors (Step-by-Step)

- Unplug the unit and remove batteries if applicable
- Wait at least 30 minutes—this allows most stored energy to dissipate naturally
- For complete safety, use an insulated screwdriver with a wire connecting the metal shaft to the unit’s ground point
- Carefully touch the screwdriver tip to the high-voltage terminals to discharge any remaining energy
Critical Warning: Never assume a bug zapper is safe just because it’s unplugged. Capacitors can hold lethal charges for days.
When to Repair vs. Replace Your Black & Decker Bug Zapper
Not every failure warrants repair. Consider these factors before investing time and money:
- Repair if: The issue is a simple bulb replacement, fuse, or cleaning
- Replace if: The transformer or circuit board has failed (typically costs more than 50% of a new unit)
- Replace immediately if: You notice melted components, burn marks, or significant weather damage
Cost Comparison: UV bulbs cost $5-$15, fuses $2-$5, while transformer replacement can exceed $40 plus labor. Most new Black & Decker bug zappers range from $30-$80.
Preventing Future Black & Decker Bug Zapper Failures
Avoid future Black & Decker bug zapper not working emergencies with this simple maintenance routine:
Monthly Maintenance Checklist for Longest Bug Zapper Life
- Clean the grid and collection tray after heavy insect activity
- Inspect power cord for damage
- Check housing seals for weatherproofing integrity
- Verify all connections are tight and corrosion-free
- Test operation to catch issues early
Pro Tip: Position your bug zapper away from competing light sources—this reduces strain on the UV bulb by making it more effective at attracting insects.
Don’t let a silent bug zapper ruin your outdoor enjoyment. By following this systematic approach to diagnosing and fixing your Black & Decker bug zapper not working issue, you can restore protection against biting insects quickly and safely. Remember that most problems stem from simple causes like dead bulbs, insect buildup, or blown fuses—issues you can resolve in under 30 minutes with basic tools. When in doubt about electrical safety, consult a professional rather than risk injury. With proper maintenance, your Black & Decker bug zapper can provide reliable insect control for multiple seasons.


