
That satisfying ZZZAP has vanished from your summer nights. Your bug zapper racket not working means swatting mosquitoes with a rolled-up magazine while pests feast on your picnic. Don’t toss your trusty zapper yet—over 80% of “dead” rackets suffer from simple, fixable issues like dirty grids or dead batteries. This guide cuts through the confusion with step-by-step repairs you can complete in under 20 minutes.
When your bug zapper racket not working, the culprit is rarely complex electronics. Most failures stem from three areas: power supply problems, contaminated grids, or safety mechanism glitches. By methodically working through these sections, you’ll diagnose whether it’s a $0 fix (cleaning) or a $15 repair (capacitor replacement). Let’s revive your zapper and reclaim your bug-free evenings.
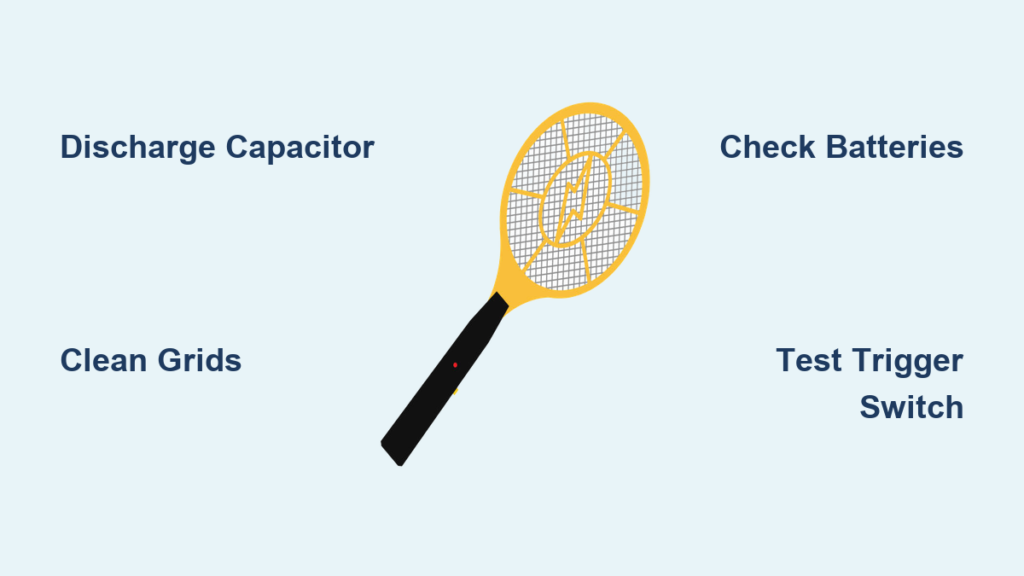
Discharge the Capacitor: Non-Negotiable Safety Step

Before touching a single screw, you must discharge the high-voltage capacitor. This component stores 2,000+ volts—even after removing batteries—and can deliver a dangerous shock. Skipping this step risks severe injury.
Follow these exact steps:
1. Remove all batteries immediately
2. Wait 30 minutes minimum (critical for capacitor discharge)
3. Use an insulated screwdriver with a 100k-ohm resistor taped to the handle
4. Carefully touch both metal grid wires simultaneously for 10 seconds
5. Verify discharge by attempting a spark test in darkness (no blue arc = safe)
Never use bare metal tools directly across the grids—this causes violent arcing that damages components. If you hear persistent buzzing after battery removal, the capacitor is still charged; repeat the discharge process. This safety step takes 2 minutes but prevents life-threatening accidents.
Diagnosing Power Issues: No Light or Sound When Triggered
When your bug zapper racket not working shows zero response—no LED glow, no buzzing sound—the problem lives in the power chain. Start here before disassembling anything.
Battery Compartment Failures (Most Common Fix)
90% of “dead” rackets trace back to battery issues. Replace suspect batteries with brand-new alkaline cells—rechargeables often lack the surge current needed for zapping. Then:
- Clean corroded contacts: Dip cotton swab in 90% isopropyl alcohol, scrub spring terminals until shiny
- Test contact tension: Press battery against terminals; it should require firm pressure to insert
- Check polarity: Confirm “+” markings align (reversed batteries fry circuits)
- Inspect wiring: Look for broken wires near battery springs (common in dropped rackets)
If using rechargeable models, verify the charging port isn’t clogged with debris. Test with a different USB cable and wall adapter. If the charging light flickers but won’t stay lit, the internal battery is dead and requires replacement.
Trigger Switch Malfunctions
A gritty or unresponsive trigger often indicates switch failure. With batteries installed:
– Press the trigger while listening for a faint click
– If silent, spray electrical contact cleaner into the trigger slot
– Work the trigger 20 times to dislodge grime
– Test continuity with a multimeter: Set to ohms, touch probes to switch terminals while pressing trigger
No continuity? The microswitch is dead. Replacement takes 5 minutes: Remove 2 screws, unplug the old switch, and snap in a $1.50 DPDT switch (available at electronics stores). Avoid cheap knockoffs—they fail within weeks.
Fixing Weak or No Spark: Grid Cleaning and Alignment
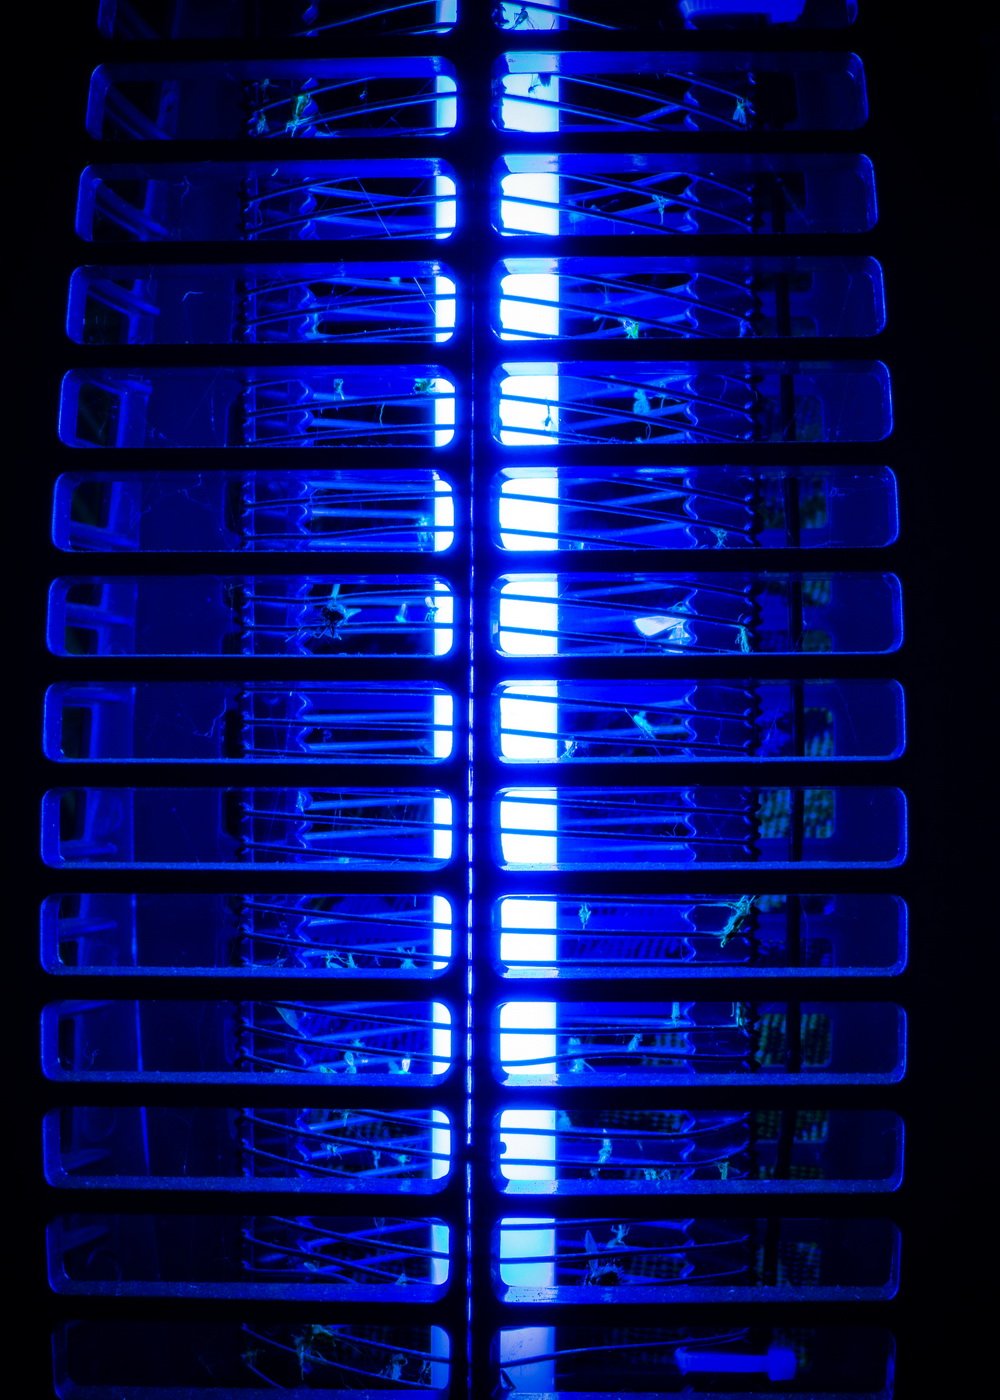
Hearing a faint buzz but seeing no zap? Your grids are likely contaminated or misaligned. This causes 70% of “weak spark” failures and takes 10 minutes to fix.
Deep-Cleaning the Mesh Grids
Dead insects create insulating barriers that block sparks. Never use water—moisture causes corrosion. Instead:
- Remove outer mesh guard (usually 4 screws)
- Dip a toothbrush in 99% isopropyl alcohol
- Scrub between inner/outer grids in circular motions
- Blow dry with compressed air (or hairdryer on cool setting)
- Inspect for “blackened spots”—these indicate carbon buildup requiring steel wool
Pro tip: Shine a flashlight sideways across grids. If you see light passing through gaps >1mm wide, the mesh needs realignment. Carbon deposits appear as dark patches that won’t wipe off.
Correcting Grid Spacing Issues
Bent grids touching each other cause dead shorts. Hold the racket horizontally and:
- Check for inner/outer mesh contact points (visible as burn marks)
- Gently bend grids apart with needle-nose pliers
- Maintain 3-4mm gap throughout (critical for strong sparks)
- Verify no wires cross between layers after adjustment
If grids have broken strands, apply conductive epoxy to reattach them. Let cure 24 hours before testing. For severe damage, replace the entire mesh assembly ($8 online).
Transformer and Transistor Failure Diagnosis

When your bug zapper racket not working shows power (LED lights) but zero spark, the high-voltage circuit has failed. Only proceed if you’ve discharged the capacitor.
Testing the Oscillator Transistor
This $0.50 component drives the transformer. Locate the black transistor near the circuit board:
- Set multimeter to diode test mode
- Touch probes to transistor leads (base/emitter/collector)
- A healthy transistor shows 0.5-0.7V drop in one direction
- No reading? Transistor is dead (common part numbers: D965, C1815)
Replacement is simple: Desolder the 3 legs, insert a new transistor matching the original part number, and resolder. Cost: under $2.
Transformer Troubleshooting
The transformer (cylindrical component with wires) steps up voltage. Test with multimeter:
| Test Point | Healthy Reading | Failure Sign |
|---|---|---|
| Primary winding (thick wires) | 1-5 ohms | Infinite resistance = open coil |
| Secondary winding (thin wires) | 100-500 ohms | Zero resistance = short circuit |
A failed transformer shows no resistance on either winding. Unfortunately, replacements are model-specific and often unavailable. If readings are abnormal, replacement is usually uneconomical—consider a new racket.
Safety Switch and Grid Short Circuits
Many users overlook the physical safety lock—a small slider that disables the trigger. If stuck in “off” position, your bug zapper racket not working appears dead.
Slide the lock fully to “ON” while listening for a click. If stiff:
– Apply 1 drop of silicone lubricant to the slider track
– Work the switch 10 times
– Verify it clicks firmly at both positions
Grid shorts occur when bent wires touch. With the racket unpowered:
– Visually inspect grids in bright light
– Look for spark burn marks indicating contact points
– Use tweezers to separate touching wires by 2mm
– Test by pressing trigger—no continuous arcing should occur
When to Replace Instead of Repair
Before investing in parts, calculate repair economics:
– If transformer or custom PCB is damaged: Replace racket (new units cost $15-$25)
– If capacitor/transistor needs replacement: Worth fixing (parts cost < $3)
– If grids are severely bent: Fix it (realignment takes 5 minutes)
Red flags for replacement:
– Burnt smell from circuit board
– Visible PCB cracks or melted components
– Cost of parts exceeds 40% of new racket price
For high-end rackets (like Aspectek or Flowtron), repairs often make sense. For dollar-store models, replacement is smarter.
Preventing Future Bug Zapper Failures
Extend your racket’s life with these pro maintenance habits:
– Clean grids weekly during peak season using alcohol-dipped brush
– Remove batteries during winter storage (prevents leakage damage)
– Store vertically to avoid grid warping
– Never zap wet insects—moisture causes grid corrosion
– Check grid spacing monthly with feeler gauges
After heavy use, perform a “spark test” in darkness: A healthy racket produces bright blue arcs across 90% of the grid surface. Orange sparks indicate weakening components needing attention.
Final Note: A bug zapper racket not working is rarely terminal—most repairs take under 15 minutes with basic tools. Start with capacitor discharge and battery checks before progressing to component-level fixes. For persistent issues after cleaning and part replacement, the transformer has likely failed, making replacement the safest choice. Keep this guide handy for your next zapper emergency, and share your success story in the comments!


