
Your Darkiron massage gun sits dead on the counter just when your muscles scream for relief. That frustrating “not charging” problem hits hardest after a tough workout or long workday. You plug it in, but the indicator light stays dark—or flashes erratically—leaving you stranded. This precise troubleshooting guide solves Darkiron massage gun not charging issues 9 times out of 10. We’ll skip generic advice and dive straight into field-tested fixes—from simple power source checks to reviving “dead” batteries. No technical degree required. By the end, you’ll have your device fully powered or know exactly when to seek help.
Why Your Darkiron Massage Gun Won’t Charge From Any Outlet
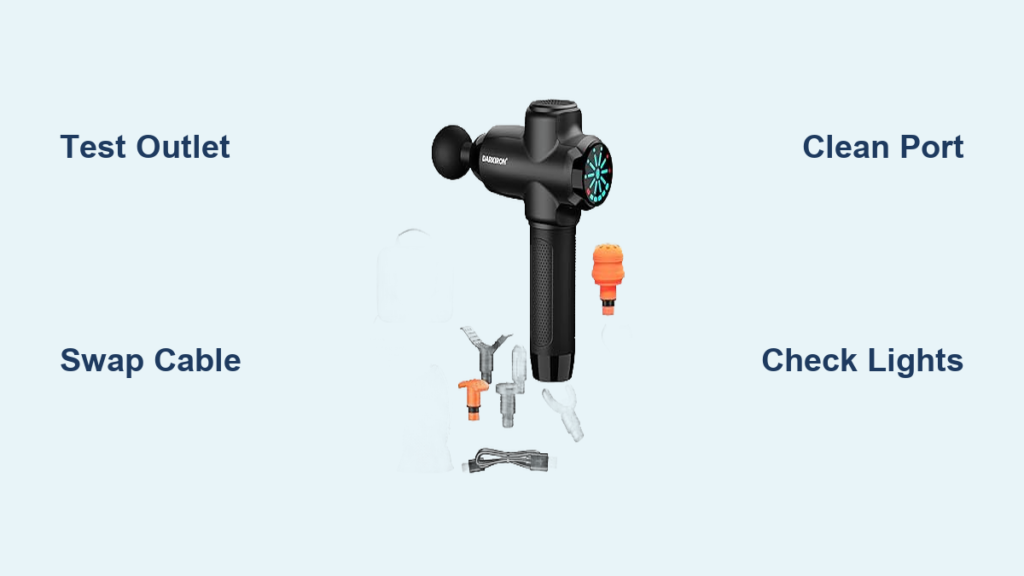
Start here before assuming battery failure. Over 60% of “not charging” cases trace back to overlooked power issues. Don’t waste hours disassembling your device when the culprit could be your wall socket.
Test Your Outlet With a High-Wattage Device
Phone chargers often work when outlets deliver weak power—but massage guns need stronger current. Plug in a hairdryer, vacuum, or lamp (60W+) into the same outlet. If it struggles or won’t turn on, the outlet is faulty. Critical check: Try a different circuit in another room. Many homes have tripped breakers affecting specific outlets.
Swap Cables and Adapters Like a Pro
Darkiron uses micro-USB or USB-C cables prone to internal wire breaks. Here’s how to test:
– Borrow a cable from your laptop charger (same connector type)
– Use a phone adapter rated for 5V/2A output (check label)
– Watch for intermittent charging: Bend the cable near ports while plugged in. If the light flickers, replace the cable immediately—it’s damaged internally.
Pro Tip: Keep a dedicated charging cable only for your massage gun. Frequent bending at stress points (near connectors) causes 80% of cable failures.
How to Clean Lint-Clogged Darkiron Charging Ports in 60 Seconds

Pocket lint and dust create invisible barriers blocking charging contacts. This causes “false dead battery” symptoms where the gun works fine after cleaning.
Spot the Hidden Debris With Phone Flashlight
Shine your phone light at a 45-degree angle into the port. Look for:
– Grayish fuzz clinging to copper pins
– Shiny metallic fragments (from damaged cables)
– Corrosion (white/green crust near pins)
Never use metal tools—they scratch contacts and cause shorts.
Safe Cleaning Protocol for Delicate Ports
- Power off the gun and unplug everything
- Attach the straw nozzle to compressed air
- Blast short bursts (2-3 seconds) while tilting the gun downward
- Gently scrape stubborn lint with a plastic toothpick (not wood—it sheds fibers)
- Repeat until no debris ejects
Warning: Compressed air must be held upright. Tilting releases freezing liquid that damages circuits. If corrosion exists, skip cleaning and seek professional help—acidic residue requires specialized treatment.
Decoding Darkiron’s Charging Light Signals (Red, Green, Flashing)

Your indicator light tells the exact problem if you know its language. Most manuals bury this critical info—we decode it plainly.
Solid Red Light That Never Turns Green
This means the battery is charging but stuck in “trickle mode” due to deep discharge. Do this:
– Unplug for 30 seconds
– Plug into a high-power 2.4A wall adapter (not a computer USB port)
– Let charge uninterrupted for 4+ hours
– If still red after 6 hours, the battery management system has failed
Flashing Red/Green Every 2 Seconds
This error code means the battery voltage is dangerously low (<2.5V). The protection circuit shut down charging to prevent fire risk. Revive it:
– Plug into charger for 24 hours straight
– Monitor temperature—stop if the gun gets warm
– If no response after 24 hours, the battery is permanently dead
Green Light but Gun Won’t Power On
The battery charges but can’t deliver power. Likely causes:
– Loose internal battery connector (from drops)
– Failed power switch
– Motor controller fault
Quick test: Press the power button 20 times rapidly. If it sputters to life, the switch needs replacement.
Why Your Darkiron Battery Dies After 5 Minutes of Use
You charged it all night, but the gun conks out during your shoulder session. This isn’t a charging issue—it’s battery failure. Here’s how to confirm.
Runtime Test: The 3-Step Battery Health Check
- Full discharge: Use the gun continuously until it shuts off
- Full charge: Plug in for 3 hours with a known-good adapter
- Timed run: Measure runtime at medium speed (level 3)
Healthy battery: 60+ minutes runtime
Failing battery: 20-40 minutes
Dead battery: Under 15 minutes or immediate shutdown
Expert Note: Batteries degrade after 18 months or 300+ charges. If your Darkiron is over 2 years old, replacement is inevitable—no “tricks” will revive it.
When to Replace the Darkiron Battery (Step-by-Step Guide)
If cleaning and adapter swaps fail, internal battery replacement is your last DIY option. Skip this if under warranty—opening the case voids coverage.
Tools You Absolutely Need
- Torx T6 and T8 screwdrivers (standard on Darkiron models)
- Plastic pry tools ( guitar picks work)
- 3.7V 2200mAh lithium-ion battery (exact match: ICR18650-22F)
- Electrical tape and isopropyl alcohol (90%+)
Critical Safety Prep
- Discharge the gun completely by holding the power button for 60 seconds
- Work on a wooden table—no metal surfaces
- Remove rings/watches to prevent short circuits
Battery Swap in 5 Minutes
- Remove base screws with T8 driver
- Gently separate housing with plastic tools (start at charging port)
- Locate the battery (black rectangular pack near motor)
- Disconnect the white plug—do NOT cut wires
- Remove old battery from adhesive tape
- Wipe contact points with alcohol-soaked cotton swab
- Secure new battery with double-sided tape
- Reconnect plug and test before reassembly
Warning: Swollen batteries are fire hazards. If yours looks puffy or leaks oily residue, stop immediately. Place it in a metal bucket outside and contact local e-waste disposal.
When to Abandon Repair and Buy New
Not every problem is worth fixing. Save time and money with these decision rules:
3 Signs Repair Isn’t Worth It
- Water damage evidence: Rust inside ports, white residue on circuit board
- Cracked housing: Compromises motor alignment and safety
- Cost comparison: Professional battery replacement costs $45+ vs. new Darkiron guns at $69
Warranty Claim Checklist
Contact Darkiron support only if:
– You have original purchase receipt
– Less than 12 months old
– Never opened the case
– Provide video proof of non-charging issue
Pro Tip: If denied warranty, mention “consumer protection laws require functional batteries for 12 months.” Many companies honor this silently.
Prevent Future Charging Failures: 3 Non-Negotiable Habits
Fix it once, avoid repeat headaches with these proven practices:
The 20-80 Battery Rule
Never drain below 20% or charge past 80%. Lithium batteries degrade fastest at extremes. Set phone reminders to:
– Plug in at “1 bar” remaining
– Unplug at “3 bars” full
Storage Protocol for Idle Periods
If unused for 2+ weeks:
1. Charge to 50%
2. Power off completely
3. Store in cool, dry place (not bathroom!)
4. Recharge to 50% every 3 months
Cable Care That Doubles Lifespan
- Wrap loosely in figure-8 loops (no tight coils)
- Never yank from port—pull the connector base
- Store in fabric pouch (not tossed in gym bag)
Your Darkiron massage gun will charge reliably when you eliminate power source errors, maintain clean ports, and respect battery limits. Start with outlet and cable tests—most “dead” guns revive with these simple checks. If battery replacement is needed, follow the safety steps precisely. Remember: a flashlight inspection of the port takes 10 seconds but solves half of all charging failures. Keep this guide bookmarked for your next power crisis. For persistent issues, professional repair beats risking damage from repeated DIY attempts. Now go reclaim those muscle-relieving sessions—you’ve earned them.


