
When your evaporative cooler stops pumping water, you’re left with nothing more than a noisy fan blowing hot, dry air through your home. That “evaporative cooler not pumping water” problem is one of the most common swamp cooler failures, especially in areas with hard water where mineral buildup clogs critical components. Without proper water circulation, your cooler can’t create that refreshing evaporative cooling effect, leaving you sweating through summer heat. This guide will help you diagnose and fix the most frequent causes of water pump failure so you can restore your cooler’s cooling power quickly and safely.
Diagnose Your Evaporative Cooler’s No-Flow Water Pump Issue

Before replacing parts, confirm whether the problem is truly the pump or something upstream. A systematic diagnostic approach saves time and money by identifying the exact failure point. Start by verifying basic operation: with the unit running, check if you hear the pump motor humming. A humming sound with no water flow typically indicates a mechanical blockage, while complete silence suggests an electrical problem.
Perform Essential Power and Flow Tests
-
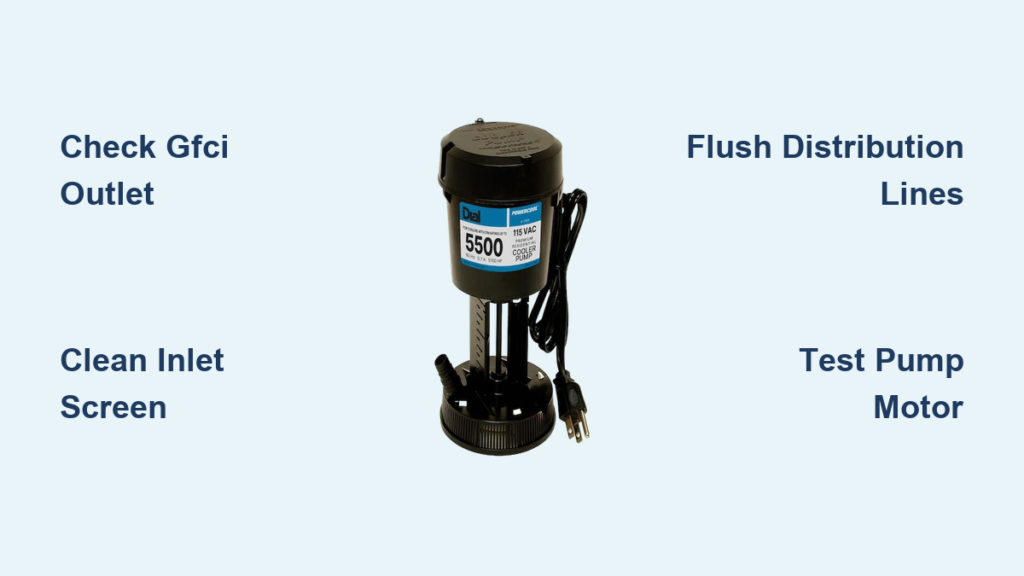
Check for Electrical Power at the Source: Use a multimeter to confirm 115V AC at the pump’s connection point. Many evaporative coolers plug into GFCI outlets outdoors, which commonly trip due to moisture exposure. Press the “Reset” button on any GFCI outlets in the circuit before proceeding. If your unit is hardwired, verify that the circuit breaker hasn’t tripped—swamp coolers typically draw 0.5-2.5 amps on a dedicated 115V circuit.
-
Conduct a Direct Flow Test: Disconnect the pump’s outlet hose and place it in a bucket while running the unit. If water flows freely, your distribution lines or pads are clogged. If no water moves, the problem lies with the pump itself or its immediate components. This simple test eliminates guesswork about whether the issue is upstream or with the pump mechanism.
-
Test with a 12V Battery: For a definitive pump motor test, temporarily connect the pump to a 12-volt DC power source like a car battery. If the pump spins, you’ve confirmed the motor is mechanically sound, pointing to an electrical problem in the 115V AC supply circuit. If it doesn’t spin, the pump is likely seized or the motor has burned out.
Unclog Mineral-Blocked Water Lines and Distribution Troughs
Hard water mineral deposits are the number one cause of “evaporative cooler not pumping water” issues, especially in regions with high calcium content. These deposits accumulate on the pump’s inlet screen, inside small distribution lines, and throughout the water trough system, gradually restricting flow until it stops completely.
Clear Critical Clog Points in Your Water System
-
Remove and Clean the Pump Inlet Screen: Locate the small screen at the pump’s intake (usually beneath the pump housing) and remove any mineral scale or debris. Soak it in white vinegar for 30 minutes to dissolve calcium deposits, then scrub gently with a soft brush. Reinstall only when completely clean—this screen catches particles before they enter the pump but becomes clogged itself over time.
-
Flush Distribution Lines and Troughs: Disconnect the small feed lines (typically 1/4″ or 3/8″ tubing) that distribute water over your cooling pads. Run a descaling solution through these lines—either a 50/50 mix of white vinegar and water or a commercial descaling agent. For stubborn clogs, use a pipe cleaner or small wire to gently clear the tiny nozzles without damaging them. Pay special attention to the distribution trough that runs along the top of your pads, as this area collects significant sediment.
-
Check the Float Valve Mechanism: A stuck float valve can prevent adequate water levels in the reservoir, causing the pump to run dry. Ensure the float moves freely up and down without obstruction. Clean any mineral buildup from the valve seat and verify it seals properly when the water reaches the correct level. A malfunctioning float valve is often the hidden culprit behind seemingly pump-related issues.
Test and Reset the Thermal Overload Switch on Your Cooler Pump

Many evaporative cooler pumps contain a thermal overload switch—a safety feature that automatically shuts off the motor when it overheats. When your “evaporative cooler not pumping water” issue appears suddenly after normal operation, this switch has likely tripped due to excessive heat from a partial clog or binding impeller.
Properly Reset Your Pump’s Overload Protection
-
Locate the Reset Button: Find the small red or black reset button on the pump motor housing, typically near where the electrical connection enters. Before attempting a reset, disconnect all power to the unit and allow the motor to cool completely—this could take 30-60 minutes depending on ambient temperature.
-
Perform the Reset Procedure: Press the reset button firmly until you hear or feel a distinct click. Restore power and test the pump. If it runs briefly then stops again, the motor is still overheating due to an underlying issue like a clogged impeller or failing bearings. Do not repeatedly reset the switch without addressing the root cause, as this can permanently damage the motor.
-
Check for Binding Components: After resetting, manually rotate the impeller (with power disconnected) to verify it spins freely. If it feels stiff or binds at certain points, mineral deposits have likely seized the impeller shaft. Soak the affected parts in descaling solution before attempting another reset.
Troubleshoot Electrical Problems Causing Pump Failure

Electrical issues account for nearly 40% of “evaporative cooler not pumping water” cases according to service records. These problems range from simple tripped GFCIs to more complex control board failures that require systematic testing to diagnose.
Identify and Fix Circuit and Connection Failures
-
Verify Grounding Safety: Before handling any electrical components, confirm your unit has proper grounding per NEC requirements. A swamp cooler with improper grounding can create dangerous stray voltage in the water reservoir—a serious shock hazard. Check for a green or bare copper grounding wire securely connected to both the pump motor and your home’s grounding system. Measure ground-to-neutral voltage with a multimeter; it should read less than 2V AC.
-
Inspect Wiring Connections: Examine all electrical connections at the pump terminals for signs of corrosion, which appears as white or green crusty deposits. Disconnect power and clean affected terminals with a wire brush, then apply dielectric grease before reconnection. Loose connections create high resistance that prevents the motor from starting properly.
-
Test Float Switch Operation: Many coolers incorporate a float switch that prevents pump operation when water levels are too low. If this switch sticks in the “low” position, the pump won’t activate even with adequate water. Manually lift and lower the float while testing for continuity with a multimeter to verify proper switching action.
Identify When Your Evaporative Cooler Pump Needs Replacement
If you’ve completed all diagnostic steps and your “evaporative cooler not pumping water” problem persists, pump replacement may be necessary. Pumps over 10 years old commonly fail due to worn bearings, cracked housings, or burned-out windings that can’t be economically repaired.
Recognize Definitive Pump Failure Signs
-
Burned Motor Smell: A distinct acrid or “burnt” odor indicates failed motor windings—this requires immediate pump replacement. Do not continue running the unit, as this can create fire hazards or damage other components.
-
Visible Housing Damage: Inspect the pump housing for cracks, especially around connection points. These often develop from freezing temperatures or physical impact. Even small cracks cause significant leaks that prevent proper pressure buildup.
-
Excessive Noise and Vibration: While some pump noise is normal, loud grinding or screeching sounds typically indicate severe bearing failure. Check for shaft play by attempting to wiggle the impeller—if movement exceeds 1/16 inch, bearings have worn beyond safe operation limits.
When selecting a replacement pump, match the voltage (almost always 115V AC), flow rate (3-10 GPH for residential units), and connection types to your original pump. Universal replacement pumps work well if specifications align, but OEM parts ensure perfect compatibility.
Restore and Maintain Your Cooler to Prevent Future Pump Failures
Preventative maintenance is your best defense against recurring “evaporative cooler not pumping water” problems. Implement these seasonal practices to keep your system flowing smoothly all summer long.
Implement Proactive Maintenance Strategies
-
Monthly During Cooling Season: Check pump operation visually and by sound, clean the water reservoir of accumulated sediment, and verify proper water levels. Listen for changes in pump noise that might indicate developing problems.
-
Seasonal Deep Cleaning: At the start of each cooling season, perform a complete descaling procedure using white vinegar or commercial descaling agents. Circulate the solution through the entire system for 30 minutes, then thoroughly rinse with clean water. Test the water pH after rinsing—it should read between 6.5 and 7.5 for optimal operation.
-
Hard Water Solutions: If you live in an area with hard water, install an inline water filter or use water treatment tablets specifically designed for evaporative coolers. These simple additions dramatically reduce mineral scale buildup that causes most pump failures. Consider adding a small amount of food-grade citric acid (1 cup per gallon) to your reservoir water to inhibit scale formation.
By methodically working through these diagnostic steps and implementing proper maintenance, you’ll solve your immediate “evaporative cooler not pumping water” problem and prevent most future failures. Remember that safety comes first—always disconnect power before servicing, and verify proper grounding to avoid electrical hazards. With your pump flowing freely again, your evaporative cooler will deliver that signature cool, moist air that makes desert summers bearable.


