
Your couch collects more than just your weight—it’s a magnet for crumbs, pet hair, spilled coffee, and mystery stains that seem to appear overnight. When you’re wondering how do you shampoo a couch properly, you need a method that cleans deep without damaging delicate fabrics or leaving behind sticky residue. Many people make the mistake of simply spraying cleaner and hoping for the best, only to end up with water spots, lingering odors, or worse—shrunken, discolored fabric. This comprehensive guide gives you the exact process professionals use to restore your sofa’s freshness without expensive equipment. You’ll learn how to identify your fabric type, choose the right cleaning solution, and extract dirt from deep within the fibers—transforming your living room centerpiece in just a few hours.
Remove All Debris Before Wet Cleaning
Skipping this critical step guarantees you’ll grind dirt deeper into your fabric when you start shampooing. Begin by stripping all cushions and pillows, checking manufacturer tags for cleaning codes (usually “W,” “S,” “S/W,” or “X”). Use an upholstery attachment to vacuum every surface thoroughly, focusing on seams and crevices where crumbs and pet hair accumulate. For stubborn pet hair, run a rubber glove over the fabric or use a specialized fabric scraper—these create static that lifts embedded hair better than vacuuming alone. If your cushions have removable covers, unzip and launder them separately following care instructions. This initial dry cleaning removes 70% of surface contaminants, preventing mud rings when you apply liquid solutions.
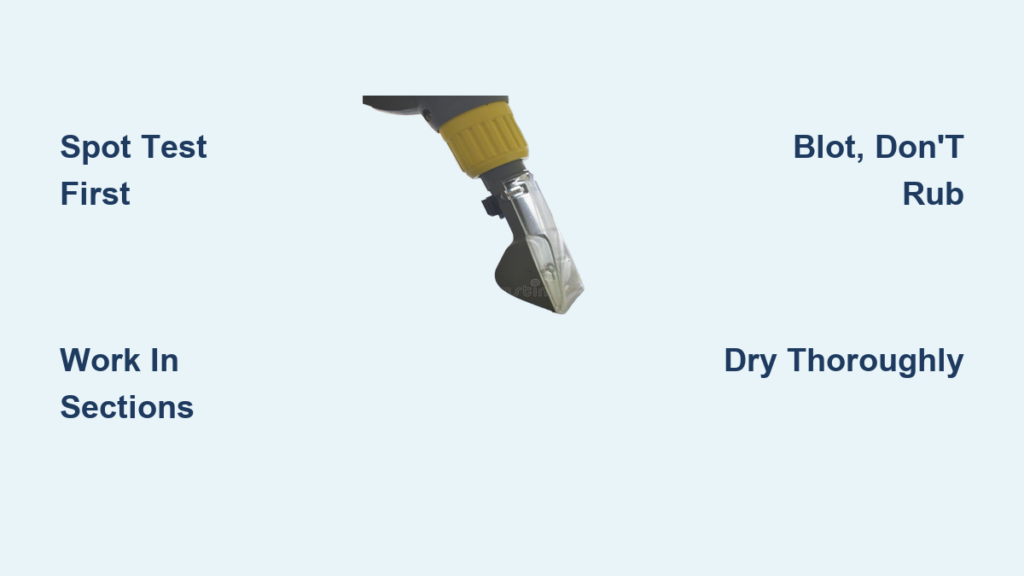
Spot Test Every Cleaning Solution First
Never apply any cleaner to visible areas without testing—it takes just one mishap to permanently damage expensive upholstery. In a completely hidden area (like the back of a cushion or underneath the seat), apply your chosen solution and wait 24 hours. Check for three critical reactions: color bleeding (dye transfer to white cloth), texture changes (fabric stiffening or pilling), and shrinkage (measured with a ruler). For alcohol-based cleaners like vodka or isopropyl solutions, watch for rapid evaporation that might leave residue. If testing reveals problems, switch solutions immediately—vinegar-water mixtures work for most fabrics but can damage leather or silk blends. This 24-hour wait prevents costly mistakes that would require professional restoration.
Create Effective Cleaning Solutions for Different Fabrics
Your cleaning solution must match your fabric type to avoid damage while maximizing cleaning power. For most synthetic blends (polyester, nylon), mix ¼ cup white vinegar with 1 cup warm water in a spray bottle—this cuts grease without harsh chemicals. Natural fibers like cotton or linen respond better to a borax solution: dissolve 2 tablespoons borax in 2 cups warm water. For delicate fabrics or immediate odor removal, combine ½ cup vodka with 1 cup water and 10 drops essential oil in a spray bottle (alcohol evaporates quickly, minimizing drying time). Critical warning: Never mix baking soda and vinegar—they neutralize each other, creating ineffective sodium acetate and carbon dioxide gas. Always shake solutions well before application.
Why Vinegar Works Better Than Commercial Cleaners
Vinegar’s acetic acid breaks down organic stains while disinfecting—unlike soap-based cleaners that leave residue attracting more dirt. The vinegar smell disappears completely during drying, typically within 2 hours. For protein-based stains (blood, sweat), add 1 teaspoon salt to your vinegar solution to help lift discoloration. Test any solution on hidden areas first, especially with vintage or antique upholstery where dyes may be unstable.
Work in Small Sections with Proper Agitation
How do you shampoo a couch effectively? Treat it like professional carpet cleaning—work in 2×2 foot sections to prevent over-saturation. Lightly mist your solution onto the fabric (never soak), then use a soft-bristled brush in gentle circular motions to work the cleaner into fibers. For heavy soil on armrests or seat cushions, increase agitation slightly but avoid scrubbing that damages fabric weave. If using a drill with upholstery brush attachment, set it to lowest speed to prevent fraying. After 5-7 minutes of dwell time (letting solution penetrate), immediately proceed to extraction—leaving cleaner too long can set stains rather than lift them.
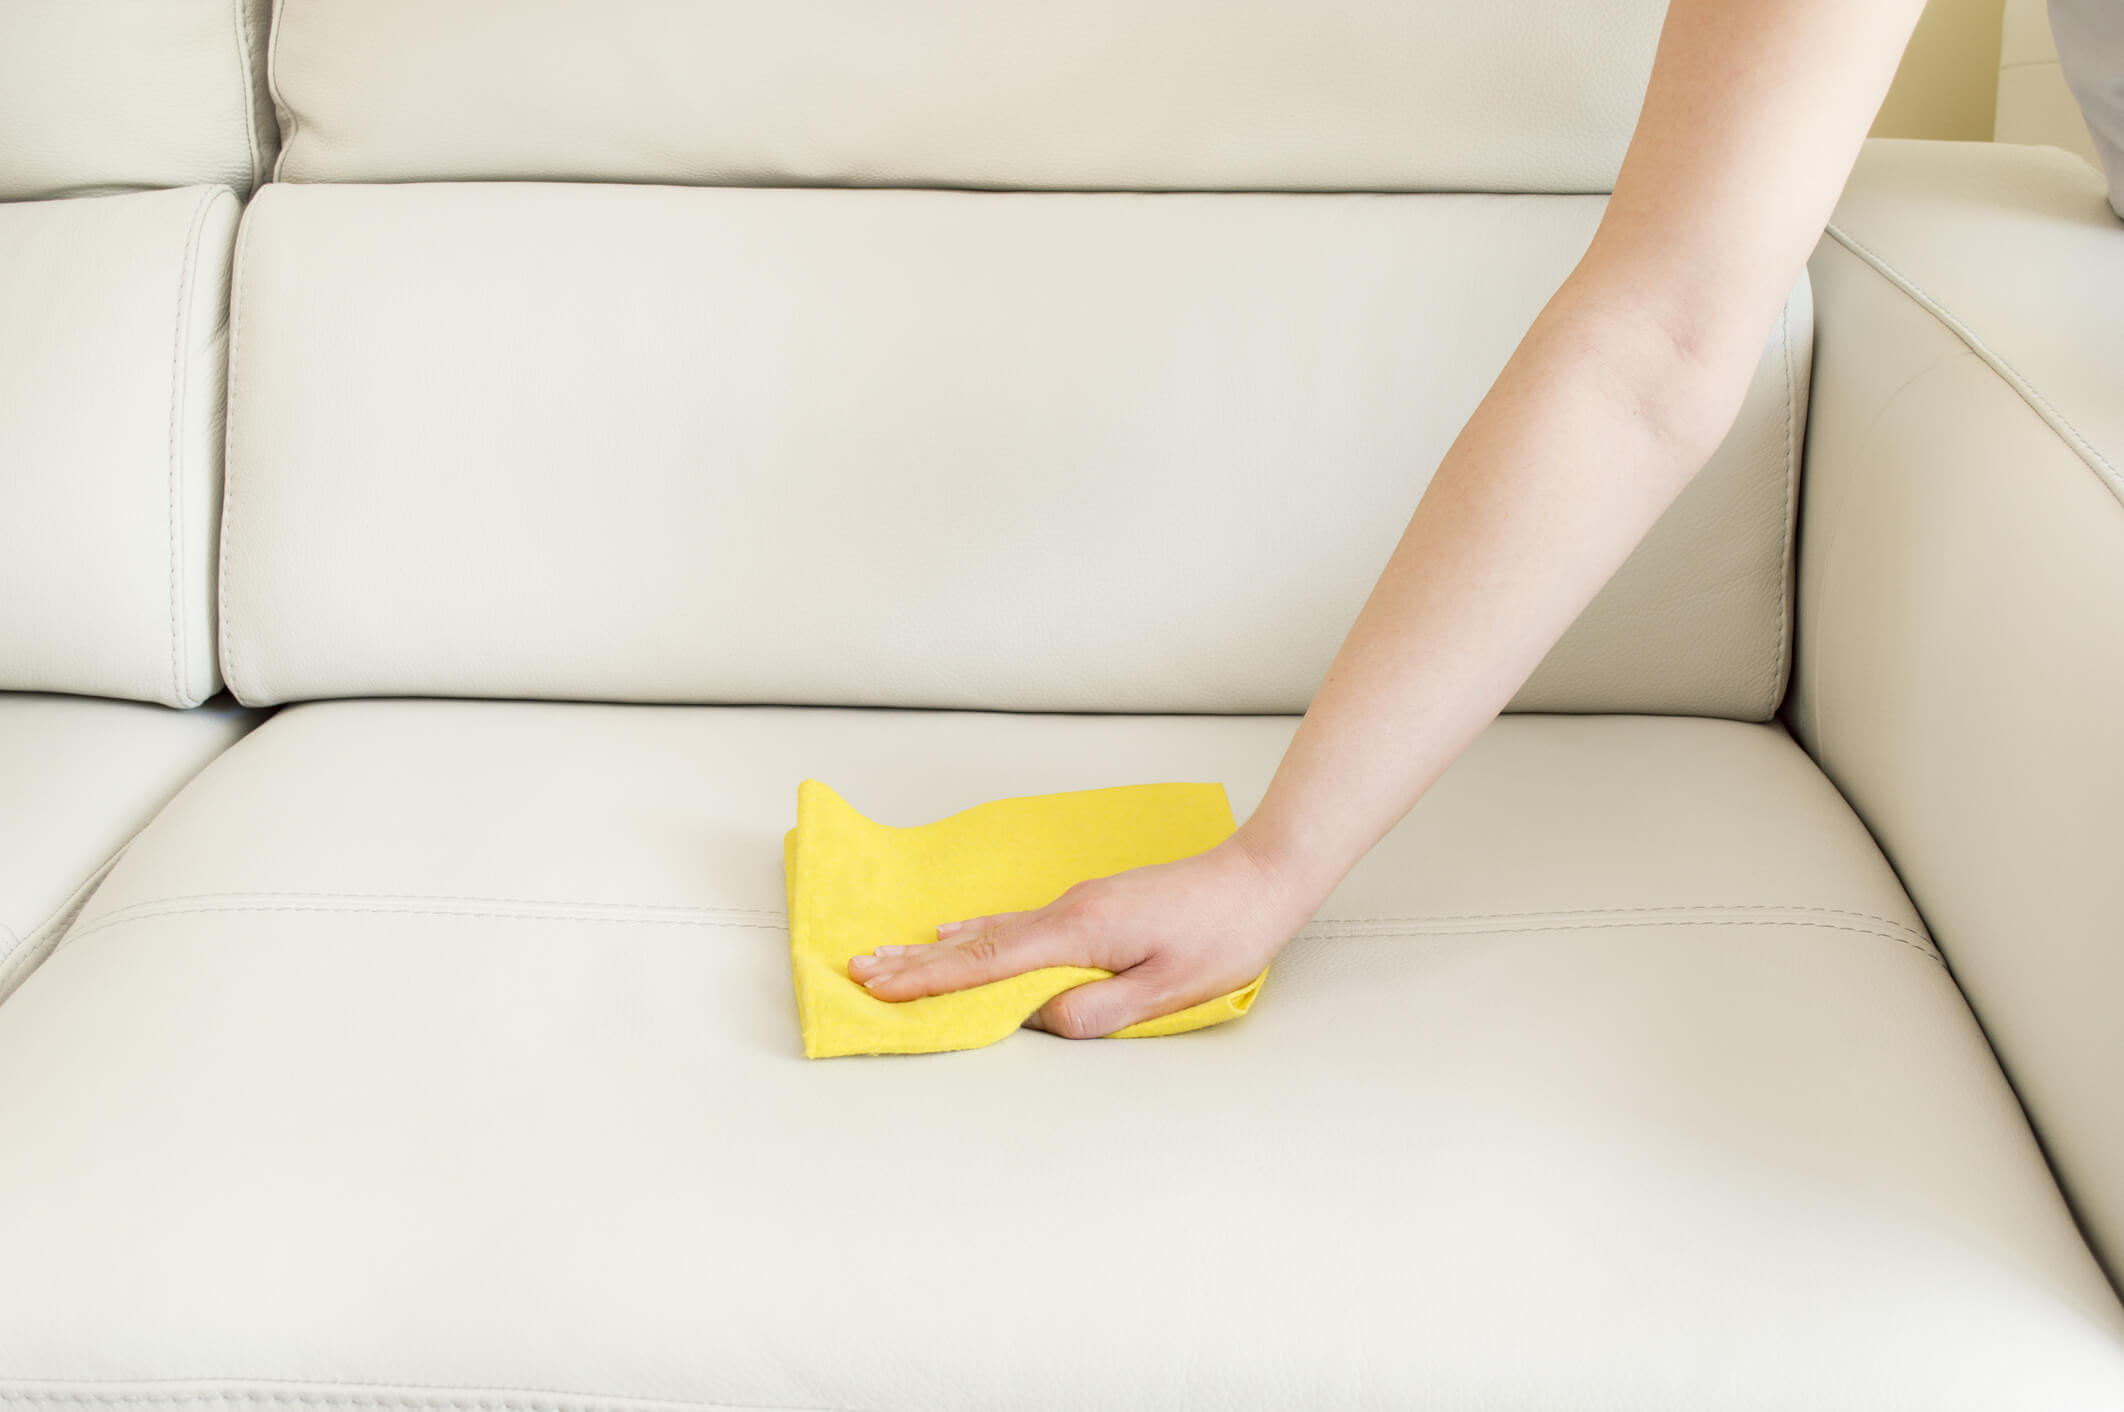
Extract Residue with Towel Blotting Technique
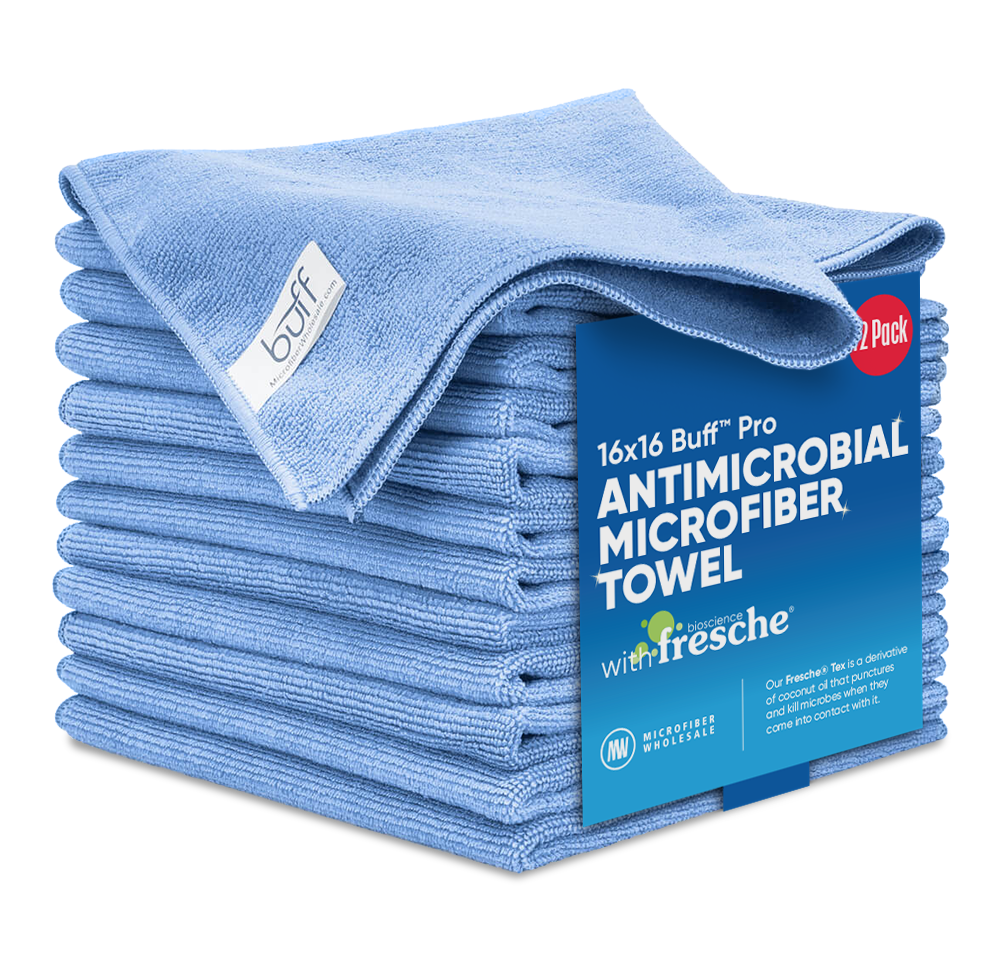
This step makes the difference between a clean couch and one that re-soils quickly. Stack 3-4 clean white microfiber towels, fold them into quarters, and press firmly onto the cleaned section without rubbing. Lift and repeat with dry areas of the towel until no more suds transfer. For stubborn residue, dampen a separate towel with cold water and repeat the blotting process—this rinses soap from fibers. Pro tip: Place a dry towel between cushion layers during extraction to wick moisture from hidden areas. Check your towels frequently; if they’re coming away dirty, reapply cleaner and repeat the process. Skipping thorough extraction leaves sticky residue that attracts dirt faster than before cleaning.
Accelerate Drying with Strategic Airflow
Moisture trapped in foam padding causes mold within 24 hours—never use your couch until completely dry. First, stand cushions on their edges to expose all surfaces, then position oscillating fans to blow across (not directly at) the fabric. Open windows for cross-ventilation but avoid direct sunlight that can fade colors. Check hidden areas by inserting your hand between cushion layers—any coolness indicates remaining moisture. In humid climates, run a dehumidifier nearby to cut drying time from 24 hours to 8-12. Critical mistake to avoid: Placing plastic-covered cushions back on the frame traps moisture against wood, potentially causing structural damage.
Eliminate Set-In Stains with Targeted Treatments
For red wine or pet accidents that penetrated deep into padding, create a paste of baking soda and water, apply to the stain, and let dry completely before vacuuming. Ink stains require isopropyl alcohol on a cotton swab—dab (don’t rub) from the stain’s edge inward. To neutralize odors without chemicals, sprinkle baking soda liberally, wait 15 minutes, then vacuum thoroughly. For persistent organic stains, probiotic cleaners work best—beneficial microbes consume odor-causing bacteria over 24-48 hours. Always treat stains immediately; waiting more than 48 hours makes complete removal unlikely.
Apply Fabric Protection After Cleaning
Once completely dry, spray a thin, even coat of fabric protector like Scotchgard to create a stain-resistant barrier. Hold the can 12 inches from the surface and apply in sweeping motions—over-spraying causes stickiness. This step extends time between deep cleanings by 50-75%. For households with pets or children, use washable slipcovers on seating areas as your first line of defense. Establish a maintenance routine: vacuum weekly with upholstery attachment, spot clean monthly, and deep clean every 6 months. Immediate attention to spills (blot don’t rub!) prevents 90% of permanent stains.
Avoid These Costly Shampooing Mistakes
Three critical errors ruin more couches than dirt itself: oversaturating fabric (causing mold in padding), using bleach on colored fabrics (irreversible discoloration), and skipping spot tests (leading to $300+ professional repairs). Never use steam cleaners on “X” code fabrics (dry clean only), and avoid ammonia-based products like Windex on silk or wool—these can dissolve protein fibers. For antique furniture, consult a professional before DIY cleaning; the cost of restoration far exceeds professional cleaning fees. If you notice persistent dampness after 24 hours or musty odors, stop using the couch immediately and inspect for mold growth in seams.
Knowing how do you shampoo a couch properly saves hundreds in replacement costs while extending your furniture’s life by years. The key is matching your method to your specific fabric type and acting quickly on stains. For most households, quarterly vinegar-based cleaning combined with weekly vacuuming keeps couches looking new. If you encounter major stains, structural damage, or mold growth, professional cleaning ($100-$300) becomes the smarter investment. Implement this routine now, and your couch will stay fresh, clean, and inviting for family movie nights, game days, and everything in between—without the worry of hidden dirt or lingering odors.


