
Nothing ruins your driving experience faster than stained, dirty car seats that make your vehicle feel neglected and uninviting. Whether you’re dealing with coffee spills, muddy footprints, or the inevitable wear from daily use, knowing how do you shampoo car seats properly can transform your vehicle’s interior from dingy to dazzling. Many car owners mistakenly think professional detailing is the only solution, but with the right technique and equipment, you can achieve professional-level results at home. This guide cuts through the confusion to deliver a precise, step-by-step method that actually works—without damaging your upholstery or leaving behind moisture that leads to mold growth.
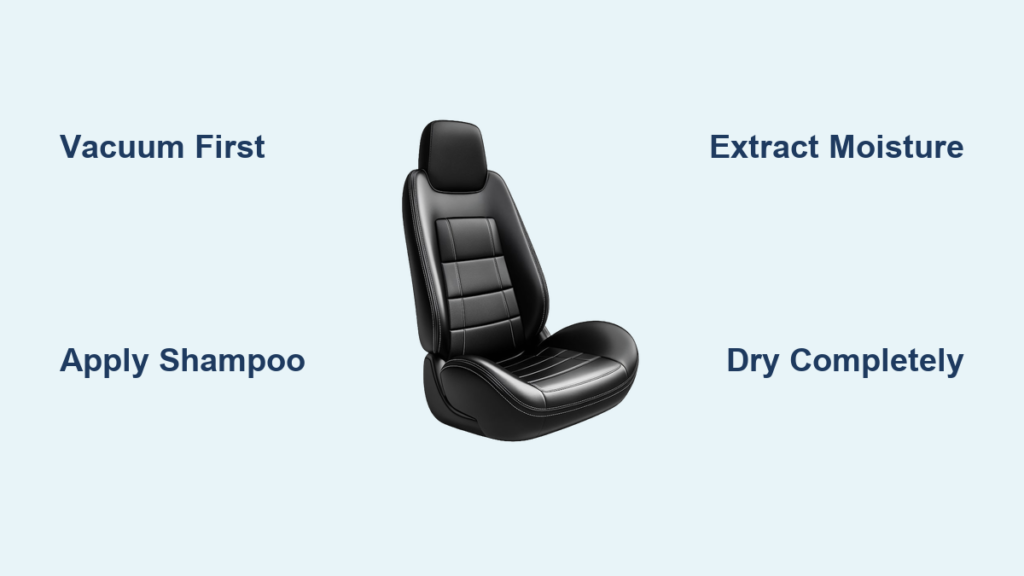
Attempting to clean car seats with household cleaners or improper techniques often creates more problems than it solves. Over-saturation causes extended drying times, inadequate extraction leaves sticky residues that attract new dirt, and using the wrong products can permanently damage fabric. The key to successful car seat shampooing lies in understanding the specific cleaning cycle that automotive upholstery requires—dry vacuuming, targeted shampoo application, thorough extraction, and proper drying. By following this precise sequence, you’ll not only remove existing stains but also extend the life of your car’s interior while preventing common pitfalls that lead to musty odors and premature wear.
Essential Tools for Effective Car Seat Shampooing
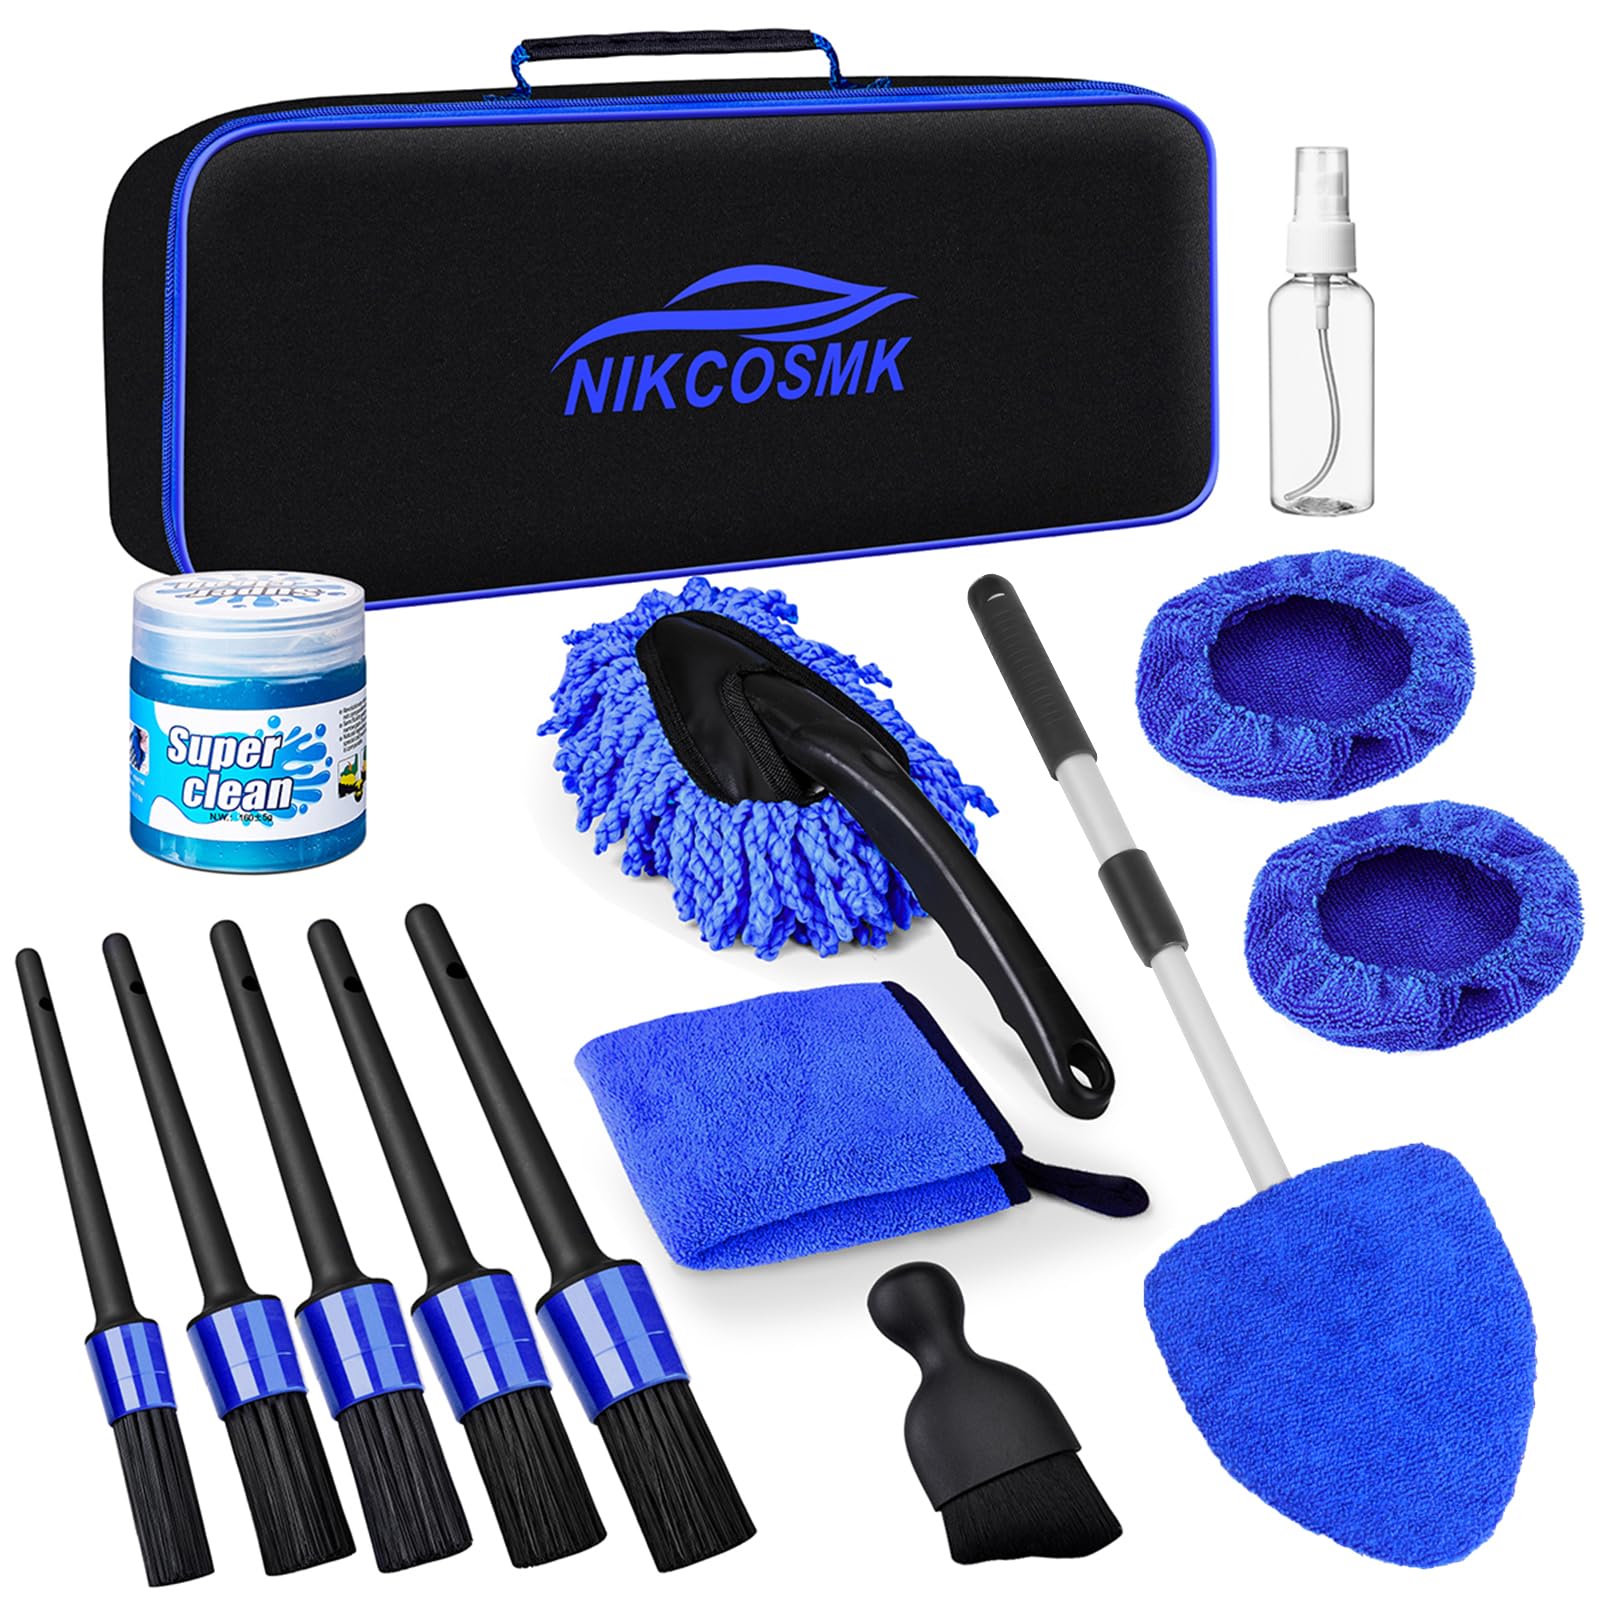
Before you begin shampooing, gather these specific tools that make the difference between mediocre results and professional-quality cleaning. Using a carpet shampooer with a brush attachment specifically designed for upholstery is far more effective than improvised household methods. You’ll need an automotive fabric cleaner formulated for car interiors—not regular household cleaners that can damage UV-protected automotive fabrics. A powerful vacuum with upholstery attachments is non-negotiable for the critical pre-cleaning stage, while a wet/dry vacuum or handheld carpet extractor like the BISSELL Little Green Machine handles the essential moisture extraction phase.
Your toolkit should include microfiber towels (never use paper towels that can leave lint), soft and stiff-bristled brushes for different cleaning tasks, and protective gear including rubber gloves. Many car owners skip the stiff-bristled brush for caked-on dirt, but this oversight leaves ground-in debris that dulls your fabric’s appearance. For stubborn stains, have specialized automotive stain removers ready rather than relying solely on general upholstery cleaner. The right equipment prevents the common mistake of over-wetting your seats, which leads to mold growth in the foam padding beneath your upholstery—a problem that often doesn’t appear until weeks after cleaning.
Step 1: The Critical Vacuum Pre-Treatment Process
Skip this step and you’ll grind dirt deeper into your fabric, accelerating wear and reducing cleaning effectiveness. Begin by removing all floor mats and personal items from your vehicle, then set your vacuum to maximum suction. Use the upholstery attachment to methodically vacuum every surface of your seats, paying special attention to the crevices where the seat cushion meets the backrest and along seams where debris accumulates. Work slowly in overlapping passes, spending at least two minutes per seat to remove embedded hair, crumbs, and fine particles that regular wiping misses.
This vacuum pre-treatment serves two crucial purposes: it prevents abrasive particles from scratching fabric fibers during shampooing, and it keeps your cleaning solution from becoming contaminated with loose debris that would otherwise redeposit onto your seats. Many car owners rush through this phase, but professional detailers recommend vacuuming until you hear the suction sound change—indicating most loose debris has been removed. For leather seats (which require different cleaning methods), this vacuuming step remains essential to prevent scratching during subsequent cleaning.
Step 2: Targeted Shampoo Application and Agitation
Apply your automotive fabric cleaner following the manufacturer’s instructions, but never saturate the fabric—damp is sufficient. Start with heavily soiled areas, applying cleaner directly to stains and letting it dwell for 3-5 minutes to break down soil. For general cleaning, spray an even mist across the seat surface, working in manageable sections about 2×2 feet. Immediately after application, use a soft-bristled brush in circular motions to work the cleaner deep into the fabric fibers, focusing on high-wear zones like the driver’s seat bolster and lower cushion where dirt accumulates most.
Agitation is where most DIY attempts fail—either too gentle to reach deep soil or too aggressive, damaging fabric fibers. The proper technique creates visible foam without soaking the material. For particularly stubborn stains like coffee or food spills, a second application with a specialized stain remover may be necessary before proceeding to extraction. Always work from the top of the seat downward to prevent dirty runoff from re-soiling cleaned areas. This precise application method prevents the common issue of residue buildup that attracts new dirt within days of cleaning.
Step 3: Complete Moisture Extraction to Prevent Mold
This extraction phase determines whether your cleaning job lasts weeks or months. Using your wet/dry vacuum or carpet extractor, slowly pull the dirty solution from the fabric with overlapping passes. Maintain firm contact between the extraction tool and the seat surface, moving at a pace that allows maximum moisture removal—typically 1-2 inches per second. Pay special attention to seams and crevices where moisture pools, making multiple passes if necessary. For heavily soiled areas requiring reapplication, complete full extraction before reapplying cleaner to avoid over-saturation.
The critical mistake most car owners make is stopping extraction too soon. Proper extraction removes not just visible moisture but also the dirty solution trapped deep in the fabric backing. To verify thorough extraction, press a clean, dry microfiber towel firmly against the cleaned area—if it picks up any moisture, continue extraction. This step prevents the wicking phenomenon where residual moisture carries remaining soil to the surface as it dries, creating the appearance of stains reemerging days after cleaning. Complete extraction typically takes 2-3 times longer than the shampoo application phase but is essential for lasting results.
Step 4: Accelerated Drying Techniques That Prevent Musty Odors
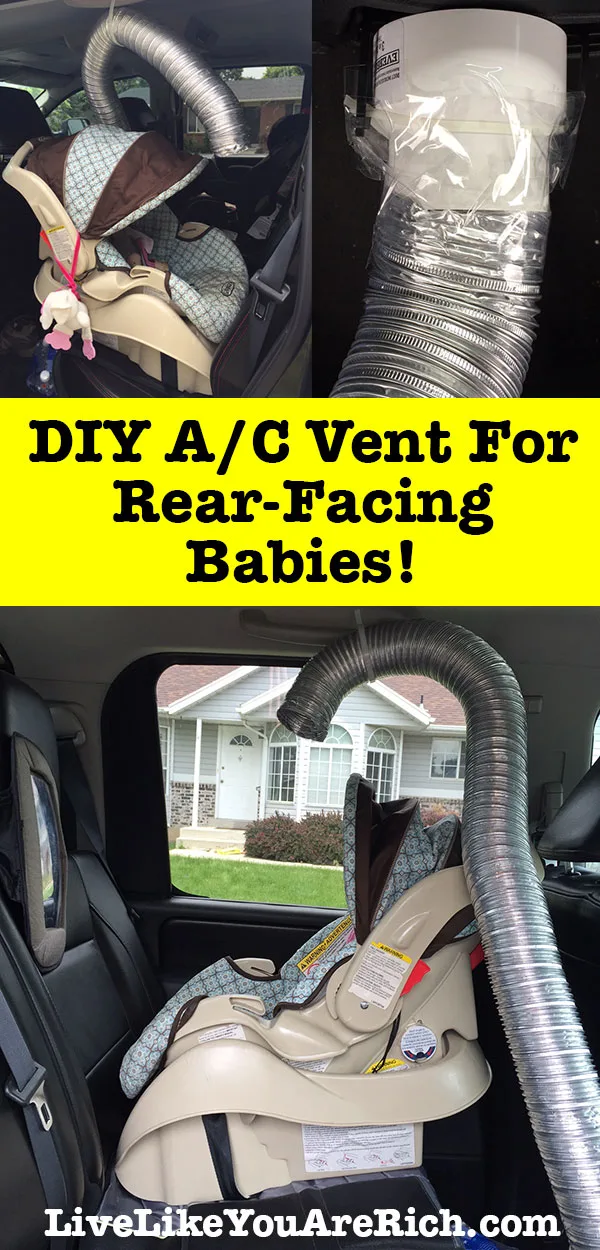
Proper drying isn’t just about convenience—it prevents costly damage from mold and mildew growing in your seat foam. Immediately after extraction, use dry microfiber towels to blot the surface, applying firm pressure without rubbing. For best results, park your vehicle in a shaded, well-ventilated area with windows cracked open. Place oscillating fans inside the car directed at the seats, or use a portable dehumidifier to accelerate moisture removal from the air. Avoid direct sunlight, which can fade upholstery while creating uneven drying that promotes mold growth in shaded areas.
Most car owners mistakenly believe seats are dry when the surface feels dry, but moisture often remains deep in the foam padding. Allow at least 4-6 hours of drying time before using your vehicle, and never cover seats with plastic or seat covers while damp. For stubborn moisture, place clean, dry towels on the seats and sit on them briefly to draw out residual dampness through body weight—replacing towels as they absorb moisture. This thorough drying process prevents the musty odors that develop when trapped moisture interacts with organic matter in the fabric, a common problem with rushed cleaning jobs.
Pro Tips to Prevent Stain Reemergence After Shampooing

Even after seemingly perfect cleaning, some stains reappear as the fabric dries—a frustrating phenomenon called “wicking.” This occurs when residual soil in the foam backing migrates to the surface through capillary action. Prevent this by ensuring complete extraction during the cleaning phase and allowing seats to dry partially (about 50%) before applying a second round of extraction. For persistent wicking issues, apply a second cleaning cycle after the initial drying phase, focusing specifically on areas where stains reappear.
Always test cleaning solutions on an inconspicuous area like the bottom of the seatback before full application, as some automotive fabrics have protective coatings that react poorly to certain chemicals. Never use excessive amounts of cleaner thinking “more is better”—this creates residue that attracts new dirt faster than untreated fabric. For food and beverage stains, immediate attention prevents setting, but for older stains, multiple cleaning sessions spaced 24 hours apart yield better results than aggressive single attempts that damage fabric.
When to Call Professionals for Car Seat Cleaning
While home shampooing works well for routine maintenance, certain situations warrant professional intervention. If your seats have delicate fabrics like Alcantara or manufacturer-specific upholstery requiring special care, professional detailers have the expertise and equipment to clean without damage. For severe contamination from mold, mildew, or biological matter, professionals use antimicrobial treatments that home methods can’t replicate. Vehicles with integrated seat heaters or complex electronic components in the seats also benefit from professional handling to avoid water damage to sensitive systems.
Consider professional cleaning when home methods fail to remove persistent stains or odors, as they have access to industrial-strength extraction equipment that removes significantly more moisture than consumer models. The cost of professional cleaning (typically $100-$250) often proves worthwhile when compared to premature seat replacement costs exceeding $500 per seat. For most routine maintenance, however, mastering the proper home shampooing technique delivers excellent results while extending the time between professional detailing sessions.


