
That first winter storm has dusted your neighborhood with fresh snow, and the kids are begging to sled. But before you send them down the hill on their plastic saucers, ask yourself: how many inches of snow needed to sled without scraping knees on hidden rocks? Most families discover too late that a thin dusting creates painful wipeouts—not exhilarating runs. The truth is, you need at least 4 to 6 inches of packed snow for safe, enjoyable sledding on typical neighborhood hills, with 6 to 12 inches being the sweet spot for speed and safety. Anything less turns your backyard slope into a hazard course where sleds catch on grass patches and roots. Let’s break down exactly what snow depth works for your specific hill, sled type, and snow conditions—so your next sled day ends with laughter, not tears.
Why 2 Inches of Snow Will Ruin Your Sled Run
That light 2-inch dusting might look magical, but it’s dangerously inadequate for most sledding. At this depth, grass blades and uneven terrain still dictate your ride. Here’s what happens when you ignore minimum depth requirements:
- Sleds snag on exposed grass: Plastic runners catch between blades, causing sudden stops that throw riders forward
- Hidden roots become hazards: Even small roots can flip saucers when snow is too thin
- Rocks create impact zones: A hidden stone at 2 inches depth feels like hitting pavement
When 2-3 Inches Might (Barely) Work
Only attempt sledding at this minimal depth if all three conditions are met:
– Your hill is a perfectly smooth, grass-free slope (like a baseball diamond)
– Temperatures are near freezing, creating packed, wet snow
– You’re using a flexible flyer sled with runners (not a low-riding saucer)
Pro tip: Press your gloved hand into the snow. If you feel firm ground resistance within 1 inch, add at least 2 more inches before sledding. Thin snow compresses rapidly during the first few runs, exposing hazards faster than you expect.
The 4-6 Inch Safety Threshold for Most Hills
Forget “just enough” snow—4 to 6 inches is the critical safety buffer that separates fun from fractures. This depth provides essential ground coverage while allowing optimal speed. Here’s why this range works for 90% of neighborhood sledding:
How 4 Inches Saves You From Hidden Dangers
At this depth, snow begins to conceal common hazards:
– Grass patches: Fully covered on gentle slopes
– Small sticks: No longer create jarring impacts
– Shallow roots: Cushioned enough to prevent flipping
Warning: On steeper hills (>15° incline), 4 inches is still risky. Walk the entire path—kneeling to press snow down—and check for thin spots where snow depth drops below 3 inches near trees or drainage ditches.
Why 6 Inches is the Goldilocks Zone
Six inches of packed snow transforms sledding because:
– Creates a continuous “runway” that smooths out minor bumps
– Allows sleds to build momentum without catching on terrain
– Provides impact absorption equivalent to 3 inches of foam padding
Time-saver: Pack the trail yourself first! Make 3-5 test runs on foot while dragging a sled behind you. This compresses the base layer, effectively adding 1-2 inches of functional depth even if the total measurement is only 5 inches.
Snow Type Changes Everything: Powder vs. Wet Snow Depths
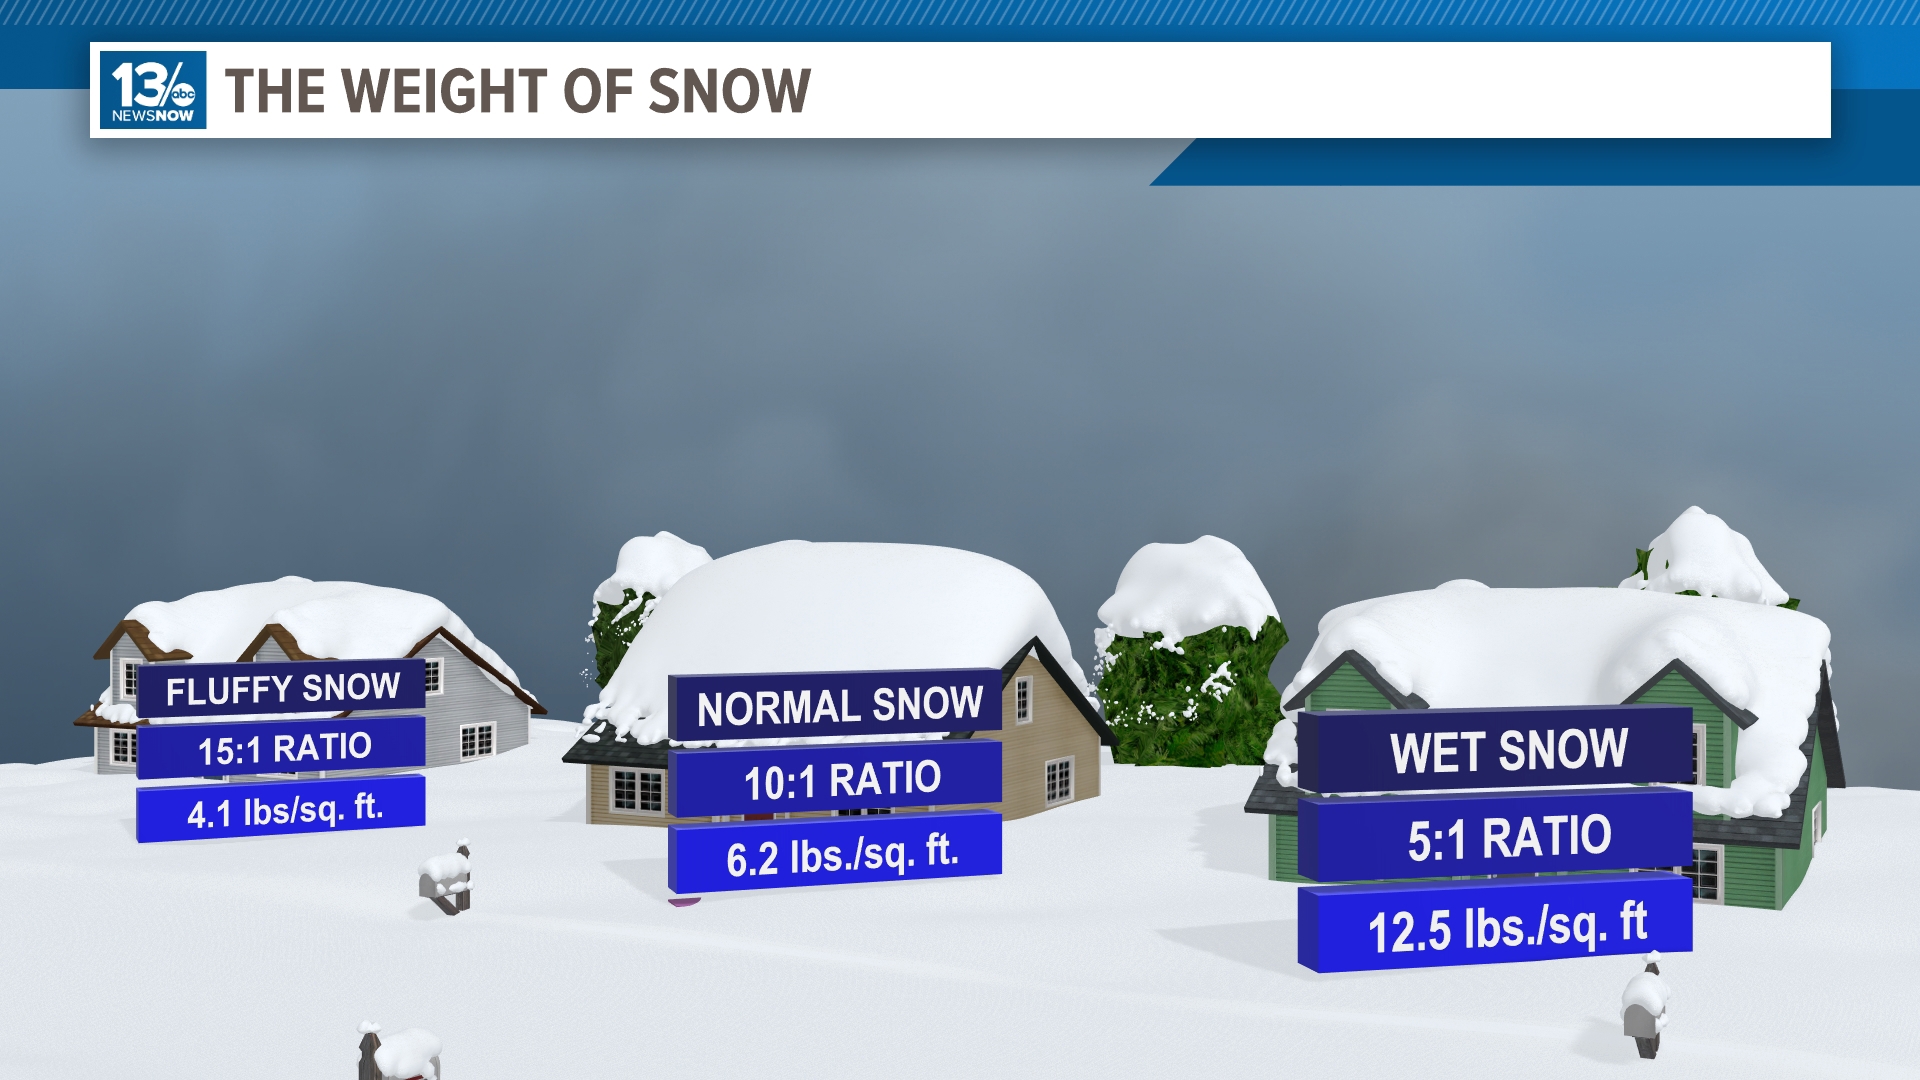
Your thermometer determines how much snow you actually need—not just the ruler. Here’s how snow physics affects minimum depth requirements:
Why Wet Snow Needs Less Depth Than Powder
| Snow Type | Minimum Depth | Why It Works | Danger Signs |
|---|---|---|---|
| Wet, packing snow (28-32°F) | 4 inches | Heavy snow creates dense base layer | Snowballs won’t form → too icy |
| Light powder (below 20°F) | 6+ inches | Fluff compresses under sled weight | Sled sinks >2 inches during test run |
| Crusty snow | 3 inches | Hard shell supports weight | Visible cracks or “whumpf” sounds |
Critical insight: One inch of wet snow provides more ground coverage than 3 inches of powder. When temperatures hover near freezing, that 4-inch snowfall may function like 6 inches of deep powder. Always test by pressing firmly with your palm—if snow compresses more than 1 inch, add 20% to your minimum depth.
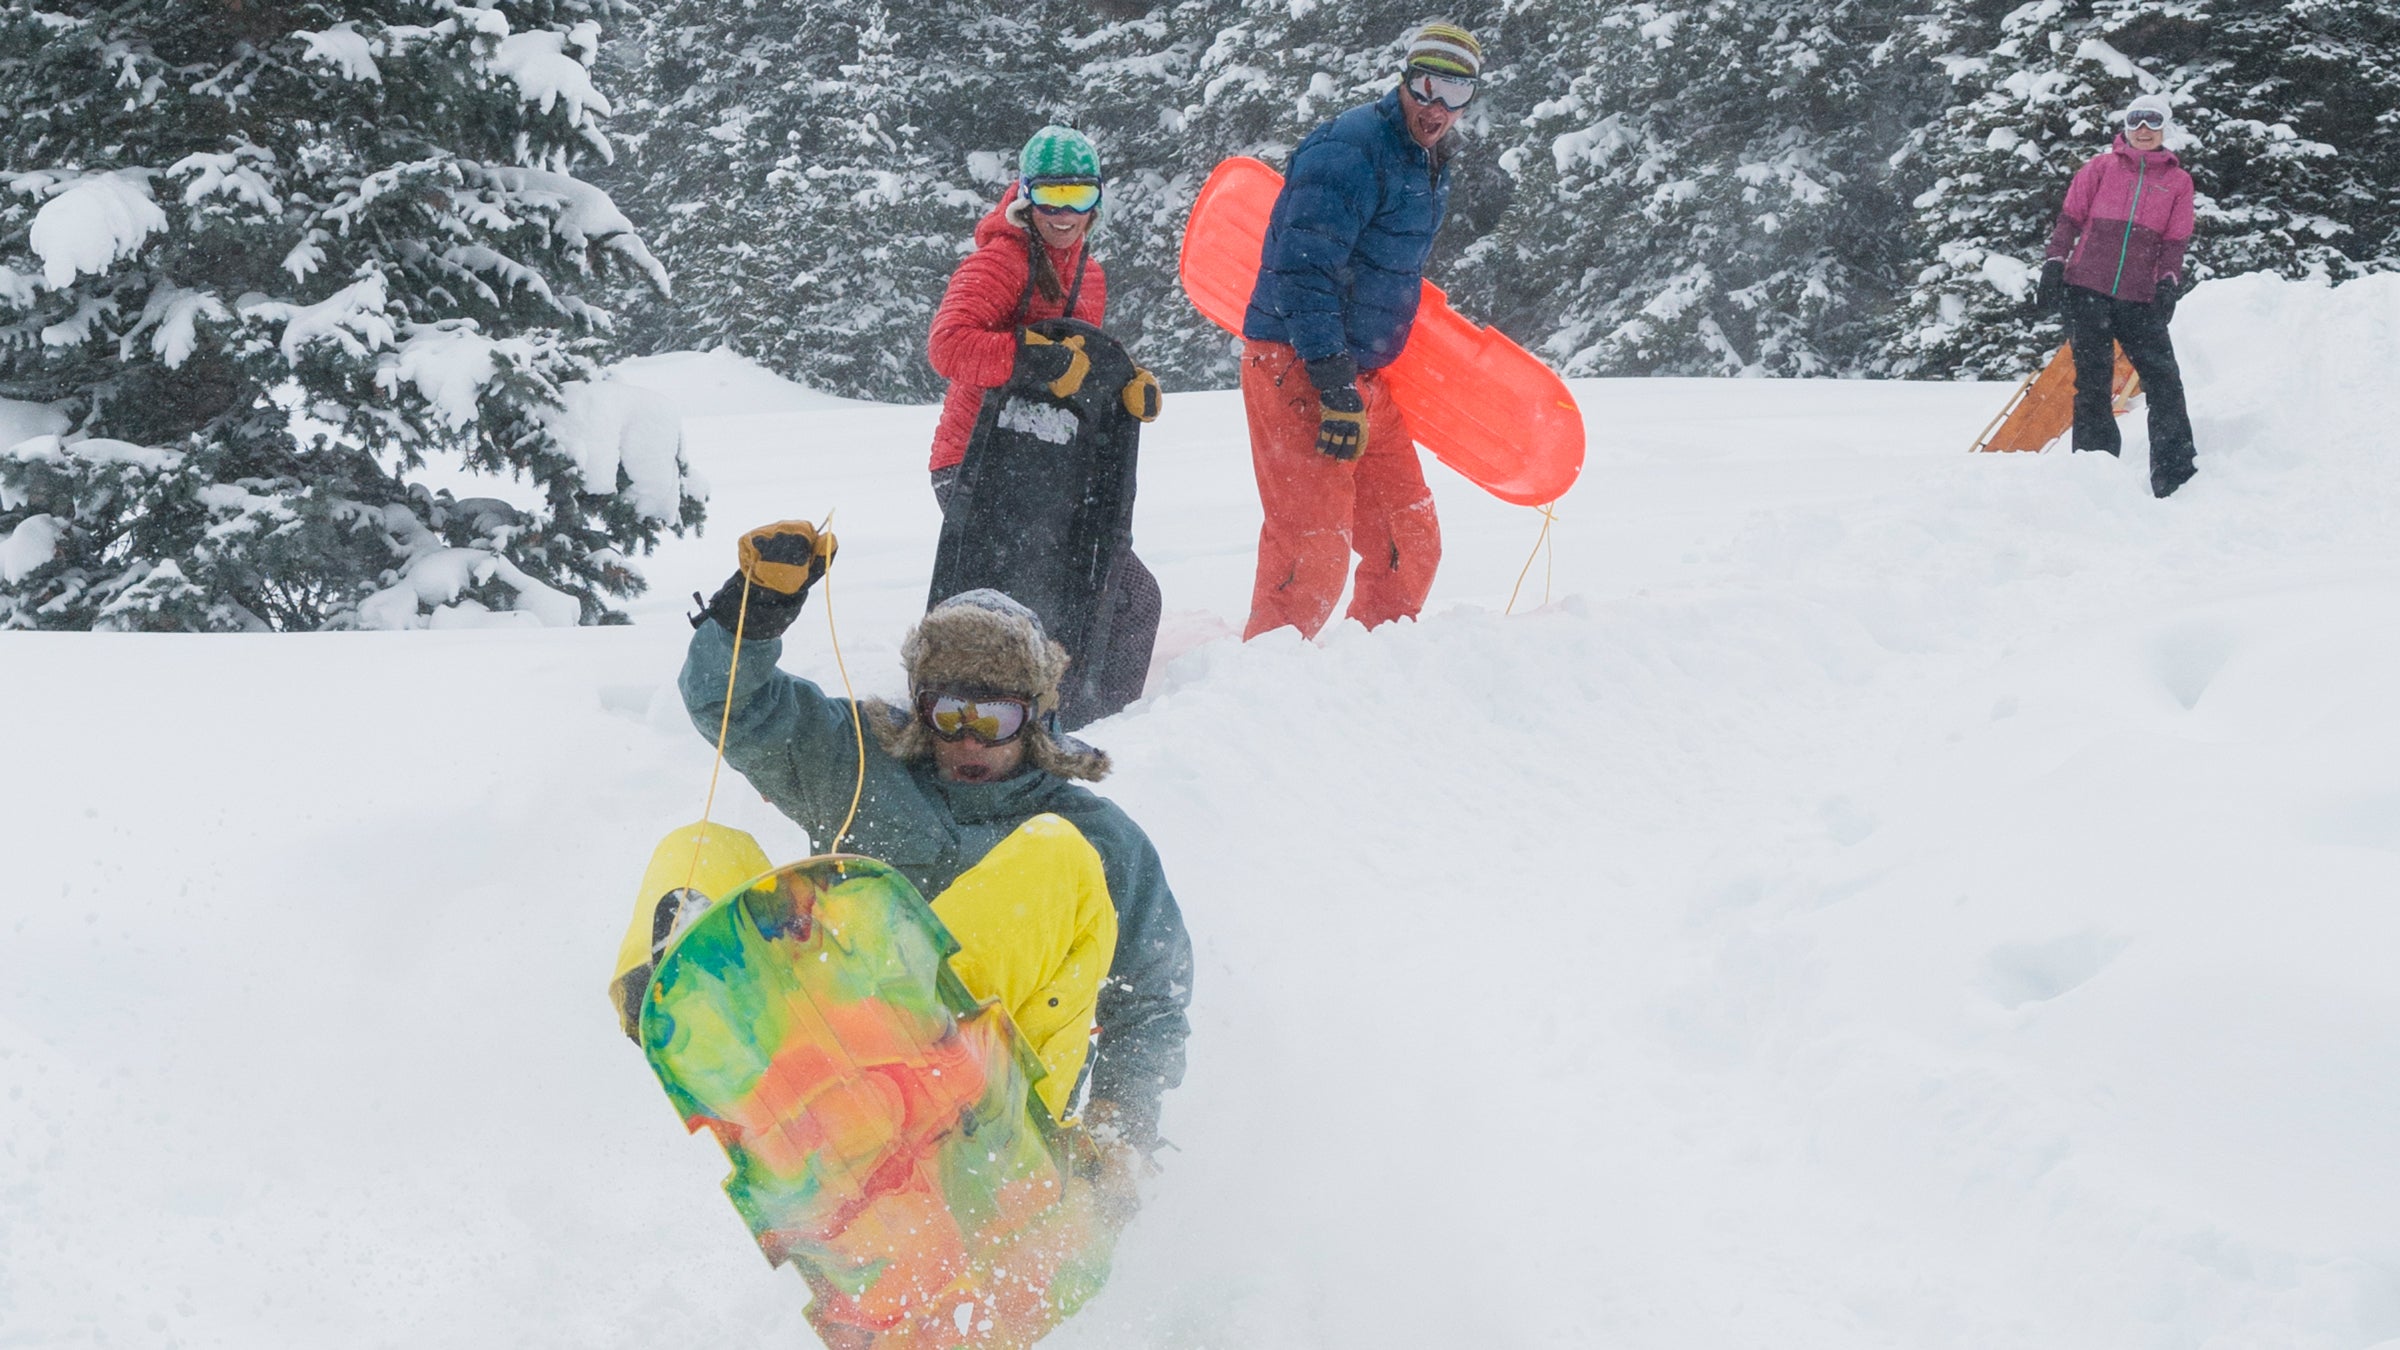
Sled-Specific Depth Rules: Don’t Guess With Your Saucer
Your sled type dictates the true minimum depth. That trendy inflatable tube needs significantly more snow than Grandpa’s old Flexible Flyer:
Toboggans and Runner Sleds: The 4-Inch Minimum
Metal runners on Flexible Flyers or wooden toboggans require precise depth:
– 4 inches: Bare minimum on smooth, packed snow
– 5+ inches: Essential for hills with any slope (>10°)
– Danger zone: At 3.5 inches, runners catch on grass blades causing violent stops
Visual cue: Look for parallel runner tracks after a test run. If tracks are deeper than 1 inch, snow is too soft—wait for colder temps to firm it up.
Saucers and Tubes: Demand 6+ Inches
Low-riding sleds sit dangerously close to the ground:
– Saucers: Need 5-6 inches minimum (their curved edge catches on terrain)
– Inflatable tubes: Require 6+ inches—thin snow exposes the tube’s seam ridge
– Cardboard: Only attempt at 4+ inches on gentle slopes (shreds quickly)
Pro move: Before sending kids down, slide the empty sled down the hill. If it stops abruptly or wobbles violently, snow depth is insufficient—no matter what the ruler says.
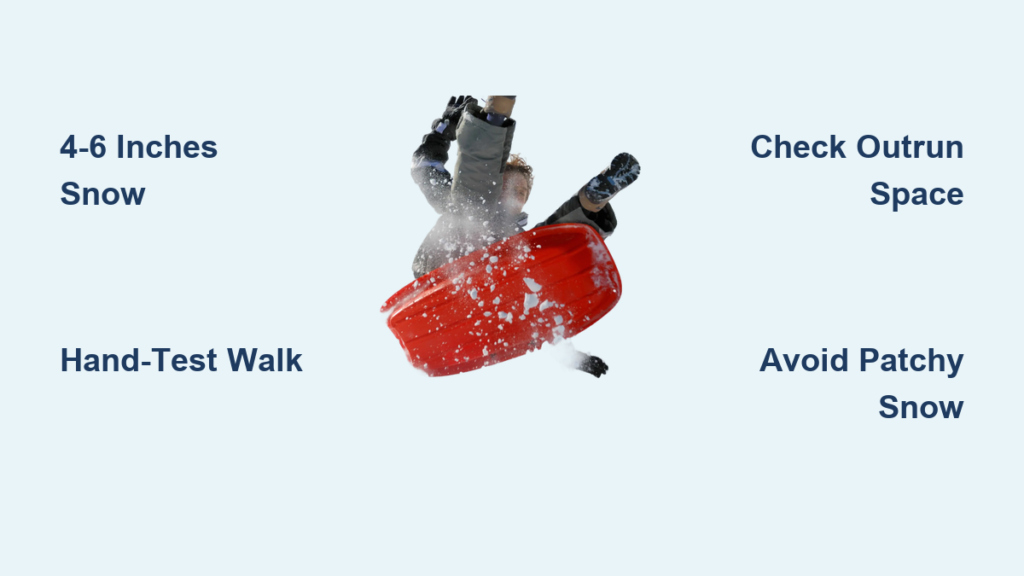
5 Safety Checks Before Your First Sled Run (Non-Negotiable)
Snow depth alone won’t keep riders safe. These checks prevent 80% of sledding injuries according to emergency room data:
- The Hand-Test Walk: Walk the entire path pressing snow down with gloved hands. Stop immediately if you feel ANY solid resistance (rocks/roots)
- Outrun Verification: Ensure 50+ feet of flat, obstacle-free space at the bottom (no roads, trees, or frozen ponds)
- Ice Scan: Crouch and look across the slope for glassy patches—icy sections need 2+ inches extra depth
- Visibility Check: Never sled hills where the bottom isn’t visible from the top
- One Rider Rule: Enforce single riders—group sledding increases collision risk by 300%
Red flag: If you see grass blades poking through after 3 runs, stop immediately. Snow compaction has reduced functional depth below safe levels.
When to Cancel Sledding: 4 Danger Signs You’re Ignoring
Don’t let enthusiasm override safety. Cancel plans if you spot:
- Patchy coverage: Any area where snow depth drops below 3 inches
- “Grass peek-a-boo”: Green showing through even in small patches
- Sled vibration: Handle buzzes during test runs (indicates ground contact)
- Temperature swings: Daytime thaw followed by freezing creates hidden ice layers
Expert note: The National Safety Council reports 52% of sledding ER visits occur on hills with ≤3 inches of snow. That “just enough” snow depth is statistically the most dangerous condition.
Ideal Conditions: Why 8+ Inches Creates Perfect Runs
For that viral-worthy sledding day where tubes fly and laughter echoes, target 8-12 inches of packed snow. This depth delivers:
– Smooth, uninterrupted runs even on bumpy terrain
– Natural banking on turns (snow compacts into walls)
– Impact absorption for jumps or high-speed sections
– Consistent depth after 20+ runs
Regional tip: In the Northeast, 6 inches often suffices due to wet snow density. But in Colorado’s powder country, aim for 10+ inches—the dry snow provides less cushioning per inch.
Final Takeaway: The magic number for safe, fun sledding isn’t fixed—it’s 4 to 6 inches minimum for most hills, scaling up to 8+ inches for steep terrain or low-riding sleds. Never trust snow depth alone: always perform the hand-test walk and verify your outrun area. When that next storm dusts your neighborhood, measure depth at multiple points (not just the top), consider your snow’s moisture content, and match it to your sled type. Remember—the difference between a storybook sled day and a trip to urgent care often comes down to a single inch of snow. Wait for that extra dusting if depth feels marginal—it’s the only safety gear you can’t borrow from a neighbor. For more winter safety tips, check our guide to building injury-proof snow forts.


