
Struggling to find an affordable way to add sled dragging to your strength training? You’re not alone. Many athletes and fitness enthusiasts want to know how to build a drag sled that’s both effective and budget-friendly, but they get stuck with designs that tip over or fail under load. After testing dozens of community-submitted designs, I’ve identified the most reliable methods that actually work for serious training.
Forget expensive commercial sleds costing hundreds of dollars. This guide reveals proven DIY drag sled builds using materials you can find for under $50—or even free. Whether you’re working with a spare tire from your garage, a plastic storage bin, or building from scratch with lumber, I’ll show you exactly how to construct a stable, durable drag sled that delivers real results. No more frustrating slips, tipping, or broken hardware.
You’ll discover why most beginner designs fail (hint: it’s all about weight distribution), learn step-by-step construction methods for three different sled types, and get professional tips for safe, effective dragging. By the end, you’ll have a custom drag sled perfectly suited to your training surface, weight goals, and budget—ready to build in a single weekend.
Why Your Homemade Drag Sled Keeps Tipping Over (And How to Fix It)

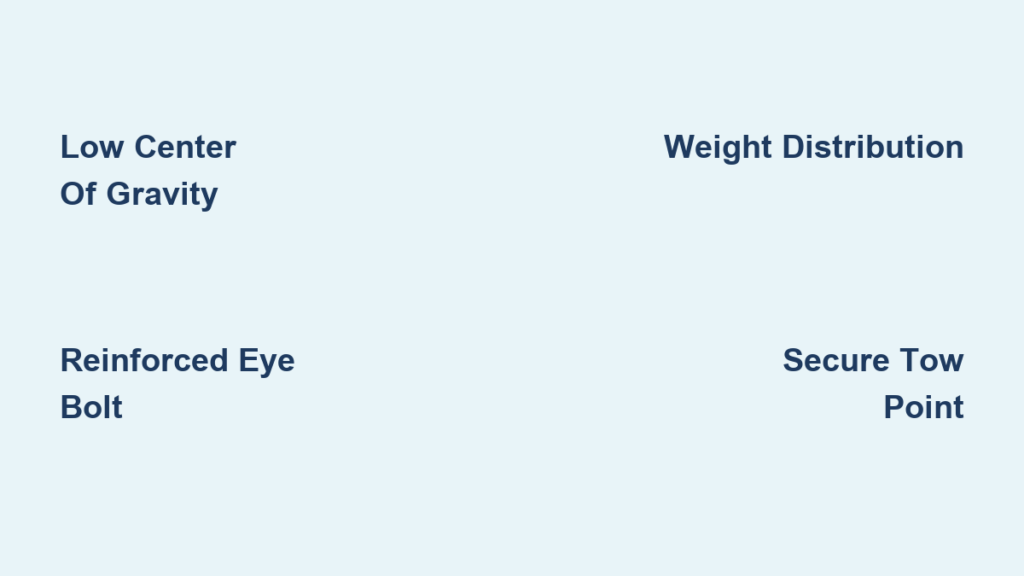
Most DIY drag sleds fail because of poor weight distribution, not weak construction. When weight sits too high or unevenly, your sled will tip during pulls—wasting your effort and potentially causing injury. The solution is lowering your center of gravity by placing weight in the tire’s center channel or bin bottom.
Fix Tipping in 3 Steps:
1. Position weight low: Fill the inner channel of a tire sled or bottom of a bin sled first
2. Distribute evenly: Rotate weight placement around the circumference
3. Test before loading: Drag empty sled to check stability, then add 25lbs increments
Pro Tip: For tire sleds, place a plywood disc inside the rim before adding weight. This creates a stable platform that prevents plates from shifting during movement.
Tire Sled Construction: Reinforced Eye Bolt Method That Won’t Fail
The tire sled is the most popular DIY design because it’s stable, durable, and costs almost nothing if you have a spare tire. Skip the basic rope-loop method—it slips and damages tires. Instead, build this reinforced version that handles 300+ pounds safely.
Drilling Through Tire Sidewalls Without Air Leaks
Use a 1/2″ drill bit to create a clean hole through the tire’s sidewall near the rim. Drill perpendicular to the surface—angled holes cause leaks. Apply rubber cement around the hole before installing hardware to seal potential air leaks.
Plywood Reinforcement for Even Weight Distribution
Cut a 1/2″ plywood disc slightly smaller than your tire’s inner diameter. Drill a 1″ drainage hole in the center to prevent water accumulation. Secure this disc inside the tire with strong adhesive before installing your eye bolt. This distributes weight evenly across the tire surface.
Heavy-Duty Eye Bolt Installation That Won’t Pull Out
Insert a 1/2″ eye bolt through your pre-drilled hole with large washers on both sides. Tighten securely using a nut inside the tire’s hollow. Never skip interior washers—they prevent the bolt from tearing through the rubber under load. Test by applying gradual pressure before full-weight use.
Snow Saucer Drag Sled: Low-Cost Option for Grass and Snow
For under $20, a plastic snow saucer creates an effective sled perfect for grass, turf, or snow. Unlike tire designs, this low-friction option works exceptionally well on soft surfaces where traditional sleds bog down.
Optimal Attachment Point Placement
Drill two 3/8″ holes 2 inches apart near the saucer’s front edge. Thread a heavy-duty nylon strap through both holes and tie a secure square knot. Position attachment points no higher than 2 inches from the base—higher points increase tipping risk dramatically.
Weighting for Maximum Traction
Place weight plates or sandbags directly on the saucer’s center. For grass surfaces, add 10-15lbs of extra weight to prevent the sled from riding up instead of dragging. On snow, reduce weight by 20% since friction decreases significantly.
Time-Saver: Use bungee cords to secure weights instead of complex strapping systems. They allow quick weight adjustments between sets.
Plastic Storage Bin Sled: Heavy-Duty Design for Serious Training
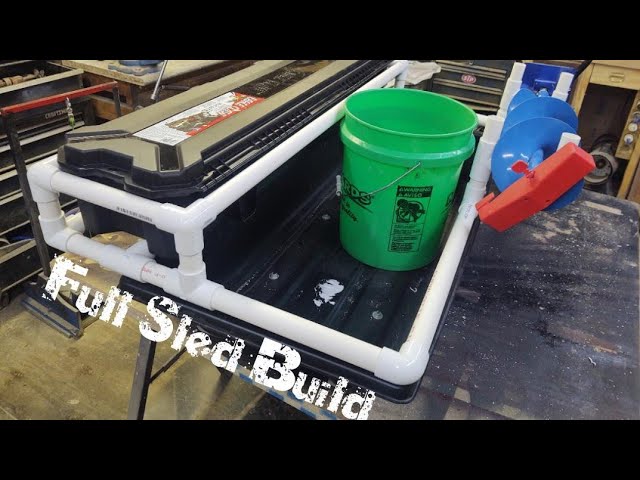
A reinforced storage tote handles heavier loads than tire or saucer designs while maintaining portability. Choose a 12″W × 24″L × 5″D Rubbermaid-type container with thick walls for best results.
Reinforcing the Base for Flat Surface Contact
Line the bin’s interior bottom with 3/4″ plywood cut to size. This prevents the flexible plastic from bowing under heavy loads. Secure with construction adhesive—never rely on screws alone as they’ll pull out under tension.
Creating a Secure Tow Point at Ground Level
Drill two 1/2″ holes near the bottom front corners of the bin. Thread a steel rod through both holes and attach your tow rope to the rod’s center. Positioning the tow point low prevents the bin from flipping backward during hard pulls.
Weight Distribution Secrets for Maximum Stability

Your drag sled’s performance depends entirely on proper weight placement. Even 10lbs of uneven weight can turn a smooth drag into a frustrating wrestling match.
Tire Sled Weighting Technique
Fill the tire’s center channel first with sandbags or concrete blocks before adding weight plates on top. For 200+ lb loads, place 60% of weight in the channel and 40% on the plywood disc. This creates a low center of gravity that prevents tipping.
Bin Sled Weighting Strategy
Place heaviest objects at the bottom and toward the front. Stack weight plates vertically rather than horizontally—they’re less likely to shift during movement. Always leave 2 inches of clearance from the bin’s top edge to prevent weights from sliding out.
Warning: Never overload one side attempting to create angled drags. This consistently causes tipping. Instead, perform straight drags in both directions for balanced development.
Tow Rope and Harness Setup: Avoid These Dangerous Mistakes
Your connection system is the most critical safety component. Many injuries occur from improper rigging—not sled failure.
Carabiner Safety Standards You Must Follow
Use only climbing-rated carabiners with a minimum 22kN (4,950 lbs) gate strength. Never substitute hardware-store carabiners—they fail catastrophically under dynamic loads. Check for wear monthly; replace if gate action feels sticky or shows visible damage.
Proper Harness Positioning for Power Transfer
Attach your tow strap at hip height—never shoulder level. Higher attachment points pull you backward, disrupting your sprint mechanics. The strap should run parallel to the ground when you’re in proper dragging position (slight forward lean).
Pro Tip: Add 12-18 inches of shock cord between your harness and tow rope. This absorbs sudden tension spikes that could cause injury during acceleration.
Surface-Specific Drag Sled Modifications You Need to Know
Your training surface dramatically affects sled performance. Make these adjustments for optimal results on different terrains.
Concrete/Asphalt Modifications
Use an air-filled tire sled on hard surfaces—they provide natural cushioning. For bin or wooden sleds, attach thin rubber strips to the bottom runners to prevent scratching and reduce vibration. Expect 15-20% more resistance on concrete than grass at the same weight.
Grass/Turf Adjustments
Reduce weight by 10-15% on natural grass compared to concrete. For uneven fields, add 1-2 inches of clearance underneath your sled design to prevent catching on bumps. Tire sleds work best here—their rounded shape rolls over minor terrain variations.
Progressive Loading Plan: From Beginner to Advanced Drags
Start too heavy and you’ll develop poor form; progress too slowly and you won’t see results. Follow this science-backed progression.
First 2 Weeks: Technique Development
Drag an empty sled (or light sled at 10-15% of body weight) for 4-6 sets of 20-yard walks. Focus on maintaining a 45-degree forward lean with powerful leg drive. This builds proper mechanics before adding resistance.
Weeks 3-6: Building Strength
Add 10% of body weight weekly. Perform 3-4 sets of 30-yard drags with 90 seconds rest. Stop immediately if your form breaks down—better to end the set early than reinforce bad mechanics.
Critical Tip: Record yourself dragging weekly. Most people don’t realize their torso is upright (not leaning) until they see video proof.
Final Note: Your DIY drag sled should cost less than $50 and take under 3 hours to build. Start with a simple tire design to confirm you enjoy sled training before investing in complex builds. Remember: perfect form with light weight beats heavy loads with compromised technique every time. Clean your sled after each use, inspect hardware monthly, and store it protected from UV damage—your drag sled should last years with proper care. Now get building and feel the power development that only resisted sprints can deliver!


