
That familiar blue glow vanishing from your patio isn’t just annoying—it leaves you defenseless against mosquitoes and gnats within hours. When your bug zapper stops working, a dead UV bulb is almost always the culprit. Replacing it takes just 10 minutes and costs less than $15, but skipping critical safety steps risks electrical shock or a bulb that fails prematurely. This guide delivers the exact procedure to safely swap your bug zapper bulb while avoiding the three costly mistakes 90% of DIYers make. You’ll learn how to identify your exact bulb model, handle it without damaging the new component, and test for hidden electrical issues before reassembly.
Critical Safety Steps Before Touching Your Bug Zapper
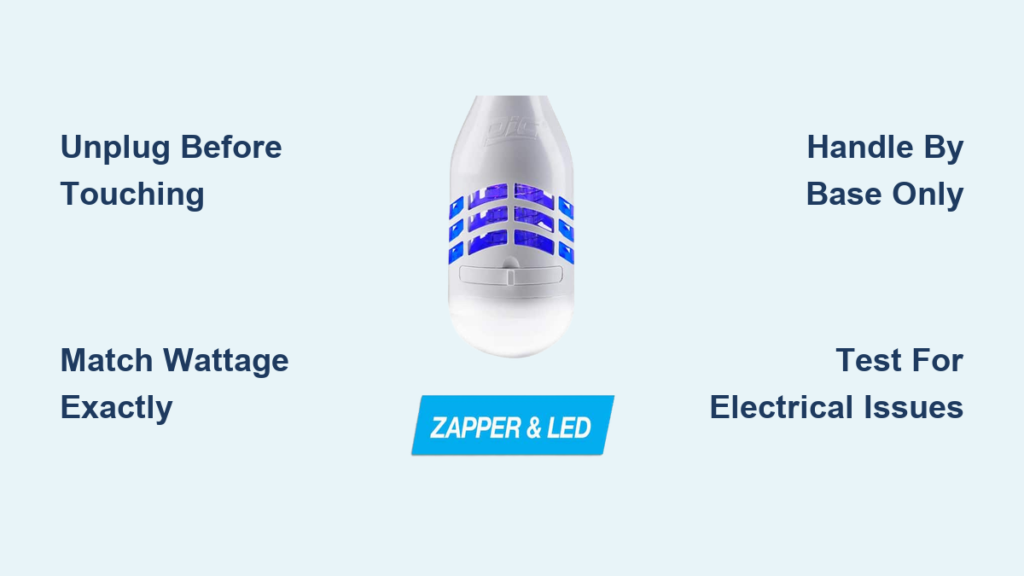
NEVER skip this voltage test—even if the unit appears dead. Bug zappers contain high-voltage grids that can deliver dangerous shocks even when unplugged. Start by physically disconnecting the unit from its power source. For plug-in models, yank the cord from the outlet—not just the switch. Hardwired units require turning off the dedicated circuit breaker AND verifying zero voltage with a non-contact tester. Hold the tester near the unit’s wiring compartment; if it beeps, stop immediately and confirm the correct breaker is off.
Prepare your workspace for zero electrical risks: Work on a dry, non-conductive surface like a wooden table—never concrete or metal. Lay out these essentials: a lint-free microfiber cloth (no paper towels—they shed fibers), needle-nose pliers for stubborn clips, and your verified replacement bulb. Crucially, ensure your hands are completely dry. Skin moisture combined with residual voltage is how most minor shocks occur during bulb replacement. If your model has a protective plastic shield, wipe it with isopropyl alcohol first to prevent static discharge.
How to Identify Your Exact Bug Zapper Bulb Model in 60 Seconds

Using the wrong bulb isn’t just ineffective—it can crack the quartz glass or overload the ballast. Your old bulb holds the key to perfect replacement. After safely removing it (covered in the next section), examine these three critical markings before discarding it:
- Wattage (W): Must match exactly (e.g., 15W, 20W). Never substitute a higher wattage—it overheats the socket.
- Base Type: Check for screw threads (E26/E27 standard) or bayonet pins (BA15d/B22). Twist bayonet bulbs counterclockwise to remove.
- UV Rating: Must say “UV-A,” “BL,” or “Blacklight Blue.” Standard “blacklight” party bulbs attract zero insects.
What to Do When Bulb Markings Are Worn Off
If the old bulb’s labels are illegible, check inside the housing compartment for a sticker with specifications. No sticker? Measure these physical traits:
– Screw base diameter: E26 is 1 inch (standard US bulb), E17 is 5/8 inch (small appliance)
– Bulb length: Most bug zapper tubes are 8-12 inches long
– Glass color: True UV bulbs have a deep blue or purple tint—not pale blue
| Critical Spec | Safe Match | Danger Zone |
|---|---|---|
| Wattage | 15W unit → 15W bulb | 20W bulb in 15W socket |
| Bulb Type | UV-A/BLB labeled | “Bug zapper” generic bulbs |
| Voltage | 120V for North America | 220V bulbs in US units |
| Base | E26 screw or BA15d pin | Mismatched base types |
Step-by-Step Bug Zapper Bulb Replacement (With Pro Safety Hacks)
Step 1: Unlock the Protective Grid Without Damaging Clips
Most zappers use one of three access methods—never force it. For twist-lock models (like Flowtron), grip the outer cage and rotate counterclockwise 1/4 turn until tabs clear the base. Screw-secured units (common in Black Flag models) require a #2 Phillips head to remove 2-4 perimeter screws. Vintage units often have spring-loaded clips; press both sides inward while lifting the cover straight up. If stuck, tap the cover’s edge with a rubber mallet—never metal tools that could short the grid.
Step 2: Remove the Old Bulb Without Shattering Glass
This is where 70% of DIYers make a fatal error. Even cooled bulbs can shatter if mishandled. Place your microfiber cloth over the glass, then firmly grip the bulb’s ceramic base—not the glass. For screw bases, turn counter-clockwise with steady pressure (some require 1/8 turn past resistance). Bayonet bulbs need a firm downward push before turning counterclockwise. If the bulb breaks, use needle-nose pliers to grip the base edges—never insert tools into the socket. Wrap broken glass in thick paper before disposal.
Step 3: Install the New Bulb Without Killing Its Lifespan
Skin oils on UV glass cause hot spots that cut bulb life by 80%. Hold your replacement bulb only by the ceramic base using the microfiber cloth. Align pins or threads precisely—forcing it cracks the socket. For screw bases, turn clockwise until snug (about 1/4 turn past finger-tight). Bayonet bulbs click into place with upward pressure. Stop immediately if you feel resistance—realign before continuing. Never use pliers; overtightening fractures the quartz.
Step 4: Test for Hidden Electrical Failures Before Reassembly
Plugging in too soon risks damaging your new bulb. Before securing the cover, do this critical check: Hold the unit 2 feet off the ground, plug it in for 5 seconds, then unplug. Look for:
– Faint blue sparks near the socket = moisture or debris (dry with compressed air)
– Bulb flickering = incompatible wattage (immediately unplug)
– Buzzing sound = failing ballast (requires professional repair)
Why Your New Bug Zapper Bulb Fails Within Days (And How to Fix It)
If your replacement bulb dies in under a week, you’ve likely encountered one of these hidden issues. Do not install another bulb until resolving these:
- Moisture in the socket: Common in outdoor units after rain. Unplug, remove bulb, and dry the socket with a hairdryer on cool setting for 2 minutes. Wipe contacts with 90%+ isopropyl alcohol.
- Voltage spikes: Use a multimeter to check outlet voltage—it should read 110-120V. Consistent readings above 125V require an electrician to install a surge protector.
- Ballast failure: If the old bulb blackened at one end, the ballast is degrading. Replace the entire electronic assembly (kits cost $25-$40).
Warning signs requiring professional help: A persistent ozone smell, visible wire corrosion, or bulbs that glow dim orange instead of bright blue. These indicate dangerous electrical faults—stop using the unit immediately.
Extend Your Bug Zapper Bulb’s Life by 6+ Months With These Pro Tips
Most UV bulbs last 5,000-9,000 hours, but these maintenance habits add significant time:
- Monthly cleaning ritual: Unplug, cool, then use compressed air to blast insect debris from the grid. Wipe the bulb with alcohol-dampened cloth only when stone cold—thermal shock cracks hot glass.
- Positioning matters: Hang zappers at least 20 feet from seating areas. Wind carries dead insects toward people if placed too close.
- Seasonal storage: Before winter, remove the bulb and store it in its original packaging. Extreme temperature swings degrade UV coatings.
Never use water or household cleaners on the grid—they corrode the metal electrodes. A single drop of vinegar on a dry cloth safely removes sticky residue.
When to Call a Professional Instead of Replacing the Bulb
Some issues mimic bulb failure but require expert intervention. Stop your DIY attempt if you see:
– Brown scorch marks on the socket housing (indicates arcing)
– Bulb base fused to the socket (requires specialized extraction tools)
– Tripped GFCI outlets when plugging in (sign of internal short circuit)
Manufacturers like Aspectek and Harris offer free troubleshooting videos for their specific models—search “[Your Brand] + bulb replacement video” before disassembling. For hardwired units, $75 from an electrician beats risking electrocution.
Replacing your bug zapper bulb isn’t complicated, but skipping voltage verification or touching the glass guarantees failure. Stick to these exact steps: confirm power is OFF with a tester, handle bulbs only by the base, match specifications down to the wattage decimal, and test for hidden electrical faults before reassembly. A correctly installed UV-A bulb will restore your insect defense in under 10 minutes—just don’t forget the monthly cleaning. Now that your zapper’s buzzing again, position it downwind of seating areas for maximum pest control. For persistent mosquito problems, consider pairing it with a CO2 trap during peak summer months.


