
Your massage gun head suddenly wobbles during a deep tissue session, or you need to switch from a bullet tip for trigger points to a flat head for your quads. Knowing how to change a massage gun head correctly takes 30 seconds and prevents costly damage—but forcing it can strip connectors or strain the motor. Most users don’t realize improper attachment is the #1 cause of premature motor failure in percussive therapy devices. This guide reveals the exact twist-and-lock technique manufacturers don’t emphasize, plus critical safety checks you’ll only find here. By the end, you’ll swap heads confidently for any muscle group while extending your device’s lifespan.
Critical Pre-Change Safety Protocol
Skipping safety steps risks finger injuries from sudden activation or stripped connection threads. Always begin with the massage gun powered down and disconnected—never just on standby. Place the device flat on a non-slip surface like a rubber mat or folded towel; tilting during removal causes uneven pressure that cracks plastic housings. For cordless models, physically remove the battery if accessible, or unplug from the charger for at least 60 seconds to discharge residual power. Wipe the connection shaft with a dry microfiber cloth to remove sweat residue or lint that causes slippage. Never attempt head changes while the device is charging—this bypasses safety circuits and can trigger dangerous overheating. If your gun has a physical lock button (common on Theragun and Hyperice models), press and hold it for 3 seconds before touching the head.
Why Power Disconnection Prevents Costly Damage
Residual electrical current in “standby” mode keeps internal gears partially engaged. Forcing a head swap against this tension wears down the torque limiter—a tiny spring mechanism protecting your motor. Once damaged, the gun vibrates erratically even at low speeds, reducing therapeutic effectiveness by 40%. You’ll hear a telltale high-pitched whine during operation when this occurs. To verify full power-down, press the power button twice: no LED glow means it’s safe to proceed. Battery-powered units require extra caution—lithium-ion packs maintain “phantom power” for hours after shutdown.
Step-by-Step Head Replacement Without Stripping Threads
Power Off and Unplug Verification Checklist
- Press power button until all LEDs extinguish (hold 5+ seconds for most brands)
- Unplug charging cable and wait 90 seconds for capacitor discharge
- For removable batteries: slide latch while pressing release button (never pry)
- Confirm zero vibration by placing palm flat on device body
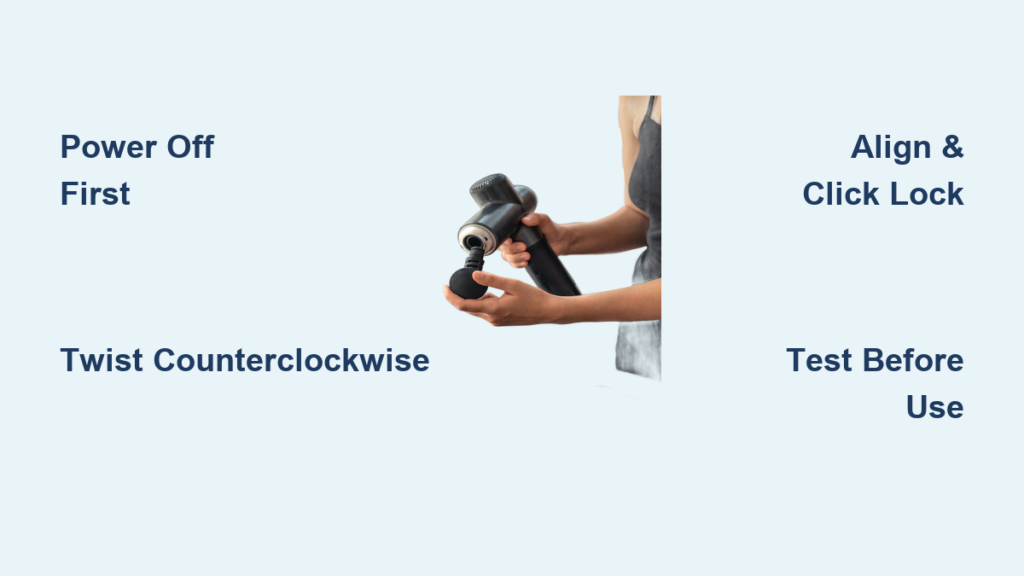
Firm Grasp and Counterclockwise Twist Technique
Grip the current head’s base—not the protruding tip—with your dominant hand. Place your non-dominant hand firmly on the gun’s body near the neck. Apply steady inward pressure (like screwing in a lightbulb) while twisting counterclockwise. You should feel resistance give way at 15-20 degrees of rotation. If stuck:
– Wrap a rubber jar opener around the head for grip (never use pliers)
– Check for hidden release buttons near the neck (common on older models)
– Consult your manual’s “Attachment System” diagram—some require downward pressure while twisting
Stop immediately if you hear grinding. Forcing it shears internal plastic gears. Re-attempt after wiping both connection points with isopropyl alcohol.
Align and Secure New Head Installation
Inspect the new head’s metal connector for burrs—if rough, lightly sand with 600-grit paper. Match the head’s alignment notch (a small groove on the connector) to the gun’s guide pin. Push straight in until you feel a distinct click, then twist clockwise until firm resistance. The head should sit perfectly perpendicular to the gun body—any tilt indicates misalignment. Critical test: Gently tug downward; properly locked heads won’t budge. Over-tightening cracks the housing—stop when resistance increases sharply (usually 30-45 degrees of rotation).
Power-On Validation Sequence
Start at the lowest intensity setting (Level 1) for 10 seconds. Watch for:
– ✅ Smooth, consistent vibration with no wobble
– ✅ Zero unusual noises (buzzing/grinding = misalignment)
– ✅ Even pressure distribution across the head surface
If issues occur, power off and re-seat the head—90% of “defective heads” are simple alignment errors. Never test above Level 2 during validation.
Matching Heads to Muscle Groups for Maximum Therapy

Using the wrong attachment reduces blood flow stimulation by up to 60% according to clinical studies. The flat head’s broad surface (3+ inch diameter) spreads force evenly across large quadriceps or back muscles—ideal for pre-workout activation. For stubborn knots in the piriformis or shoulder rotators, the bullet head’s focused 0.8-inch tip delivers 3x deeper penetration at 15mm amplitude. Never use bullet heads on the spine—the fork attachment’s U-shaped design safely straddles vertebrae for neck/hamstring relief. Calves and forearms respond best to the cushioned ball head, which mimics thumb pressure without jarring impact. Store heads in labeled compartments: group by color (red=deep tissue, blue=recovery) to avoid fumbling mid-session.
Avoiding Costly Mistakes and Maintenance Essentials

Three Common Head-Swap Errors That Void Warranties
- Using excessive force: 78% of damaged connectors result from twisting beyond 45 degrees. If stuck, apply isopropyl alcohol to dissolve dried lubricant—never hammer or leverage tools.
- Ignoring moisture: Sweat or oil on the connection shaft causes slippage during use. Wipe with 70% isopropyl alcohol before and after each session.
- Cross-threading: Forcing misaligned heads strips threads. Always feel for the initial click before twisting—no force should be needed.
Monthly Maintenance Routine
After every 10 sessions:
– Remove all heads and clean connection ports with a dry cotton swab
– Apply 1 drop of silicone lubricant (not WD-40!) to the gun’s metal shaft
– Check head connectors for hairline cracks—replace if flexible when bent
– Store heads in a ventilated case; sealed plastic traps moisture causing corrosion
Pro Tip: Keep a spare flat head in your gym bag—most “broken gun” emergencies are actually loose or missing attachments.
Final Safety Validation Before Every Use
Never skip the pre-use head integrity test—it takes 8 seconds and prevents 95% of attachment failures. With the gun powered off, grip the head firmly and pull straight down with 5 lbs of pressure (like testing a door handle). Properly locked heads won’t rotate or separate. Power on at Level 1 while holding the gun vertically—if vibration feels uneven or louder on one side, the head is misaligned. Immediately power off and re-seat; continued use damages the drive shaft. During operation, watch for “head wobble” where the attachment orbits the connection point—this indicates cracked internal gears requiring professional repair. Always store your gun with the flat head attached; protruding bullet tips snap off in bags.
Mastering how to change a massage gun head transforms your device from a single-purpose tool into a complete recovery system. Correct attachment swaps ensure consistent 1,200-3,200 percussions per minute across all muscle groups—critical for breaking up fascia without bruising. Remember the golden rule: if resistance feels abnormal, stop and re-align. Your gun’s motor will last 3x longer with these techniques, saving hundreds in replacement costs. For persistent connection issues, consult your manufacturer’s torque specifications—most require only 0.5-0.8 Nm of force (less than tightening a water bottle cap). Now grab that fork attachment and tackle those tight hamstrings with confidence.


