
Your CPU temperature suddenly spikes during a gaming session, triggering thermal throttling when you least expect it. The culprit? Often a failing water cooler pump in your AIO liquid cooling system. Unlike fan failures, pump issues creep up silently until your system becomes unstable or shuts down completely. Learning how to check water cooler pump functionality is critical because a stopped pump turns your expensive cooler into a decorative paperweight. This guide reveals exactly what to listen for, feel for, and monitor to diagnose pump problems using nothing but your senses and free software—no disassembly required. You’ll discover how to distinguish between air bubbles (an easy fix) and catastrophic pump failure before your CPU melts down.
Recognizing Critical Pump Failure Symptoms
Ignoring early warning signs risks permanent CPU damage within minutes. A failing pump announces itself through distinct sensory clues long before total failure.
Unusual Noises That Demand Immediate Attention
Listen closely to your pump housing (mounted on the CPU) while your system runs. A healthy pump emits a near-silent hum—like a whispering refrigerator. These sounds mean trouble:
– Grinding or rattling indicates metal-on-metal contact from worn bearings or impeller damage
– Loud buzzing suggests the motor is powered but the impeller is jammed by debris
– Gurgling/bubbling reveals trapped air causing cavitation (immediate cooling loss)
– Complete silence when the system is powered means total electrical failure
Pro Tip: Use a cardboard tube as a stethoscope pressed against the pump housing. This isolates pump noise from case fans, making subtle issues audible. If you hear rhythmic clicking or metal scraping, shut down immediately to prevent coolant starvation.
Temperature Red Flags You Can’t Ignore
Your CPU temperatures tell the most urgent story when checking a water cooler pump. Under normal operation:
– Idle temps stay within 10-20°C above ambient room temperature
– Load temps (during gaming/rendering) plateau within 60-85°C depending on your CPU
When the pump fails, temperatures behave abnormally:
– Rapid spikes (>1°C per second) under minimal load (e.g., opening a browser)
– No stabilization—temps keep climbing until thermal shutdown triggers
– Cool radiator fins despite scorching CPU temps (heat isn’t transferring)
– Minimal delta between inlet/outlet tubes (both feel equally hot or cold)
Critical Warning: If your CPU hits 95°C at idle with the case open, power down NOW. Continued operation risks irreversible CPU damage within 60 seconds.
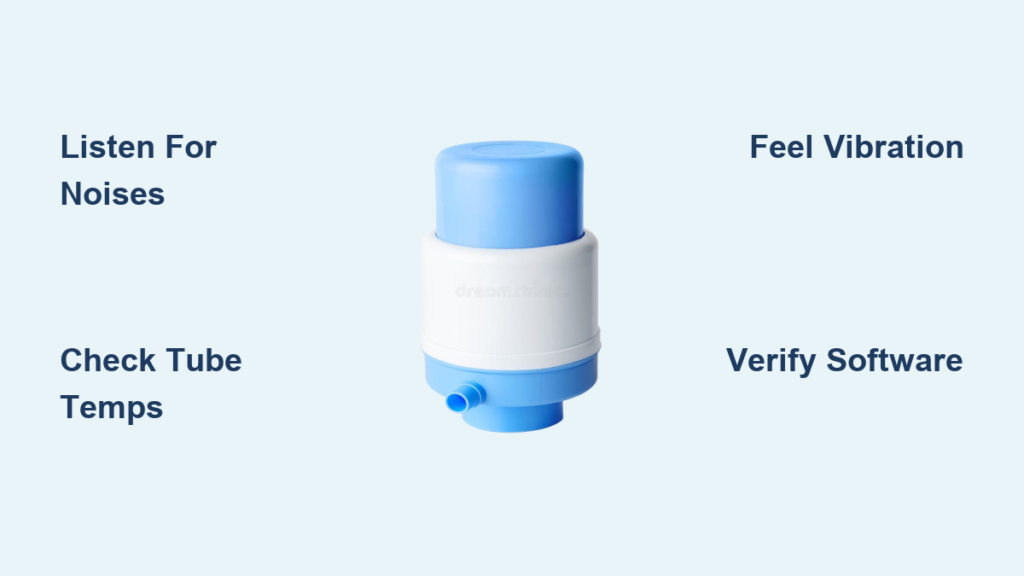
3 Field-Tested Methods to Check Water Cooler Pump Function

You don’t need special tools to verify pump operation. These three tests take under 15 minutes and work on any AIO cooler (Corsair, NZXT, Arctic, etc.).
1. The Vibration Test: Feel for Life in 30 Seconds
Difficulty: Beginner | Time: 1 minute
With your PC powered on:
1. Gently press two fingertips against the top of the water block (CPU contact point)
2. You should feel a subtle, high-frequency vibration—like a phone on silent mode
3. Repeat on both coolant tubes near the radiator
What your fingers reveal:
– ✅ Normal: Consistent “purr” in the block + slight tube pulsation = pump circulating
– ❌ Failure: Zero vibration = dead motor or power loss
– ⚠️ Warning: Intense shaking = bearing collapse (replace immediately)
Key Insight: Even if software shows “0 RPM,” slight vibration means the pump works but lacks RPM reporting (common on Arctic coolers). Trust your hands over software.
2. The Tube Temperature Differential Test
Difficulty: Intermediate | Time: 5 minutes
This checks actual coolant flow—not just pump spin:
1. Start with a cool system (idle 10+ minutes)
2. Run a 5-minute stress test (Cinebench or Prime95)
3. Immediately after stopping:
– Touch the tube entering the radiator (inlet)
– Touch the tube exiting the radiator (outlet)
Interpret the results:
– ✅ Working pump: Inlet tube is 5-15°C hotter than outlet (heat transferring to radiator)
– ❌ Failed pump: Both tubes near ambient temperature (no flow)
– ⚠️ Air blockage: Inlet hot, outlet cold with gurgling sounds (air trapped)
Expert Note: Use an infrared thermometer for precision. A <2°C difference confirms critically low flow. Radiator fins should feel uniformly warm—not just hot at the inlet.
3. Software Verification Beyond RPM Readings
Difficulty: Advanced | Time: 3 minutes
Don’t trust RPM readings alone—they often lie due to electrical interference. Combine these steps:
1. Open HWiNFO64 and check:
– Pump speed (if reported)
– CPU temperature delta under load
2. Run a 2-minute stress test while monitoring:
– How quickly temps stabilize after load starts
– Cooldown rate after stopping the test
Decoding software data:
– ✅ Healthy pump: Temps plateau within 90 seconds; 100°C→50°C in <90 seconds cooldown
– ❌ Failed pump: Temps climb linearly with zero plateau; slow cooldown
– ⚠️ False 0 RPM: Arctic coolers often report 0 RPM despite working—verify via vibration test
Critical Check: In BIOS, ensure the pump header (AIO_PUMP) runs at 100% speed. Some motherboards default to “silent mode” (30% speed), mimicking failure.
Fixing Common Pump Issues Before Replacement
Most “failed” pumps are actually simple fixes. Address these before buying a new cooler.
Trapped Air: The Silent Cooling Killer
Symptoms: Gurgling sounds + poor temps + temperature spikes when moving the PC
Purge air in 4 steps:
1. Power on your PC with the case vertical (radiator highest point)
2. Gently tilt the case side-to-side for 90 seconds—don’t shake violently
3. Listen for moving bubbles through a cardboard stethoscope
4. Repeat until gurgling stops and temps normalize
Why this works: Air rises to the radiator’s top (highest point in loop). Tilting guides bubbles out of the pump chamber. If your radiator isn’t mounted vertically, reposition it—this causes 70% of “pump failure” false alarms.
0 RPM Readings: Software vs. Reality
Symptoms: Software shows 0 RPM but temps are normal
Fix these connection issues:
– Reseat the 4-pin pump connector on the motherboard (check for bent pins)
– In BIOS, set the AIO_PUMP header to “Full Speed” (not PWM)
– For Arctic coolers: Verify the single PWM cable powers both pump and fans (a disconnected fan can break the circuit)
Manufacturer Quirk: NZXT Kraken X73 units often show 0 RPM after firmware updates—reinstall CAM software to resolve. Corsair coolers may require iCUE reinstallation if reporting 0 RPM despite physical vibration.
When Pump Replacement Is Inevitable

If these tests confirm total failure, replacement is your only option—AIO pumps aren’t user-serviceable. Act before catastrophic damage occurs.
3 Signs You Must Replace Immediately
- Zero vibration + silent operation + rapid temp spikes = dead motor
- Multimeter shows no 12V at pump header (after verifying motherboard function)
- Visible coolant leaks around the pump housing (corrosion or seal failure)
Emergency Protocol:
– Shut down and unplug the PC
– Install a temporary air cooler (even a stock Intel cooler buys time)
– Contact manufacturer for RMA if under warranty (keep purchase receipt)
Never attempt to repair the pump yourself. Opening the sealed loop voids warranties and risks coolant leaks that destroy motherboards.
Preventing Future Pump Failures
Extend your AIO cooler’s lifespan with these proactive checks every 6 months:
– Monitor temperature trends: Rising idle temps indicate declining flow
– Listen for new noises: Early bearing wear sounds like faint whining
– Check tube pulsation: Reduced vibration means impeller degradation
– Avoid extreme overclocks: High temps accelerate pump wear
Pro Maintenance Hack: Run your system vertically overnight once a year. Gravity helps purge micro-bubbles before they cause cavitation damage.
Final Diagnostic Checklist
Before panicking about pump failure, run this 5-minute verification:
1. ✅ Vibration present? (Fingers on water block)
2. ✅ Inlet tube hotter than outlet? (Under load)
3. ✅ Radiator uniformly warm? (No cold spots)
4. ✅ BIOS set to 100% pump speed?
5. ✅ Software updated? (iCUE/CAM/AISuite)
If all checks fail, replace the cooler. But 80% of “dead pumps” are actually air bubbles or software glitches. By mastering how to check water cooler pump health through vibration, temperature differentials, and smart software interpretation, you’ll avoid unnecessary replacements and keep your CPU running cool for years. Remember: when temperatures rise unexpectedly, your pump is the first—and easiest—suspect to investigate.


