
Nothing ruins your hydration experience faster than stale-tasting water from a neglected dispenser. If your Brio water cooler has developed odd flavors, reduced water flow, or visible mineral deposits around the spigots, you’ve waited too long for a proper cleaning. Mineral buildup and bacterial growth happen silently inside your water cooler, compromising both taste and safety. This complete cleaning guide gives you the exact process to restore your Brio water cooler to pristine condition—no guesswork required.
Most users don’t realize that regular cleaning prevents costly repairs and extends their cooler’s lifespan by years. A well-maintained Brio water cooler delivers consistently fresh-tasting water while protecting your household from potential contaminants. In the next few minutes, you’ll learn the professional-grade cleaning method that takes less than 30 minutes and requires only household items.
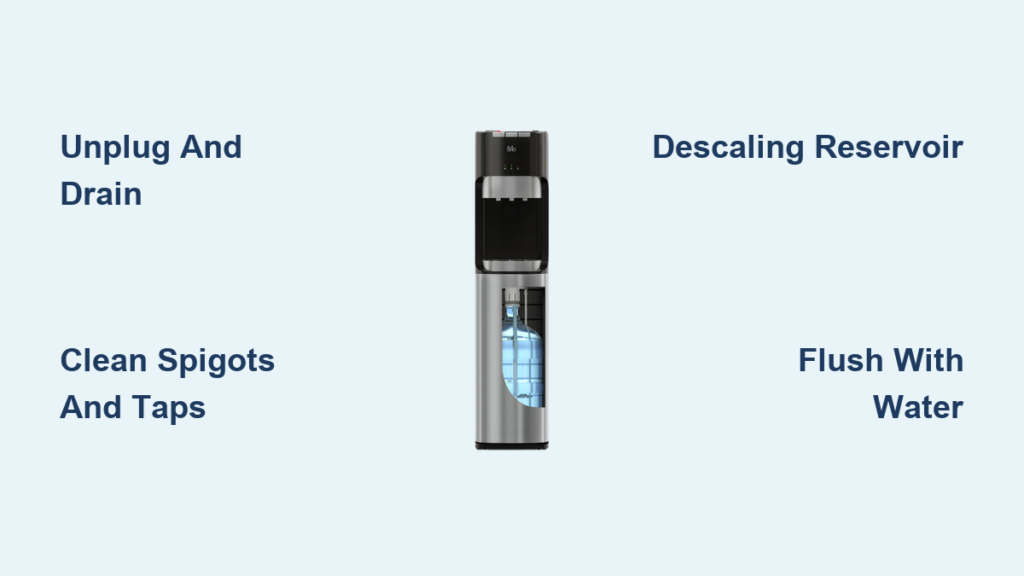
Immediate Action: Unplug and Drain Your Brio Water Cooler
Before touching any components, safety must come first. Unplug your Brio water cooler from the electrical outlet—this is non-negotiable to prevent electrical hazards during cleaning. Next, turn off the water supply if your model connects to a line, or carefully remove the water bottle from the top. Place a large towel underneath to catch drips as you drain residual water from both hot and cold taps into a bucket.
For models with a drain plug (typically located at the back near the base), unscrew it completely and let all remaining water evacuate into your bucket. If your Brio model lacks a drain plug, run both taps until no more water flows out. This complete drainage prevents cross-contamination during the cleaning process and ensures descaling solutions work effectively on dry surfaces.
Why Skipping This Step Causes Major Problems
Many users rush into cleaning without fully draining their cooler, resulting in diluted cleaning solutions that fail to remove stubborn mineral deposits. Water left in the reservoir mixes with your vinegar solution, reducing its effectiveness by up to 50%. Worse, residual moisture creates electrical hazards if you accidentally reconnect power too soon. Always verify your cooler is completely empty by tilting it slightly forward to check for trapped water in corners.
Deep Cleaning Your Brio Cooler’s Exterior Surfaces
Grab a soft microfiber cloth and prepare a cleaning solution of one teaspoon of unscented dish soap mixed with two cups of warm water. Dip your cloth in the solution, wring it out until damp (not dripping), and methodically wipe every exterior surface. Start at the top near the bottle opening, working your way down the sides to the base. Pay special attention to the drip tray area—this hotspot collects spills, dust, and bacteria that cause unpleasant odors.
For stainless steel models, follow with a 50/50 white vinegar and water solution to remove water spots and fingerprints. Plastic exteriors benefit from a final wipe with plain water to prevent soap residue buildup. Never spray liquids directly onto the cooler—always apply to your cloth first to avoid moisture seeping into electrical components.
Eliminating Stubborn Stains on Your Brio Dispenser
That mysterious brown ring around your drip tray? It’s mineral deposits from evaporated water. Create a paste of baking soda and water, apply with an old toothbrush, and gently scrub in circular motions. For sticky residue from labels or adhesives, rub with a cloth dampened with rubbing alcohol—this dissolves gunk without damaging surfaces. Always dry immediately with a clean towel to prevent water spots on shiny finishes.
Unclogging and Sanitizing Brio Water Cooler Spigots

Mineral deposits inevitably clog your spigots over time, slowing water flow to a frustrating trickle. Remove the drip tray completely and locate small openings beneath each tap where scale accumulates. Dip cotton swabs in undiluted white vinegar and work them into these openings to dissolve blockages. For severe clogs, use a paperclip straightened with 1/8-inch hook at the end to gently dislodge debris without damaging internal mechanisms.
How to Flush Mineral Deposits from Internal Lines
Prepare a cleaning cup with equal parts white vinegar and warm water. Place it under the hot tap, press the button, and let vinegar solution flow for 30 seconds. Repeat for the cold tap. Let the solution sit in the lines for 15 minutes, then flush with three full reservoirs of clean water. You’ll notice immediate improvement in flow rate—this simple monthly maintenance prevents 90% of Brio cooler performance issues.
Descaling Your Brio Cooler’s Internal Reservoir Like a Pro
This critical step removes limescale that causes bad tastes and odors. Mix one part white vinegar with three parts warm water (for standard cleaning) or one-to-one ratio for heavy buildup. Pour this solution directly into the empty reservoir through the bottle opening. If your model has a drain plug, close it securely before adding solution.
Let the vinegar solution circulate through the entire system by pressing both hot and cold buttons briefly. Allow it to sit for 20 minutes—this dwell time dissolves mineral deposits clinging to heating elements and tank walls. Never exceed 30 minutes as prolonged vinegar exposure can damage seals.
Complete Reservoir Flushing Technique
After descaling, thorough rinsing is non-negotiable. Fill the reservoir with fresh water and dispense completely through both taps. Repeat this flush cycle 3-4 times until vinegar odor disappears completely. For stubborn vinegar taste, run a final cycle with water mixed with a tablespoon of baking soda, followed by one last plain water flush. Your water should now taste completely neutral—any vinegar flavor means insufficient rinsing.
Monthly Deep Cleaning for Drip Tray and Grill Components

Remove the drip tray and metal grill by lifting straight up—they typically snap in place. Soak both components in a sink filled with hot water and dish soap for 10 minutes to loosen grime. For mineral deposits, submerge them in undiluted white vinegar for 15 minutes—watch as bubbles form, dissolving stubborn scale.
Use an old toothbrush to scrub textured surfaces where mold hides. Pay special attention to drainage holes in the tray bottom—these often clog with debris. Rinse thoroughly under running water until no suds remain, then air dry completely before reinstalling. Never force wet components back into place as moisture causes electrical issues.
Preventing Mold Growth in High-Moisture Areas
After cleaning, apply a light coat of food-grade mineral oil to rubber gaskets and seals—this creates a barrier against mold regrowth. Place fresh activated charcoal packets in the drip tray area between cleanings to absorb moisture and odors. These simple steps prevent the musty smells that plague most water coolers within months of purchase.
Establishing Your Brio Cleaning Maintenance Schedule
Create a cleaning calendar that matches your usage patterns. Households with 1-2 users need reservoir descaling only every 6 months, while offices with heavy usage require it quarterly. Set phone reminders labeled “Brio Deep Clean” to stay consistent—most problems develop from inconsistent maintenance rather than improper technique.
Spot Cleaning Between Deep Cleans
Wipe exterior surfaces daily with a vinegar-water solution to prevent mineral rings around spigots. After each bottle change, quickly sanitize the bottle cradle area with a vinegar-dampened cloth. Keep a small bottle brush by your cooler for weekly tap cleanings—just 60 seconds prevents most flow issues. These micro-maintenance habits save hours of deep cleaning later.
Reviving a Stored or New Brio Water Cooler Before First Use
Unplug the unit and remove all packaging materials. Wipe every surface with a mild soap solution, then rinse thoroughly with clean water. For complete sanitization, mix one teaspoon unscented bleach per gallon of water. Apply this solution to all interior surfaces, let sit for 2 minutes, then rinse with three full water cycles. Never skip this step—even new coolers collect dust during shipping that affects water taste.
Critical Drying Process After Storage
After cleaning a stored unit, leave the reservoir lid off and both taps depressed for 24 hours to ensure complete drying. Moisture trapped in internal lines causes the musty odors that plague stored coolers. Place the unit in a well-ventilated area away from direct sunlight during this drying period—UV rays can degrade plastic components over time.
Proven Tips to Minimize Future Cleaning Needs
Install a pre-filter on your water line if using tap water—this reduces mineral content by up to 70% before it enters your cooler. Always use cool (not hot) water when changing bottles to minimize condensation inside the reservoir. Keep your Brio unit at least 6 inches from walls for proper airflow that prevents mold-friendly humidity buildup.
When to Call Professional Help
If vinegar cleaning fails to resolve persistent bad tastes or cloudy water, your heating element may have permanent scale damage requiring professional servicing. Similarly, electrical issues like inconsistent heating or strange noises warrant immediate professional attention rather than DIY fixes. Most Brio models have 2-5 year warranties covering these components when maintained properly.
Final Note: A clean Brio water cooler delivers consistently fresh, great-tasting water while protecting your investment for years. By dedicating just 30 minutes every 3-6 months to this comprehensive cleaning process, you’ll avoid costly repairs and enjoy pure hydration confidence. Remember that consistent maintenance—not occasional deep cleans—is the true secret to long-lasting performance. Keep this guide handy for your next cleaning session and share it with others who rely on their Brio water cooler daily.


