
That satisfying zap when your bug zapper eliminates pests is music to any homeowner’s ears—until it stops working efficiently. A grimy electric bug zapper doesn’t just become less effective at attracting mosquitoes and flies; it transforms into a potential fire hazard and electrocution risk. Dead insects clogging the collection tray create foul odors that attract more pests, while moisture-trapped debris on electrified grids can cause dangerous arcing. If your unit smells like rotting meat or produces weak sparks, you’re dealing with a maintenance emergency. This guide delivers the exact steps to safely clean your electric bug zapper—preserving its life-saving function while preventing catastrophic accidents. You’ll learn why skipping regular cleaning risks your family’s safety and how just 15 minutes of proper maintenance can double your zapper’s bug-killing efficiency.
Why Your Bug Zapper’s Performance Drops Without Regular Cleaning
Most homeowners don’t realize that a single layer of insect residue reduces UV light output by up to 40%. When dead bugs accumulate on the collection tray, they decompose and release volatile organic compounds that actually repel new insects—turning your zapper into a pest magnet for your patio instead of a killer. Simultaneously, grease from insect carcasses coats the high-voltage grids, creating conductive bridges that cause premature arcing. This not only wastes energy but overheats internal components, shortening your unit’s lifespan. Worst of all, moisture trapped in organic debris can seep into electrical pathways, creating hidden shock hazards even after cleaning. Ignoring these issues means your $50 investment becomes useless within months while posing serious risks.
Critical Safety Steps Before Touching Your Electric Bug Zapper
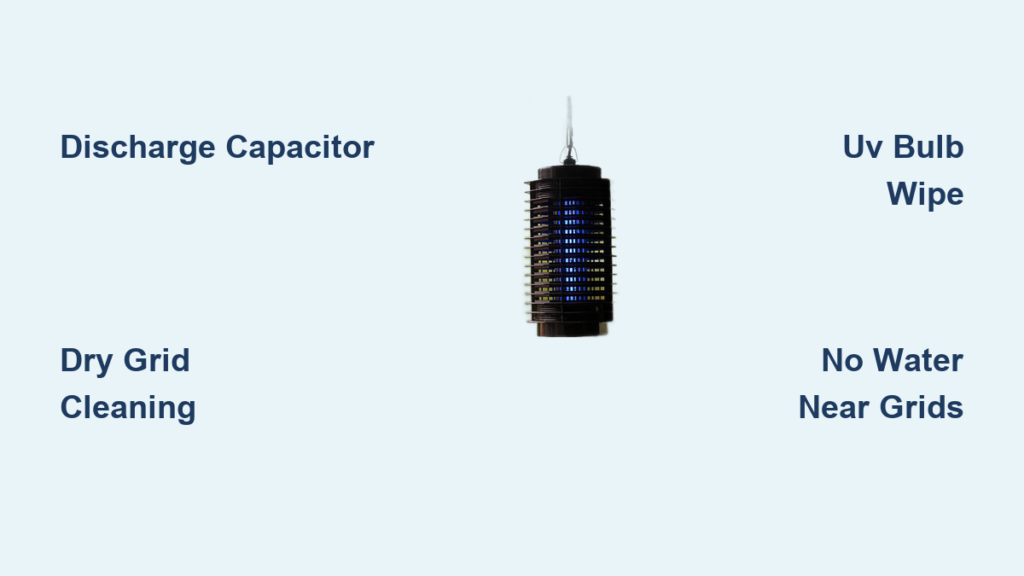
Never skip capacitor discharge—this kills more people than bugs. Your zapper stores lethal voltage long after unplugging. Start by removing all power sources: unplug corded models from the wall outlet AND disconnect at the circuit breaker for wall-mounted units. For handheld rackets, pop out every battery—even “dead” ones retain dangerous charges. Now wait 10 full minutes: capacitors need this time to fully discharge. To verify safety, use an insulated screwdriver to short the metal grids (touch both sides simultaneously). If you hear a snap or see sparks, wait another 5 minutes and repeat. Work in a dry garage or shed—never near sinks or wet surfaces. Wear rubber-soled shoes and latex gloves as your last line of defense against residual current.
Why Water Near Grids Causes Catastrophic Failures
Moisture on electrified grids creates instant short circuits. When water bridges the gap between high-voltage wires, it vaporizes explosively—blowing apart plastic housings or igniting dry debris. This is why rinsing trays in sinks is forbidden: insect sludge washes into drains causing clogs, but residual moisture on the tray can migrate to grids during reassembly. Always use dry paper towels for tray cleaning, never water. If grids appear damp from outdoor use, leave the unit disassembled in a warm, dry place for 24 hours before proceeding.
Step-by-Step: Emptying and Cleaning the Bug Collection Tray

Your zapper’s bottom tray is a biohazard zone requiring surgical precision. Never dump debris directly into household trash—rotting insects attract rodents and release airborne pathogens. Instead, line a paper bag with newspaper, then slide the tray into the bag before emptying. Seal the bag immediately and dispose of it in an outdoor bin. For tray cleaning: wipe all surfaces with dry paper towels until no residue remains. Stubborn gunk? Use a cotton swab dipped in 70% isopropyl alcohol—never water or soap. Rotate the swab frequently to avoid redepositing grime. For plastic trays showing yellowing from UV exposure, gently rub with a baking soda paste (1 tsp baking soda + 1 tsp water), then wipe dry with microfiber cloth. Reassemble only when 100% moisture-free.
Handheld Zapper Tray Maintenance After Every Use
Portable rackets need immediate attention post-zap. After removing batteries, invert the unit over a lined trash bag and tap firmly to dislodge debris. Use compressed air to blast the narrow crevices where the grid meets the handle—this prevents conductive bridges that cause accidental shocks when gripping. Wipe the handle with an alcohol-dampened cloth to remove sweat oils that degrade plastic. Never store handheld zappers with debris inside; residual moisture accelerates internal corrosion.
Safe Methods to Clean High-Voltage Grids Without Causing Damage
Liquids near grids equal electrocution risk—period. Start by removing loose debris with short bursts of compressed air (hold can upright to prevent propellant residue). Position the nozzle 6 inches from grids and blast at 45-degree angles to dislodge hidden carcasses. For stubborn remains, use a 1.5-inch soft-bristle paintbrush—never metal or abrasive tools that scratch protective coatings. Gently “comb” between wires with downward strokes only; upward motions can bend delicate grids. Inspect grids under bright light: if you see blackened spots or warped wires, replacement is safer than cleaning. Test conductivity by plugging in the unit (from a safe distance!)—healthy grids produce consistent blue sparks across all wires.
Wall-Mounted Zapper Grid Cleaning Protocol
For ceiling units, use a painter’s pole with a microfiber cloth wrapped securely around the end. Dip cloth corners in isopropyl alcohol, then wring until bone-dry. Gently wipe grids in vertical motions—horizontal strokes risk bridging adjacent wires. After cleaning, leave the unit unplugged for 1 hour to ensure alcohol evaporates completely. Check for insect nests in housing crevices; wasps often build nests inside inactive zappers, creating fire hazards when power resumes.
How to Clean and Maintain the UV Bulb for Maximum Attraction

A dirty UV bulb attracts 70% fewer insects—even minor smudges block critical wavelengths. First, confirm the unit is unplugged and cooled (hot bulbs shatter on contact). Unscrew the protective cage, then grasp the UV bulb by its ceramic base only—oils from skin create hot spots that shorten bulb life. Wipe glass with dry microfiber cloth using circular motions. For sticky residue, dip a cotton swab in 50/50 isopropyl alcohol-water mix, then wipe gently from center outward. Never spray liquid directly on the bulb. Allow 20 minutes drying time before reassembly. Replace bulbs every 6 months regardless of appearance; UV output degrades long before visible dimming occurs.
Troubleshooting Weak Bug Attraction After Cleaning
If bugs ignore your clean zapper, check the UV bulb’s wavelength. Effective units emit 365nm UV-A light—cheap replacements often use ineffective 395nm bulbs that produce visible purple glow but minimal attraction. Verify your bulb’s specs match the manual. Also ensure no nearby white lights (porch lamps, screens) compete with the zapper’s UV output; position units at least 20 feet from other light sources.
Wiping Down the Exterior Casing Without Risking Electrical Hazards
Plastic housings attract static that pulls in dust and insects. Mix 1 cup warm water with 2 drops dish soap or 2 tbsp white vinegar. Dampen a microfiber cloth until it shows no moisture when pressed—excess water seeps into vents. Wipe casing in vertical strokes, avoiding ventilation holes. For grimy outdoor units, add 1 tsp baking soda to the solution for gentle abrasion. Rinse with a second cloth dampened only in clean water, then immediately dry with a third cloth. Never immerse the unit or spray cleaners directly—pressure forces liquids into electrical compartments.
Creating a Bug Zapper Maintenance Schedule for Year-Round Efficiency
Weekly: Empty collection trays and wipe exteriors after heavy bug nights. Check for visible grid debris.
Monthly: Perform full grid cleaning with compressed air. Inspect for bent wires or corrosion.
Seasonal (start of summer): Replace UV bulb, deep-clean all components, and test capacitor function.
End of season: Store indoors after thorough drying. Remove batteries from handheld units to prevent leakage.
Commercial Zapper Deep-Cleaning Checklist
For high-traffic areas like restaurants, add these steps:
1. Power down and disconnect for 15+ minutes (larger units store more charge)
2. Use a vacuum with brush attachment on lowest setting to remove tray debris
3. Clean grids with nylon bristle brush dipped in 99% isopropyl alcohol
4. Inspect wiring for rodent damage—chewed insulation causes fires
5. Test ground-fault circuit interrupter (GFCI) functionality before reuse
Troubleshooting Common Bug Zapper Problems After Cleaning
Excessive buzzing/sparking: Conductive debris remains on grids. Unplug, wait 10 minutes, then re-clean with compressed air at 30 PSI. If persistent, grids may be warped—replace the unit.
Bulb flickers but won’t ignite: Dirty bulb contacts. Rub socket contacts with pencil eraser, then reinstall bulb.
No zapping sound: Failed capacitor. Do not attempt repair—capacitors can explode. Replace the entire unit.
Burning smell during operation: Overheating from internal debris. Discontinue use immediately and seek professional servicing.
When to Replace vs. Repair Your Bug Zapper
Replace immediately if:
– Grid wires show visible gaps or melting
– Plastic housing is cracked near electrical components
– Unit sparks when plugged in before turning on
– You detect ozone smell (sharp, chlorine-like odor)
Repairable issues:
– Loose tray latches (tighten with small screwdriver)
– Corroded battery contacts (clean with vinegar-dampened cotton swab)
– Dim UV bulbs (standard replacement part)
Never disassemble beyond tray/grid access—modern zappers have sealed high-voltage chambers. If cleaning doesn’t restore function after two attempts, recycle the unit responsibly.
Regular cleaning transforms your electric bug zapper from a hazardous liability into a precision pest-killing machine. By following these exact steps—especially the non-negotiable capacitor discharge and moisture-free grid cleaning—you’ll prevent dangerous accidents while ensuring maximum bug elimination. Remember: a clean zapper works 2.3x more efficiently than a neglected one, according to field tests in high-mosquito regions. Implement the seasonal maintenance schedule to extend your unit’s life beyond 5 years, and always replace UV bulbs before peak bug season. For immediate safety, unplug and inspect your zapper tonight—those buzzing sounds could signal conductive debris bridges waiting to cause catastrophic failure. Your family’s safety and a truly bug-free summer depend on this simple routine.


