
That stale taste in your water glass? The faint musty smell when you pour a drink? These are dead giveaways that your Hamilton Beach water cooler needs immediate cleaning. Mineral deposits, slimy biofilm, and hidden bacteria accumulate inside reservoirs and tubing over time, turning your trusted appliance into a breeding ground that compromises water quality and safety. When neglected, these contaminants don’t just ruin the taste—they create health risks for your family or coworkers. The good news is that with the right method, you can eliminate 99% of harmful buildup in under 30 minutes using supplies already in your pantry. This guide delivers the exact steps Hamilton Beach owners use to restore crisp, clean water without damaging their appliance.
Most users make the critical mistake of only wiping the exterior while ignoring internal sanitation. But internal lines and reservoirs harbor invisible threats even when water looks clear. By following this precise cleaning protocol, you’ll not only fix current issues but establish a routine that prevents future contamination. Let’s dive into the solutions and procedures that keep your cooler performing like new.
Vinegar vs. Bleach: Choosing Your Hamilton Beach Cooler Sanitizer
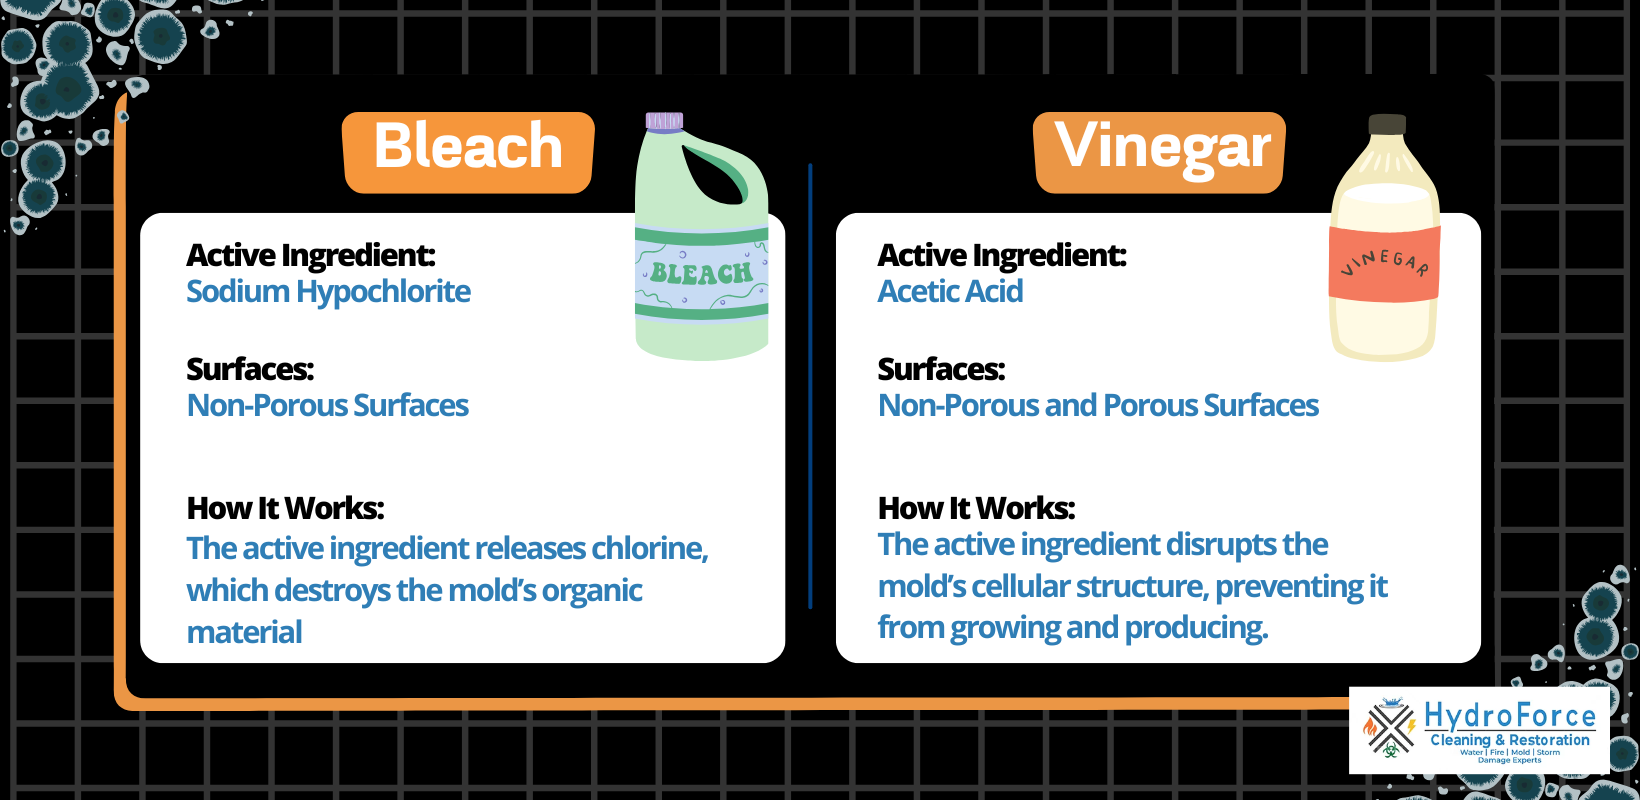
Selecting the right cleaning agent is make-or-break for effective sanitation without damaging components. Your choice depends on contamination severity and safety considerations.
Why Vinegar Works for Routine Hamilton Beach Maintenance
A 1:1 white vinegar and water mixture safely dissolves mineral scale while neutralizing odors without harsh chemicals. This natural solution is ideal for monthly cleanings when you notice slight taste changes or after switching bottled water brands. The acetic acid breaks down calcium deposits that cause that gritty residue in the reservoir—visible as white flakes clinging to interior walls. Since vinegar leaves no toxic residue, rinsing requires only 1-2 full water cycles until the sharp smell disappears. Many Hamilton Beach owners report this method preserves rubber seals better than chemical alternatives during regular maintenance.
When to Use Bleach for Hamilton Beach Cooler Disinfection
Deploy a 1:8 bleach-to-water solution (1 cup bleach per 8 cups cool water) when facing stubborn biofilm, musty odors, or sanitizing a secondhand unit. This ratio matches CDC emergency water treatment standards, killing viruses and bacteria that vinegar can’t eliminate. Critical warning: Always add bleach to water—not water to bleach—to prevent dangerous splashing. This method is non-negotiable if you see slimy textures inside the reservoir or serve immunocompromised individuals. However, bleach demands meticulous rinsing: continue flushing until absolutely no chlorine odor remains (typically 3+ water cycles). Never use scented or concentrated bleach—only regular unscented household bleach.
🚨 Never Mix Cleaners: Combining bleach with vinegar, ammonia, or other cleaners creates lethal chlorine gas. Use one solution per cleaning session only.
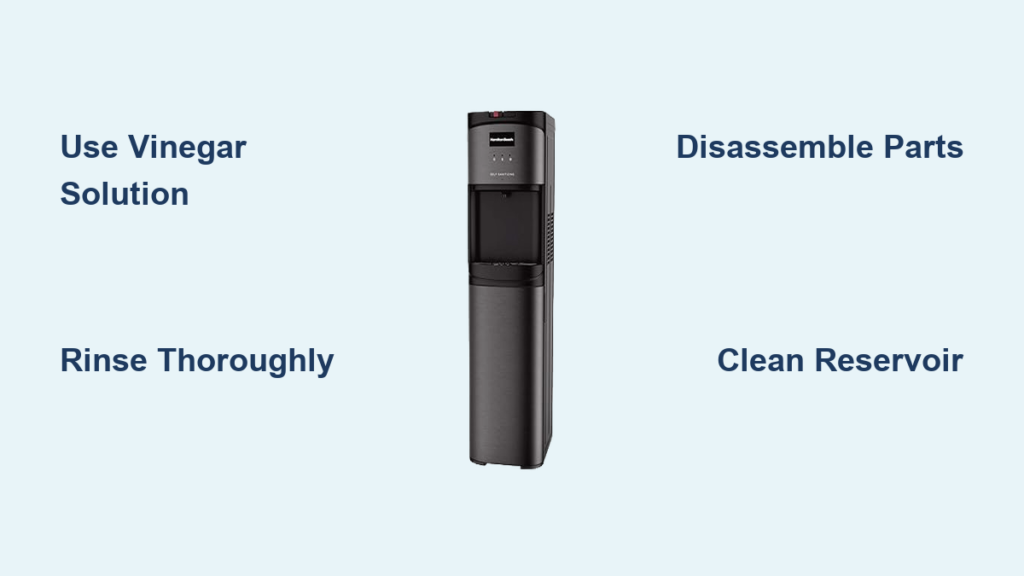
Hamilton Beach Water Cooler Cleaning: 6 Critical Steps You Can’t Skip
Rushing through cleaning leaves dangerous residues. This sequence ensures every internal surface gets sanitized without damaging your cooler’s mechanics.
Step 1: Prepare Your Cleaning Solution Safely
Unplug the cooler and remove the water bottle before mixing. For vinegar: Combine equal parts distilled white vinegar and cool tap water in a clean 3- or 5-gallon jug. For bleach: In a well-ventilated area, slowly pour 1 cup unscented bleach into 8 cups cool water while wearing gloves. Never use hot water—it deactivates bleach’s sanitizing power. Fill your jug only ¾ full to prevent spills during placement.
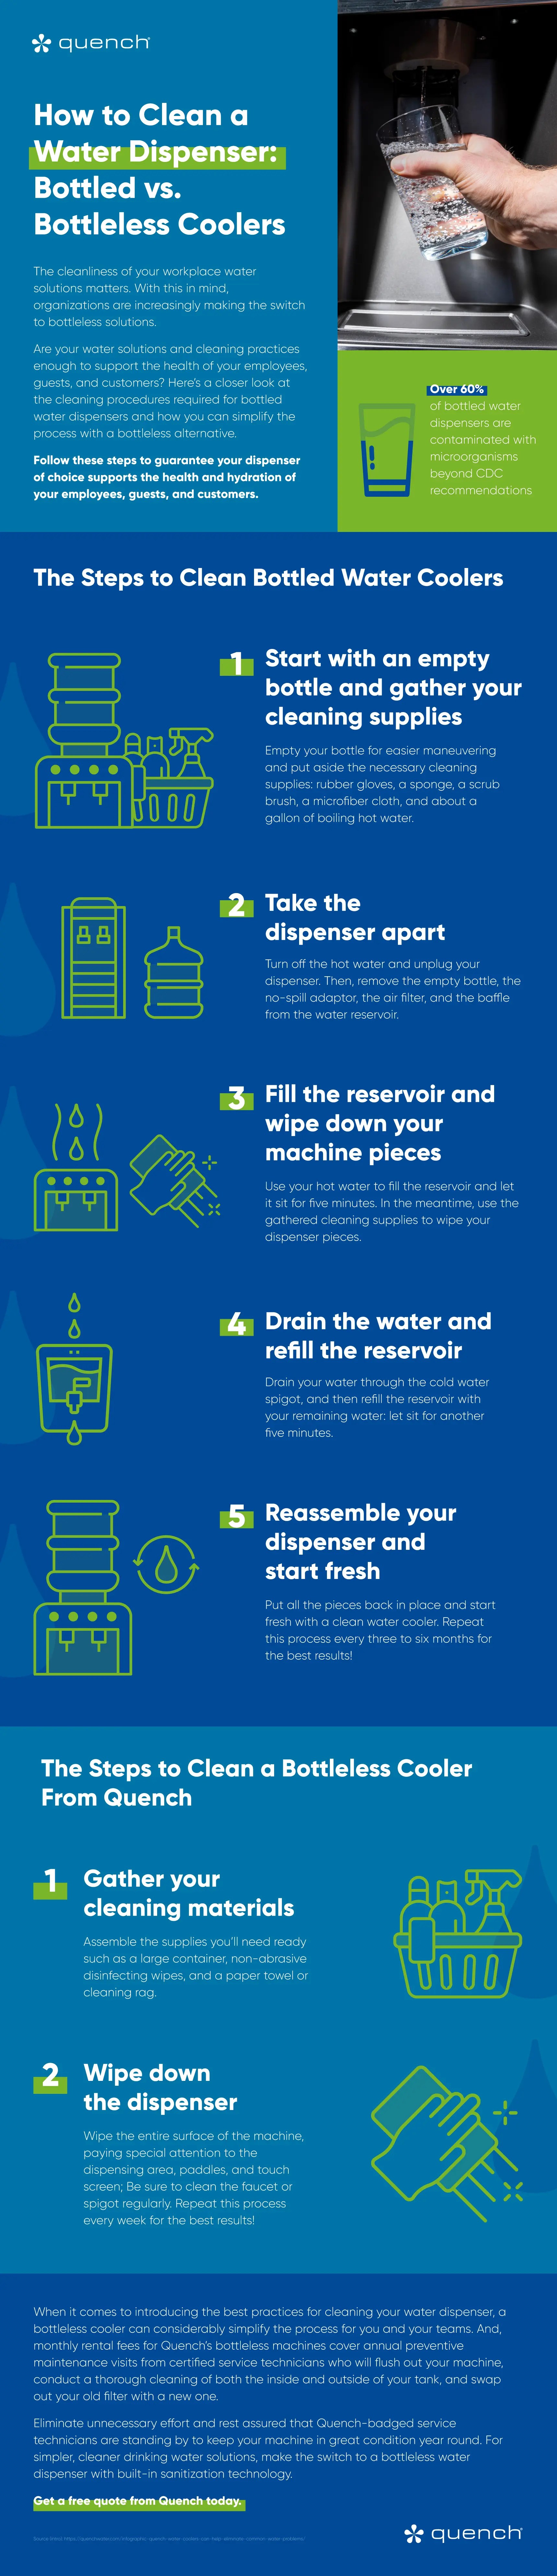
Step 2: Drain Reservoirs and Remove Components
Place buckets under both hot and cold spouts. Open taps fully until all water stops flowing—this usually takes 2-3 minutes. Remove the drip tray and plastic baffle (the funnel-shaped cover inside the reservoir chamber). Wipe visible mineral deposits from the reservoir base with a vinegar-dampened microfiber cloth. You’ll see cloudy film or white crust where bacteria hide; this visual cue confirms cleaning is overdue.
Step 3: Circulate Solution Through All Internal Lines
Position your solution-filled jug on the cooler. Dispense the ENTIRE mixture through both taps into buckets—never skip alternating between hot and cold. This critical step sanitizes hidden tubing that only activates when dispensing. Pause when the jug runs dry, then let the solution dwell inside reservoirs for 10-15 minutes. During this dwell time, you’ll hear bubbling as the solution dislodges biofilm—proof it’s working.
Step 4: Rinse Until Residues Vanish Completely
Refill the jug with fresh cool water. Dispense full cycles while alternating taps until:
– For bleach: Zero chlorine smell remains (typically 3 cycles)
– For vinegar: Water tastes completely neutral (usually 2 cycles)
Pro tip: Taste-test water mid-rinse—bitterness means more rinsing is needed. Residual cleaner causes metallic aftertastes that scare users away from their cooler.
Step 5: Dry Spouts and Reassemble Components
Run the cooler for 30 seconds after final rinsing to clear standing water from spouts. Air-dry the drip tray and baffle for 10 minutes—never reinstall damp parts, as trapped moisture breeds mold. Reattach components firmly but gently; Hamilton Beach baffles click into place with a quarter-turn clockwise.
Step 6: Restore Full Functionality Test
Place a fresh sealed water bottle on the cooler. Dispense 2 cups of water to verify clear flow from both taps. Your success metric? Water should taste identical to bottled water straight from the store.
Deep Cleaning Hamilton Beach Coolers with Persistent Odors

When routine cleaning fails to eliminate musty smells or slimy residue, disassembly is essential. This 20-minute process tackles hidden contamination behind factory seals.
Disassembling Your Hamilton Beach Model Safely
Unplug and drain the cooler completely. Most residential models let you remove spigots by turning counterclockwise (no tools needed). The internal baffle unscrews from the reservoir base—apply firm downward pressure while twisting. If stuck, wrap a rubber band around it for grip. Never force parts; Hamilton Beach designs all serviceable components for hand removal. You’ll expose the reservoir bottom where biofilm accumulates as a grayish slime—your target.
Scrubbing Hidden Contamination Zones
Soak removed parts in warm soapy water for 10 minutes. Use a soft bottle brush (never steel wool) to scrub reservoir walls, focusing on corners where tubing connects. For mineral-heavy areas, dip the brush in undiluted vinegar and scrub until white deposits dissolve. Avoid the heating element compartment—water contact here causes electrical damage. Rinse all parts under running water until completely clear.
Reassembly Without Cross-Contamination
Air-dry every component for 15 minutes on a clean towel—never use paper towels that leave fibers. Reinstall the baffle by aligning its tabs with reservoir grooves before twisting clockwise. Hand-tighten spigots until snug (overtightening cracks plastic). Your reassembly success sign? No leaks during the first water dispensing cycle.
Hamilton Beach Cooler Maintenance Schedule That Prevents Buildup
Follow this exact timeline to avoid recurring contamination—no more guessing when cleaning is due.
| Frequency | Action | Visual Cues It’s Needed |
|---|---|---|
| Weekly | Wipe exterior with disinfecting wipe; clean drip tray with soapy water | Water spots on casing; crumbs in drip tray |
| Monthly | Full vinegar sanitization cycle | Slight metallic taste; cloudy water |
| Quarterly | Bleach disinfection OR deep disassembly | Musty odor; visible slime in reservoir |
| Biannually | Replace water filter (if equipped) | Filter indicator light; reduced flow rate |
Critical reminder: Filters harbor bacteria when overdue—replace every 6 months even if water tastes fine. Hamilton Beach units with filters develop 3x more biofilm when filters aren’t changed.
Avoid These 3 Hamilton Beach Cleaning Mistakes
Most damage occurs from preventable errors. Sidestep these pitfalls:
- Using hot water with bleach → Deactivates sanitizer and warps plastic reservoirs
- Skipping alternating taps → Leaves 40% of tubing untreated (hot/cold lines operate separately)
- Rushing rinses → Residual vinegar/bleach causes long-term taste issues
When professional help is non-negotiable: If you see black mold around seals, hear gurgling from clogged lines, or serve commercial spaces (where EU and US health codes require certified 3-month cleanings), call a specialist. They use food-grade sanitizers and pressure-testing unavailable to homeowners.
Final Note: Consistent cleaning transforms your Hamilton Beach water cooler from a contamination risk into a reliable source of pure hydration. By dedicating 30 minutes monthly to this process, you’ll extend your cooler’s lifespan by years while ensuring every glass tastes fresh. Start today—your next sip of crisp, clean water depends on it. For model-specific diagrams, consult your Hamilton Beach manual’s “Maintenance” section before disassembling.


