
That stubborn grease film coating your Ninja air fryer screen isn’t just an eyesore—it’s actively sabotaging your cooking results. When food particles and oil buildup clog the mesh, airflow gets restricted, leaving your fries soggy and chicken less crispy than it should be. If you’ve noticed smoke during cooking or uneven browning, your screen likely needs immediate attention.
Whether you’re dealing with light splatter from last night’s dinner or months of baked-on residue, this guide delivers the exact steps to restore optimal performance to your Ninja air fryer screen. You’ll discover the fastest daily cleaning method that takes just minutes plus a powerful deep-cleaning technique for stubborn buildup—using only household items you already have. The entire process requires 10-30 minutes depending on soil level, and properly maintaining this component will significantly extend your appliance’s lifespan while improving every meal’s quality.
Why Your Ninja Air Fryer Screen Gets Clogged So Quickly
The screen’s fine mesh design traps oil droplets and food particles during cooking to prevent them from circulating back onto your food. This essential function means it bears the brunt of greasy splatters, especially when cooking high-fat foods like bacon or wings. Unlike your cooking basket, the screen can’t be tossed in the dishwasher, making regular manual cleaning critical for maintaining peak performance.
How Clogged Screens Affect Cooking Results
When airflow becomes restricted due to a dirty screen, your Ninja air fryer has to work harder to maintain temperature. This leads to longer cooking times, uneven browning, and that telltale smoking you might have noticed. In severe cases, excessive buildup can trigger overheating sensors, causing your appliance to shut down mid-cook—ruining your meal and potentially damaging internal components.
Visual Cues That Signal Cleaning Time
Hold your screen up to the light—any areas where you can’t clearly see through the mesh need attention. Dark spots, especially around the edges where grease accumulates fastest, indicate immediate cleaning is needed. If you notice a persistent oily smell during cooking or see smoke before food should be done, your screen is overdue for maintenance.
Critical Safety Steps Before Cleaning
Unplug immediately after cooking and leave the hood fully open. The screen retains heat significantly longer than the exterior casing—up to 30 minutes after cooking stops. Attempting to clean while still warm risks both burns and warping the mesh from thermal shock when it contacts water. Never skip this cooling period, even if you’re in a hurry.
Proper Screen Removal Without Damage

The screen sits underneath the top section of your unit, not inside the cooking chamber. It’s a rectangular or square panel with fine perforations that filters air during cooking. To remove it safely, locate the clips holding it in place (usually at the bottom edge) and gently pull downward with even pressure. If resistance feels excessive, check for debris jamming the edges rather than forcing it—forcing can bend the frame and make reinstallation difficult.
5-Minute Daily Cleaning Method for Light Residue
Remove Screen Safely
Most Ninja models use simple pressure fittings that require no tools for removal. After the unit has cooled completely, grasp the screen firmly but gently and pull straight down. If it doesn’t release easily, wiggle slightly side-to-side while pulling down—this often dislodges minor grease buildup holding it in place. Never use metal tools to pry it loose, as this can scratch surrounding surfaces.
Quick Soap Solution
Mix one drop of Dawn dish soap with warm (not hot) water in a small bowl. Dawn’s superior degreasing power cuts through oil without harsh chemicals that could damage the non-stick coating on adjacent parts. Avoid using dish soap with bleach or strong fragrances, as these can leave residues that affect food taste during next use.
Scrub With Soft Pad
Using a non-abrasive scrubbing pad (like a blue Scotch-Brite pad), work in gentle circular motions across both sides of the screen. Focus on areas with visible buildup, but maintain light pressure—the mesh can dent permanently under heavy-handed scrubbing. Pay special attention to the frame edges where grease loves to accumulate. Rinse under warm running water until all soap residue disappears and the water runs clear.
Air Dry Completely
Prop the screen upright in your dish rack for 10-15 minutes to ensure complete drying. Any remaining moisture creates steam during next use, potentially causing uneven cooking or triggering smoke alarms. Check the frame channels with a paper towel—water often hides in these crevices. Never reinstall a damp screen, as trapped moisture accelerates future grease buildup.
Deep Clean for Heavy Residue and Baked-On Food
Overnight Soaking Technique
For screens with significant buildup, fill your sink with hot water (not boiling) and 2-3 drops of Dawn. Submerge the screen completely, ensuring the frame edges get wet—grease often accumulates most heavily here. Let it soak 2-8 hours; the longer duration allows the soap to penetrate baked-on cheese, sauce, and carbonized food particles. For extremely stubborn residue, add a tablespoon of baking soda to boost cleaning power without abrasion.
Use the Ninja Cleaning Brush Properly
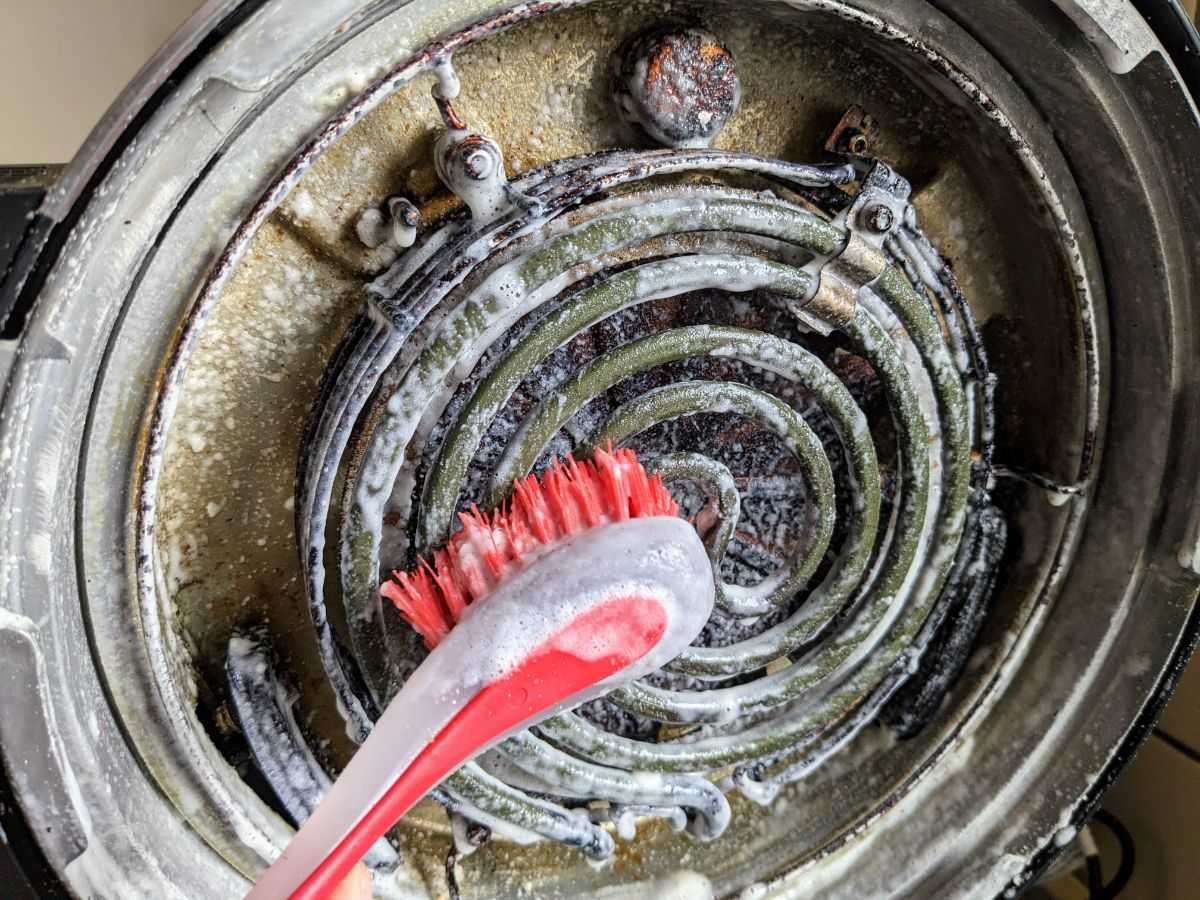
After soaking, grab the dual-purpose brush that came with your unit. First, use the brush side with gentle circular motions across the mesh surface to loosen particles. Then flip to the flat scraper end (the non-brush side) to lift stubborn spots without scratching—use light, straight strokes from center to edge to avoid pushing debris deeper into the mesh. The scraper end works wonders on caramelized sugars and cheese residue that regular scrubbing won’t budge.
Final Rinse Check
Hold the screen to a bright light source—any remaining dark spots indicate areas needing another pass. Rinse thoroughly under running water until it runs clear and the screen makes a clean “squeak” when rubbed with a dry finger. Proper rinsing prevents soap residue from burning off during next use, which creates unpleasant odors and smoke. Dry completely with a lint-free towel or air-dry for 30 minutes minimum before reinstalling.
Common Cleaning Mistakes That Damage Ninja Screens
Never use steel wool or metal brushes—they shred the delicate mesh and create rust spots that worsen with each cleaning. Skip abrasive cleaners like Bar Keepers Friend or oven cleaners; they strip protective coatings and leave chemical residues. Avoid dishwasher cleaning at all costs, as high heat warps the screen’s shape and weakens the plastic frame, causing improper seating that affects airflow.
What Not to Do With Your Cleaning Brush
Don’t press too hard with the scraper end—it’s designed for light pressure only. Many users damage screens by aggressively scraping as they would a cast iron pan, but air fryer screens require much gentler treatment. Also, never soak the entire cleaning brush for extended periods, as this can loosen the handle and create bacteria traps.
Related Components That Need Similar Care
While cleaning the screen, take 2 extra minutes to maintain these connected components using the same Dawn-and-warm-water approach:
- Crisper basket: Though dishwasher safe, hand-washing extends non-stick life significantly
- Grill grate: Soak overnight for carbonized residue before using the brush’s scraper end
- Splatter shield: Wipe front tabs weekly to prevent grease buildup that holds the screen in place
- Cooking pot: Use the brush’s scraper end for stuck-on food, but avoid metal utensils that scratch
When to Replace Your Ninja Air Fryer Screen

Order a replacement top screen from Ninja when mesh develops holes, the frame bends significantly, or cleaning no longer restores proper airflow. Replacement screens cost $15-25 and install in seconds—far more economical than replacing the entire unit due to poor performance from a damaged screen. Signs you need replacement include persistent smoke during cooking, significantly longer cooking times, and visible gaps where the screen no longer seats properly.
Maintenance Schedule That Prevents Major Cleaning Headaches
After each use: Quick 2-minute wipe-down prevents buildup from hardening. Weekly: Remove and wash screen thoroughly using the daily method. Monthly: Deep clean plus inspect for damage. Following this simple routine keeps your Ninja air fryer performing like new and prevents the thick, baked-on residue that requires aggressive scrubbing later.
This maintenance habit pays off immediately—you’ll notice crisper results, faster cooking times, and no more unexpected smoke during use. Your screen is now spotless and ready for tonight’s crispy chicken wings. Stick to this schedule, and you’ll never again face the daunting task of removing months of baked-on grease. Proper screen maintenance is the single most impactful thing you can do to maximize your Ninja air fryer’s performance and longevity.


