

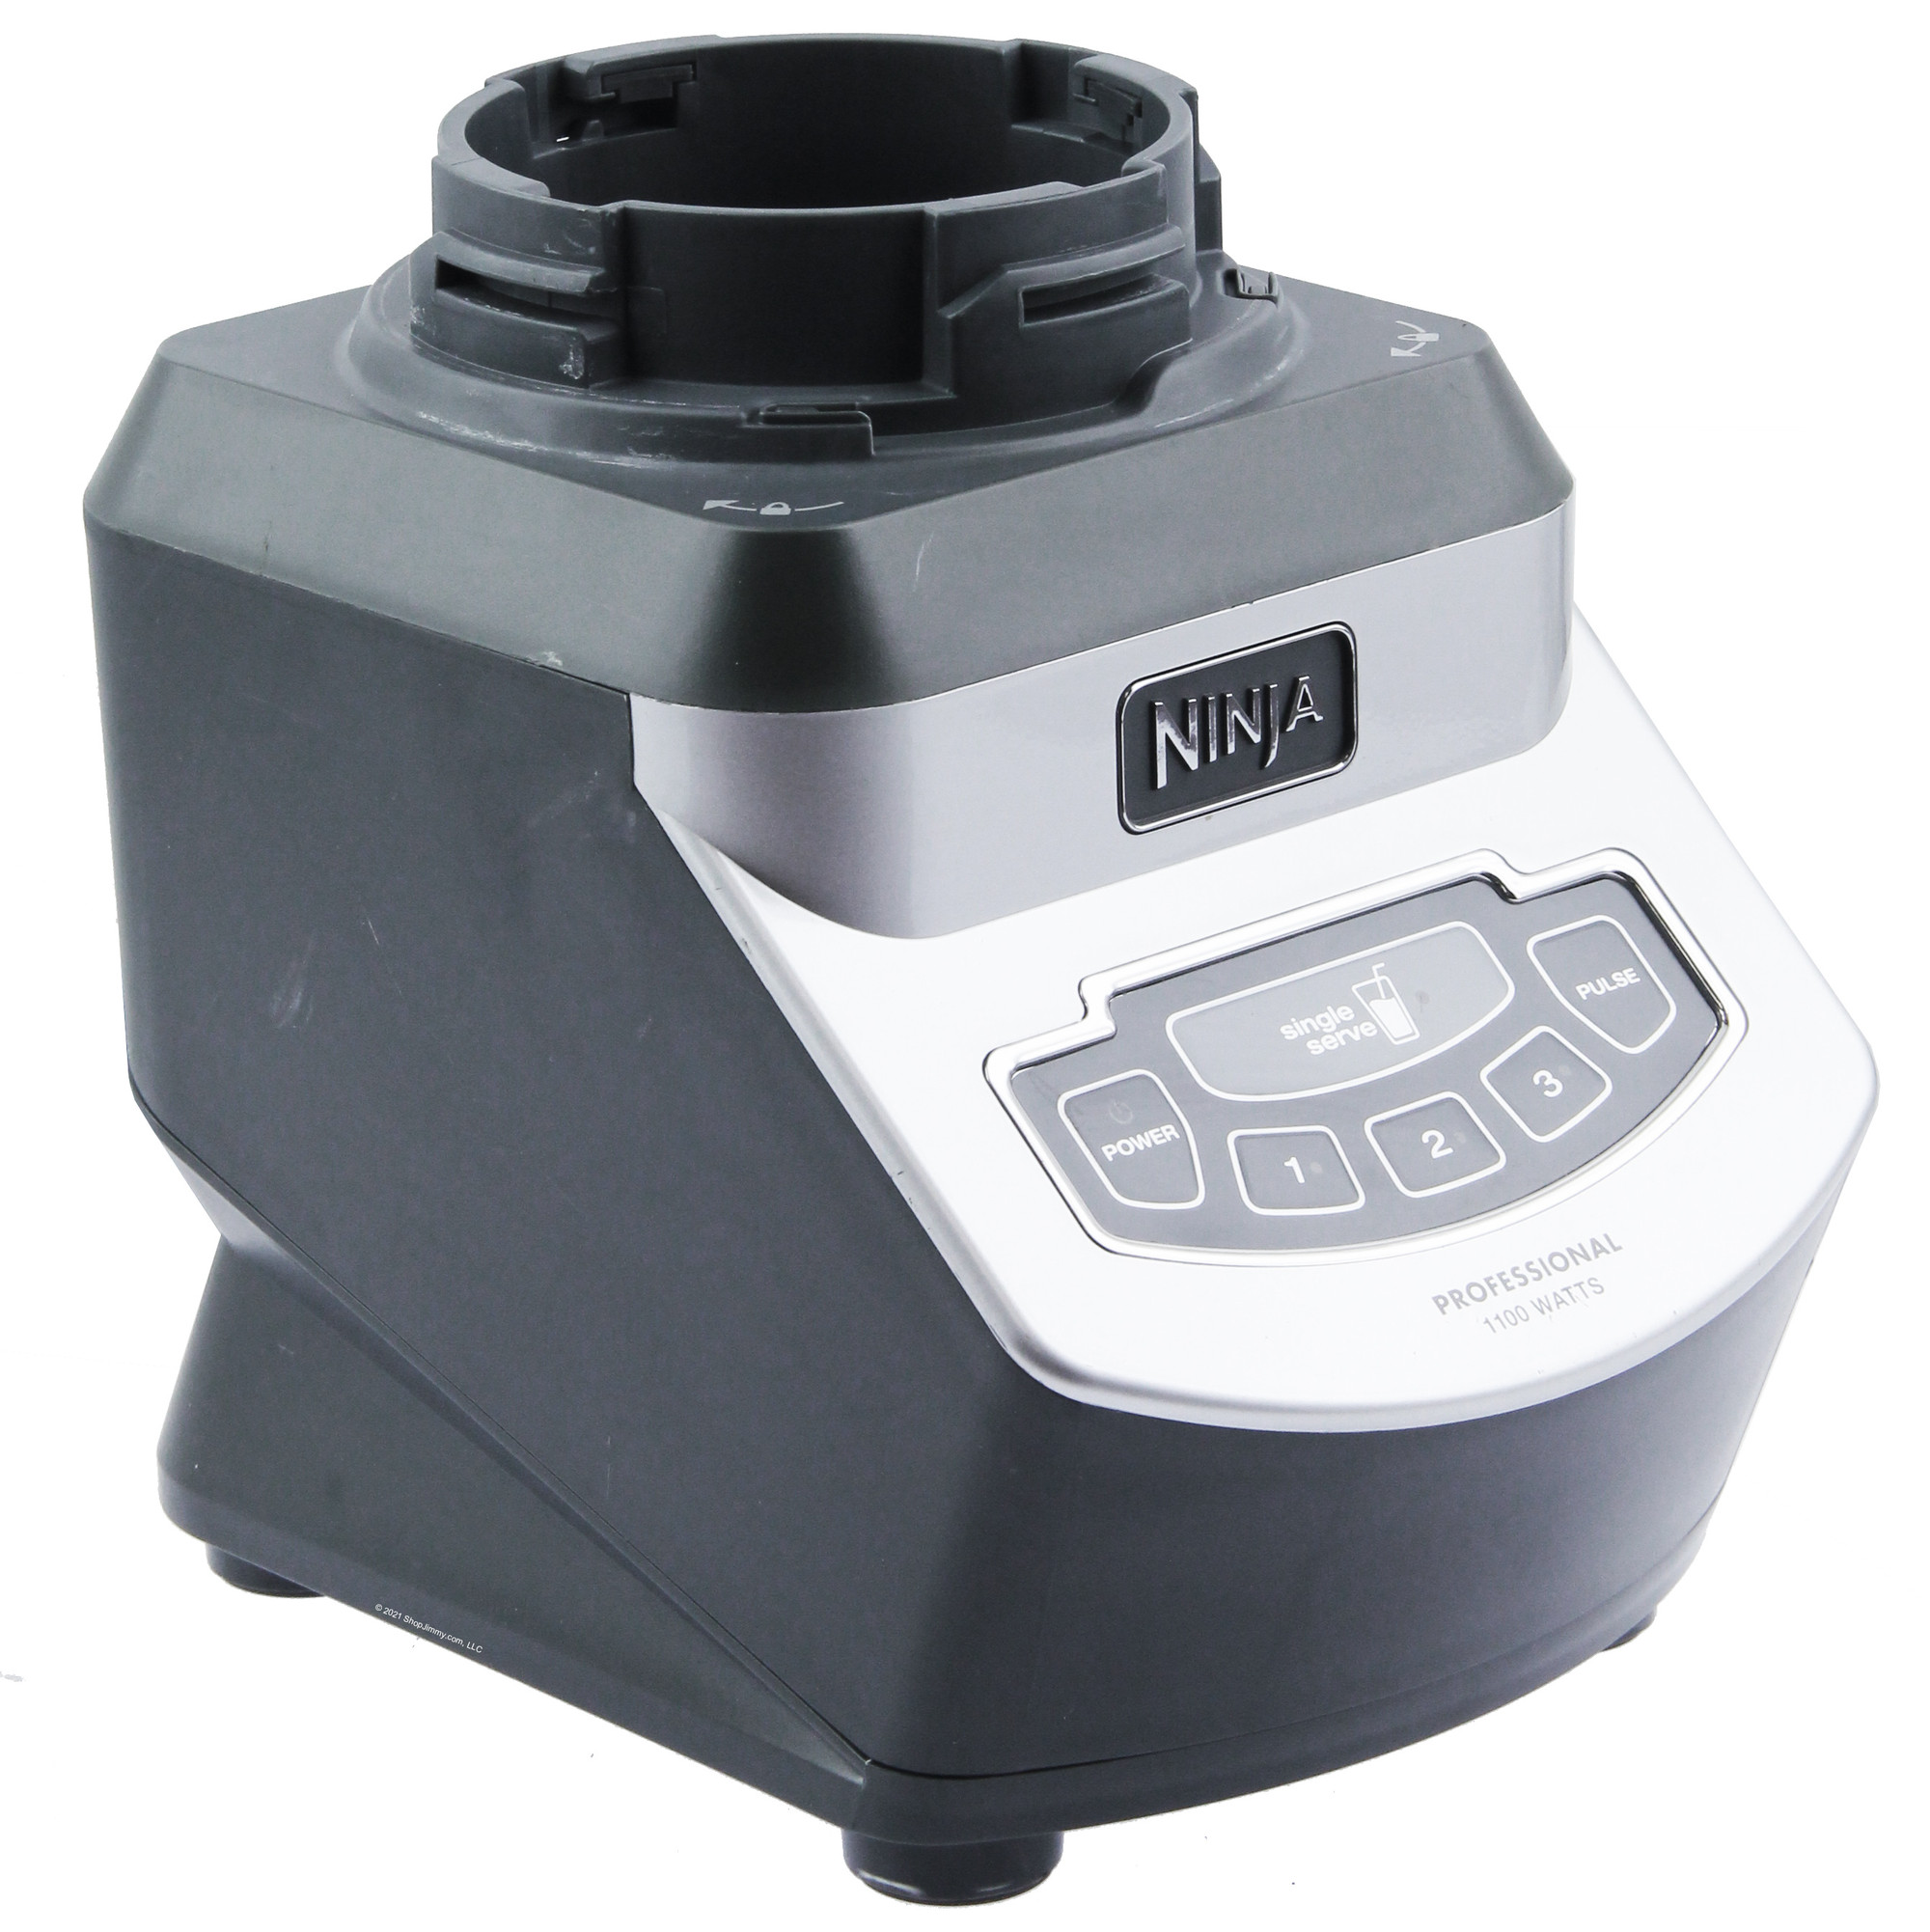
Your Ninja blender just pulverized frozen berries and kale into silky perfection, but now sticky residue clings to the control panel and dried smoothie crusts the motor base. While you can toss the pitcher in the dishwasher, that humming motor unit houses delicate electronics that water could permanently silence. How to clean Ninja blender motor properly is critical—you need spotless performance without risking electrical failure. This guide reveals exactly how to safely deep-clean every crevice while protecting your investment. You’ll learn moisture-proof techniques that take minutes, not hours, plus daily habits to prevent future gunk buildup.
Most users make the fatal mistake of hosing down the motor base after blending, not realizing a single drop of water inside the housing can fry circuitry. Ninja’s motors operate at high speeds with tight tolerances, making them vulnerable to moisture intrusion through ventilation slots and button seams. By following these precise methods, you’ll extend your blender’s life while keeping it hygienic. Let’s transform that grimy base into a like-new powerhouse without voiding your warranty.
Essential Safety Steps Before Cleaning
Unplug and cool your Ninja motor base completely—this isn’t optional. Leave it disconnected for 30 minutes after blending hot soups or sauces. Warm components attract moisture faster, increasing short-circuit risks. Never touch electrical parts with damp hands; dry them thoroughly first. The rubber feet and cord entry points are moisture magnets, so handle the base like uncooked chicken—keep it isolated from other surfaces until clean.
Never submerge the motor base or spray it directly with liquids. Water finds paths through ventilation slots and button gaskets straight to the motor windings. One drop inside can cause corrosion that kills your blender months later. If you’ve spilled liquid on it, unplug immediately and dry the exterior with paper towels before proceeding. Skipping this step risks electrocution or permanent damage—your safety depends on patience here.
Required Tools for Ninja Motor Base Cleaning

Gather these specific supplies before starting:
– Two lint-free microfiber cloths (paper towels leave fibers in crevices)
– Soft-bristled toothbrush (unused or dedicated for cleaning)
– Cotton swabs and wooden toothpicks
– Mild dish soap and warm water in a small bowl
– White vinegar for greasy spots (no harsh chemicals!)
Skip these dangerous items:
– Dishwasher (heat warps plastic and melts seals)
– Bleach or ammonia (corrodes electrical contacts)
– Steel wool or metal scrapers (scratch surfaces, exposing wiring)
– Compressed air (can force debris deeper into vents)
Remove All Attachments First
Detach the pitcher, lid, and blade assembly immediately. These parts can go in the dishwasher, but the motor base stays dry. Check the drive shaft—the metal post where the pitcher locks—for food strands wrapped around it. Use a dry finger to feel for stickiness; dried fruit or nut butter here prevents proper blending. If residue resists light pressure, don’t force it—wait until the dry cleaning step.
Inspect the rubber coupling where blades connect to the motor. This gasket traps crumbs and oils, causing odors during use. Shine a flashlight here to spot hidden debris. Never pry at this part; its seal protects internal components. If it’s cracked or torn, replace it before cleaning—Ninja offers affordable gaskets online.
Dry Debris Removal Technique
Wipe all surfaces with a dry microfiber cloth using downward strokes away from vents. Start at the top (pitcher-contact area) and work down to the base. Pay special attention to button edges—smoothie splatter hardens here, making buttons sticky. Use short, firm brush strokes on ventilation slots; sideways motions push dust inward. For stubborn crumbs in crevices, roll a toothpick in cloth and gently dislodge them.
Never blow on debris—your breath contains moisture. If particles won’t budge, vacuum them with a brush attachment on low suction. Hold the nozzle 2 inches away to avoid static discharge. After dry cleaning, check your cloth for colored residue; pink streaks mean berry stains, while green indicates forgotten spinach. This tells you what to tackle next.
Gentle Surface Cleaning Method
Dip one cloth corner in soapy water and wring until bone-dry. It should feel cool but not damp to the touch. Wipe the top surface where the pitcher sits using concentric circles from center outward. Focus on the drive shaft rim—this area collects oils that attract dust. For control panels, wipe buttons vertically (top to bottom) to avoid forcing liquid under them.
Work in 30-second sections per area:
1. Top surface (pitcher contact zone)
2. Front control panel
3. Side ventilation slots
4. Power cord entry point
5. Bottom rubber feet
Re-dampen your cloth only after it dries completely. Excess moisture pools in seams—watch for beading liquid near buttons and wipe it immediately.
Detail Button Cleaning Protocol
Wrap a cotton swab in microfiber and dip just the tip in soapy water. Squeeze out liquid by pressing it against the bowl. Clean each button’s perimeter with clockwise circles, applying zero pressure. For sticky residue, hold the damp swab on the spot for 10 seconds to soften it before wiping.
Dry instantly with a second swab—moisture migrates downward. Test button responsiveness after cleaning; they should click crisply. If a button feels sluggish, repeat the process. Never insert tools under buttons—this breaks the internal membrane. For red wine or coffee stains around controls, dab with vinegar on a swab instead of soap.
Ventilation Slot Care
Use a dry toothbrush to sweep dust from vents in outward motions. Hold the base at a 45-degree angle so debris falls away. Never insert brush bristles deeper than 1/8 inch—vents connect directly to the motor. For greasy buildup (common in kitchens with frying), wipe vent edges with a vinegar-dampened cloth.
Check airflow after cleaning: Blow gently across vents—you should feel resistance. If air passes freely, dust has clogged internal filters. Let the base sit upright for 15 minutes to ensure vents are bone-dry. Condensation here causes motor overheating during use.
Tackle Stubborn Stains Safely
Make baking soda paste (1 tsp soda + 5 drops water) for dried smoothie rings. Apply with a cloth and wait 90 seconds. Gently rub with a toothbrush using feather-light pressure. Wipe clean with a damp cloth, then dry immediately. For oily stains from nut butters, use undiluted vinegar on a cloth—let it sit 30 seconds before wiping.
Never scrub aggressively—Ninja’s matte finish scratches easily. If stains persist after two attempts, try a plastic scraper (like a gift card edge) at a 15-degree angle. Metal tools cause irreversible damage. For persistent odors, run the blender with 1 cup water + 1 tbsp baking soda in the pitcher (not the motor base!).
Deep Clean Crevices Without Damage
Wrap a toothpick in microfiber to clean drive shaft grooves. Rotate it gently like flossing teeth—no plunging motions. For the rubber foot undersides, lift the base carefully and wipe with a vinegar-dampened swab. Avoid model number labels; moisture here blurs warranty info.
Check cord integrity while cleaning. Frayed wires near the base require professional replacement—don’t risk electrical shock. If you spot rust on metal parts, stop immediately; this indicates past moisture exposure. Let the base air-dry 24 hours before reuse.
Complete Drying Protocol
Wipe every surface with a dry microfiber cloth using the same section order as cleaning. Pay extra attention to button seams and the drive shaft collar—these trap moisture. Place the base on its side for 20 minutes in a warm, dry room (not direct sunlight). Heat accelerates drying but UV rays degrade plastic.
Test for dampness by pressing a tissue against crevices—it should show zero moisture. If unsure, wait 4 hours before reassembling. Using a wet motor base causes short circuits that melt internal wiring.
Daily Maintenance to Prevent Buildup
Wipe spills within 60 seconds using a dry cloth—dried residue requires 10x more effort later. After each blend, do a 20-second top-surface check: run your finger around the drive shaft for stickiness. Store your Ninja away from stovetops; heat attracts grease that bonds to plastic.
Weekly, deep-clean buttons and vents with dry methods only. Monthly, inspect the power cord for kinks. This routine prevents 95% of gunk issues—no monthly marathons needed.
Warning Signs Requiring Immediate Action

Unplug if you notice:
– Musty smells during operation (indicates internal mold)
– Buttons that don’t rebound (trapped moisture swelling components)
– Visible condensation in vents (stop using for 48 hours)
– Sizzling sounds (liquid entered housing—seek professional help)
Never ignore sticky buttons—they’re your first moisture warning. If the motor overheats after cleaning, discontinue use immediately.
Critical Mistakes to Avoid
Never immerse the base even for “just a second.” Water seeps through seams within 3 seconds. Skip steam cleaners—they melt gaskets. Avoid dishwasher pods; their enzymes corrode electronics. And never open the motor housing yourself—this voids warranties and exposes live wires.
When to Get Professional Help
Contact Ninja support if:
– Liquid entered the housing (e.g., blender tipped over)
– Persistent burning smells after drying
– The unit won’t power on post-cleaning
– Warranty coverage applies (proof of purchase required)
Authorized technicians use moisture detectors and sealant checks you can’t replicate safely. DIY repairs often cause costlier damage.
Long-Term Care Strategy
Store upright in a cool, dry cabinet—not under the sink where humidity warps components. Before vacations, do a final clean and leave the base unplugged upright for 24 hours. Every 6 months, inspect cord insulation for cracks. For hard water areas, wipe with vinegar monthly to prevent mineral buildup.
Your Ninja motor base now operates like new, free of performance-sapping grime. Remember: gentle, frequent cleaning beats aggressive scrubbing. Stick to the 60-second post-blend wipe, and you’ll dodge 90% of deep-cleaning emergencies. For model-specific quirks, check Ninja’s online manual library—some newer units have removable control panels for easier access. Now blend with confidence, knowing your machine’s heart beats strong.


