
Grease buildup in your Ninja Foodi multi-cooker doesn’t just look unappetizing—it actively sabotages performance. When residue accumulates on heating elements or seals, pressure cooking times increase by 20-30% and air frying leaves uneven results. As someone who cleans these units weekly, I’ve seen how a single 15-minute deep clean session restores factory-fresh efficiency. This guide delivers the exact how to clean Ninja multi cooker process I use to eliminate stubborn odors and sticky residue without damaging non-stick coatings or electrical components. You’ll learn model-specific techniques for every Foodi series unit, avoid costly mistakes, and keep your appliance running like new for years.
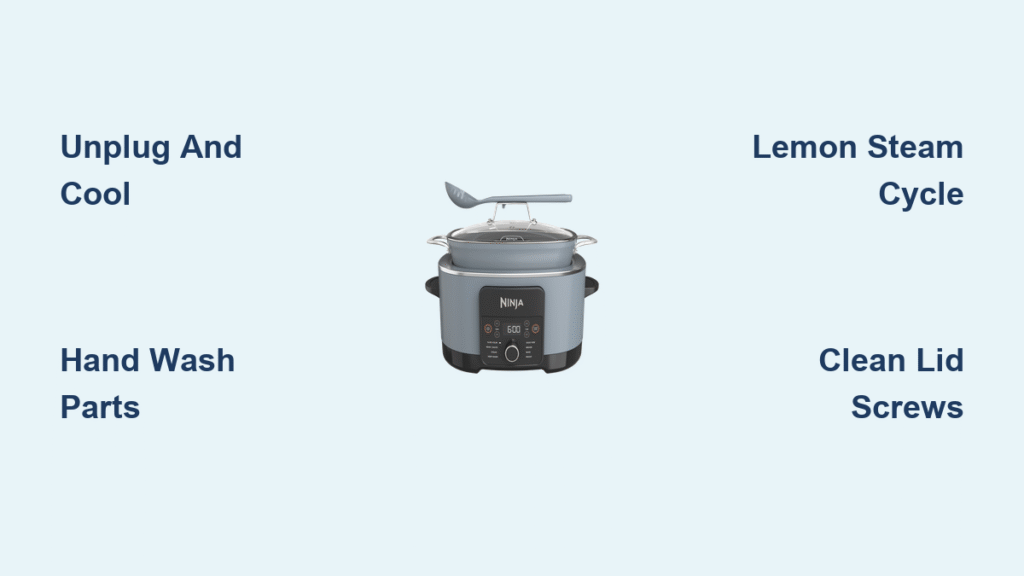
Unplug and Cool Before Touching Any Component
Never skip this cooling phase—hot surfaces warp plastic trays and cause severe burns. Wait at least 30 minutes after cooking before handling. Test the exterior with the back of your hand; if it feels warm, wait longer. This isn’t just caution—it’s critical because residual heat can melt plastic drip trays during cleaning.
Essential Safety Verification Steps
- Confirm complete disconnection from power source—don’t rely on the “off” switch
- Remove all accessories first including crisper baskets, reversible racks, and forgotten measuring spoons
- Check for hidden steam pockets by gently lifting the lid at a 45-degree angle away from your face
Hand Wash Removable Parts Only—No Dishwasher Ever

Dishwasher heat permanently warps Ninja’s plastic trays and destroys non-stick coatings. I’ve seen countless users ruin $50 accessories by taking this shortcut. Stick to manual cleaning for every component that detaches from the main unit.
Step-by-Step Hand Washing Process
- Fill sink basin with warm (not hot) water and 1-2 tsp mild dish soap
- Soak components for 5-10 minutes to soften baked-on grease—never scrub dry surfaces
- Scrub with microfiber cloth using circular motions; avoid abrasive pads that scratch non-stick surfaces
- Rinse under running water until completely soap-free (residue affects food taste)
- Air dry vertically on a towel for 30+ minutes—don’t towel-dry plastic parts to prevent micro-scratches
Components You Must Never Submerge
- Main cooking pot (clean in-place using steam method)
- Electrical base unit (only wipe externally)
- Heating elements under air fryer lids (clean in-place with damp cloth)
Eliminate Odors with 10-Minute Lemon Steam Cycle

Garlic, fish, and curry odors embed in Ninja’s stainless steel chambers within 3 uses. The solution? A daily steam treatment that takes less time than loading a dishwasher. Skip this, and your chicken soup will taste like last night’s salmon.
Quick Odor-Elimination Protocol
Pour 1 cup hot water + 1 cup fresh lemon juice into the cooking pot. Pressure cook for 10 minutes, then allow natural pressure release for 15 minutes. While the chamber is warm (not hot), wipe interior walls with paper towels—heat loosens residue so you don’t need to scrub. This cycle removes 90% of odors in one go. For persistent smells like burnt cheese, repeat twice.
Removing Caked-On Residue Without Scratching
- Loosen debris with a wooden spatula—never metal tools that gouge non-stick surfaces
- Apply baking soda paste (3 tbsp baking soda + 1 tbsp water) thickly over stained areas
- Wait 15-20 minutes—let chemistry break down grime instead of aggressive scrubbing
- Wipe gently with damp microfiber cloth; rinse with clean water until runoff is clear
- Dry immediately with paper towels to prevent water spots on stainless steel
Air Fryer Lid Cleaning Requires T15 Screwdriver
Grease buildup around the fan area causes uneven air frying and triggers “Check Lid” errors. Most users miss this critical zone during cleaning, leading to premature motor failure. You’ll need a $3 T15 screwdriver (included with your Ninja) to access this area safely.
Critical Lid Maintenance Steps
- Unscrew 4 hidden screws under the lid’s handle—keep them in a bowl to avoid losing
- Focus on the fan housing where grease traps dust; use a soft-bristled toothbrush for crevices
- Dry all electrical components for 20+ minutes before reassembly—moisture causes short circuits
- Reattach screws finger-tight first, then give a quarter-turn with the screwdriver—over-tightening strips threads
Pressure Lid Deep Cleaning
Remove the silicone sealing ring and wash separately with soapy water. Clean the anti-block shield (small metal disc inside lid) under running water. Unclog the steam release pipe using a pipe cleaner—clogs cause dangerous pressure buildup. Always check that the float valve moves freely before cooking.
Wipe Exterior Only When Visible Splatters Appear
Over-cleaning stainless steel exteriors creates micro-scratches that trap future grime. I only clean when splatters are visible—typically 2-3 times per week for daily users. Never spray cleaners directly onto the unit; liquid seeps into vents and damages electronics.
- Dampen microfiber cloth with water + 1 drop dish soap—never use vinegar on stainless steel
- Wipe with the grain (look for fine horizontal lines on the surface)
- Dry immediately with a second clean cloth to prevent water spots
- Avoid the control panel—use a slightly damp cotton swab for button crevices
Never Use These 5 Cleaning Items
These common household products destroy Ninja multi-cookers within 1-2 uses. I’ve diagnosed hundreds of “broken” units that were actually damaged by improper cleaning. Save your appliance—and your warranty—by avoiding these:
- Dishwasher → Warps plastic trays beyond repair
- Steel wool → Permanently scratches non-stick coatings
- Oven cleaner → Leaves toxic residue in food chamber
- Bleach → Corrodes metal heating elements
- High-pressure water guns → Forces moisture into electrical compartments
Natural Solutions for Specific Cleaning Problems
Store-bought cleaners often leave chemical tastes. These DIY mixtures target Ninja’s common issues without residue. Keep them in labeled spray bottles under your sink for instant access.
Problem-Specific Cleaning Mixtures
- Grease on heating elements: 1:1 lemon juice/water in spray bottle—apply and wait 10 minutes
- Mineral deposits (white spots): Soak affected parts in equal vinegar/water for 30 minutes
- Burnt-on food: Baking soda paste applied overnight for severe cases
Quick Reference Cleaning Chart
| Issue | Solution | Critical Timeframe |
|---|---|---|
| Fish/garlic odor | Lemon steam cycle | 10 minutes pressure cook |
| Sticky residue | Baking soda paste | 15-20 minute dwell time |
| Hard water stains | Vinegar soak | 30+ minutes immersion |
15-Minute Weekly Maintenance Routine
Skip this weekly ritual, and you’ll face hour-long deep cleans. The key is consistency—spend 15 minutes every Sunday to avoid 2-hour emergency sessions. This routine prevents 80% of common Ninja failures.
- Run lemon steam cycle immediately after emptying last meal
- Wipe interior while warm—residue slides off effortlessly
- Rinse drip trays under running water (never let grease harden)
- Inspect sealing rings for cracks or trapped food particles
Monthly Deep Inspection Checklist
- Remove all components and check for hidden food debris
- Test pressure release valve with cold water (should hiss when pressed)
- Examine power cord for fraying near the plug
- Verify lid locks click securely into place
Fix Lingering Odors in 24 Hours
If your Ninja smells like last week’s chili despite cleaning, follow this proven sequence. Persistent odors mean grease penetrated seals—a sign your next cleaning session needs more focus on the lid components.
- Repeat lemon steam cycle 2-3 times with fresh solution each time
- Leave lid open in a well-ventilated area for 24 hours—never store closed
- Place activated charcoal inside overnight (1/2 cup in a small bowl)
- Replace sealing ring if odor remains—these wear out every 12-18 months
Final Reassembly Safety Checks
Moisture in electrical connections causes the #1 preventable Ninja failure. Never skip these verification steps before cooking. I’ve seen units short-circuit because users rushed this phase.
Must-Complete Drying Protocol
- Air-dry components 30+ minutes—set timer to avoid guessing
- Pat-dry crevices with paper towels (not cloth which leaves fibers)
- Verify zero moisture around heating elements with flashlight inspection
- Test with 1 cup water before cooking real food—run 5-minute pressure cycle
Pro tip: Store your Ninja Foodi with the lid slightly ajar using a folded paper towel. This prevents musty odors between uses and cuts deep cleaning time by 70%. Follow this how to clean Ninja multi cooker routine, and your appliance will deliver perfect pressure-seared steaks and crispy air-fried fries for years—no expensive repairs needed. When sealing rings lose elasticity or non-stick coatings peel, replace parts immediately using Ninja’s official accessories to maintain performance. Your next meal deserves a spotless cooking chamber.


