
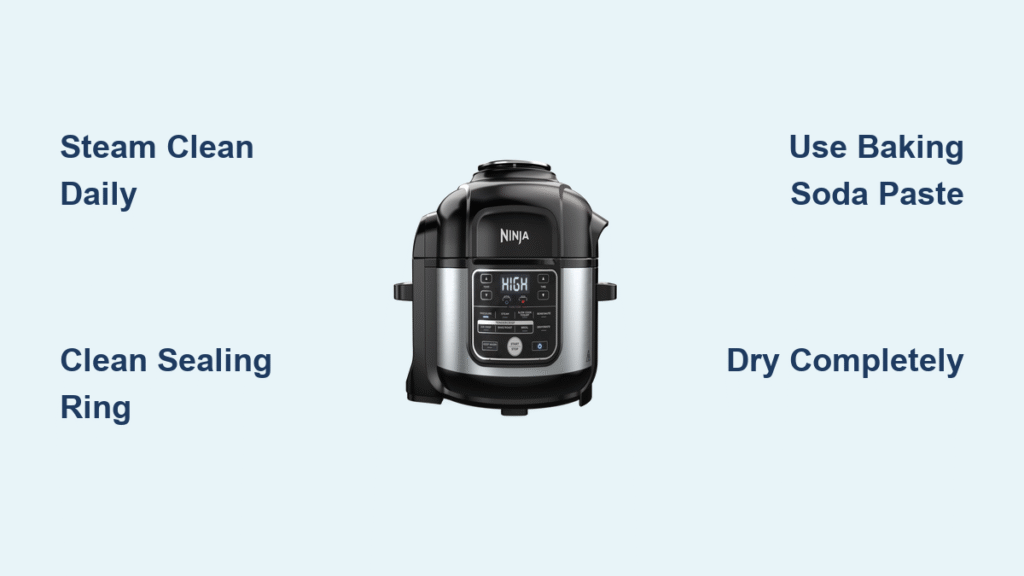
That stubborn curry smell clinging to your Ninja Foodi isn’t just annoying—it’s compromising your next meal’s flavor. When food particles bake onto heating elements or residue clogs pressure valves, your multi-cooker’s performance plummets. Unlike simpler appliances, Ninja pressure cookers demand specific hand-cleaning techniques that 80% of owners never learn. Skip the dishwasher temptation or abrasive scrubbers, and you’ll extend your Foodi’s lifespan by years while ensuring every dish tastes exactly as intended.
Most users don’t realize that cleaning while components are warm (not hot) makes residue removal effortless. This guide reveals the exact sequence Ninja technicians use—from daily 10-minute steam cycles to monthly deep sanitization—so you never face burnt-on messes or persistent odors again. You’ll master component-specific care that protects seals, valves, and non-stick coatings while keeping pressure release mechanisms flawless.
Never Skip These Critical Safety Steps
Assuming your Ninja is safe because the display shows “OFF” risks severe burns or electrical damage. The pressure valve must read zero, and all parts must reach room temperature before cleaning. Skipping this risks warping components when cold water hits hot metal.
Essential Pre-Cleaning Safety Checklist
- Unplug power cord from wall outlet (never rely on control panel status)
- Confirm pressure valve shows zero pressure—never force lid removal
- Wait until cooking pot and lid are cool enough to touch comfortably
- Fully unlock and open lid before any cleaning begins
Daily 10-Minute Lemon Steam Clean Method
This immediate post-use routine dissolves 90% of residues before they harden. Wait 5 minutes after cooking stops—components should be warm but not hot—to maximize effectiveness without risking warping.
Follow these exact steps:
1. Pour 1 cup hot water + 1 cup lemon juice into cooking pot
2. Seal lid and pressure cook for exactly 10 minutes (no quick release!)
3. Allow natural pressure release for 15 minutes
4. Wipe interior with paper towels while still warm
5. Empty and rinse drip trays immediately
Pro Tip: Skip vinegar for daily cleaning—it’s too harsh for frequent use. Lemon juice neutralizes odors from garlic, fish, or spices without damaging seals.
Deep Clean Disassembly Without Damage

Remove Components in This Order
Always disassemble while parts are warm (not hot) for easiest residue release. Never force stuck pieces—warmth loosens bonds naturally. Start with:
– Cooking pot (remove first while warmest)
– Crisping basket and reversible rack
– Drip trays and condensation collector
– Sealing ring (twist gently if stuck)
Component-Specific Cleaning Protocol
Use only non-abrasive sponges and mild dish soap—metal scrubbers permanently scratch non-stick coatings. Clean in this sequence:
1. Least dirty items first: Racks and trays (soak 5 minutes in soapy water)
2. Cooking pot: Focus on bottom where food burns most
3. Sealing ring and lid: Hand-wash separately to avoid warping
Lid Deep Cleaning That Prevents Pressure Failures
Pressure Cooker Lid Maintenance
Neglecting the sealing ring groove causes 70% of pressure issues. Food debris here blocks proper sealing.
Critical steps:
– Remove sealing ring by twisting gently at the handle
– Soak ring in soapy water for 10 minutes (never boil)
– Use toothpick wrapped in damp paper towel to clean valve openings
– Dry all parts completely before reassembly—moisture causes mold
Air Fryer Lid Cleaning (Foodi Models)
Skipping this monthly task makes your air fryer smoke during use. Grease buildup on heating elements is the culprit.
Required tool: T15 screwdriver (included with most models)
1. Remove screws securing lid assembly
2. Wash lid separately in warm soapy water
3. Use soft brush on heating element fins
4. Air-dry 24 hours before reattaching
5. Test lid closure with no pot inside first
Baking Soda Power Clean for Burnt-On Residue

When daily steam cleaning fails, this food-safe method dissolves stubborn messes without toxic chemicals. Avoid oven cleaners—they degrade non-stick coatings permanently.
Exact Application Process
- Mix 3 tbsp baking soda + 1 tbsp water into thick paste
- Apply only to affected areas (avoid heating elements)
- Let sit 15-30 minutes (don’t let dry completely)
- Gently scrub with soft-bristled toothbrush
- Rinse 3x with warm water to remove all residue
Warning: Never use baking soda paste on stainless steel pots—it can cause discoloration. Use vinegar solution instead.
Weekly Maintenance That Prevents Costly Repairs
Complete Component Inspection Routine
Dedicate 20 minutes weekly to catch small issues before they become failures. Focus on:
– Sealing ring for cracks or stiffness (replace if not supple)
– Pressure release valve movement (should slide smoothly)
– Drip tray warping (causes leaks during air frying)
– Lid lock mechanism alignment
Correct Storage Prevents Mold and Odors
Storing with lid sealed tight traps moisture— the #1 cause of persistent smells. Instead:
– Leave lid slightly ajar with paper towel inside pot
– Store drip trays nested inside cooking pot
– Keep condensation collector empty and detached
– Place in cabinet away from stove steam
Fix These 3 Common Cleaning Disasters
Eliminate Permanent Odors in 24 Hours
When lemon steam cleaning doesn’t work:
1. Place ½ cup baking soda in pot + ¼ cup in condensation collector
2. Close lid and leave 12 hours
3. Run 5-minute steam cycle with water only
4. Air-dry completely with lid open
Remove Grease Buildup Safely
Never use degreasers—they contaminate future meals. Instead:
– Soak affected parts 30 minutes in warm soapy water
– Scrub in circular motions with non-scratch sponge
– Repeat until water runs clear
– Finish with 5-minute lemon steam cycle
Recover from Burnt-On Food Disasters
For severe cases like scorched rice:
1. Run 10-minute steam cycle with 2 cups vinegar-water mix
2. Apply baking soda paste after cooling
3. Wait 30 minutes before gentle scrubbing
4. Final steam clean with lemon juice
5. Inspect heating element for damage
Monthly Deep Clean Schedule for Longevity

Critical Tasks Every 30 Days
- Replace sealing ring if stiff or cracked (every 12-18 months typically)
- Clean pressure release valve with pipe cleaner
- Sanitize with baking soda paste (all components)
- Lubricate lid hinges with food-safe mineral oil
- Test all lid locks with no pot inside
Component Replacement Warning Signs
| Part | Replace When | Cost-Saving Tip |
|---|---|---|
| Sealing ring | Hard to the touch, cracks, persistent odors | Buy 2 rings—rotate monthly |
| Drip trays | Warped, cracked, or leaking | Use as-is for air frying only |
| Condensation collector | Cloudy plastic, leaks | Clean with vinegar soak weekly |
Prevent Messes Before They Happen
Cooking Modifications That Cut Cleaning Time 50%
- Line cooking pot with parchment paper for sticky foods
- Spray crisper basket with oil before adding food
- Never fill beyond max line—overflow clogs valves
- Wipe spills immediately with damp cloth while warm
Storage Best Practices Checklist
- Store in dry location away from dishwasher steam
- Use included appliance cover to block dust
- Keep all accessories nested together
- Leave paper towel in pot to absorb moisture
Final Note: Clean your Ninja pressure cooker within 30 minutes of cooking while components are warm—not hot—for effortless maintenance. Consistent daily steam cleaning prevents 90% of deep cleaning emergencies, saving you 3+ hours monthly while ensuring every meal tastes precisely as crafted. Always hand-wash components with non-abrasive tools, and replace the sealing ring every 12 months for flawless pressure performance. Your Foodi’s longevity depends entirely on these simple, specific routines.


