
Your Ninja Foodi slow cooker has become a flavor prison. That stubborn chili residue from Sunday’s stew is fused to the ceramic pot, and yesterday’s curry left a ghostly aroma that taints today’s chicken soup. Before you grab steel wool or toss parts in the dishwasher (a fast track to warranty voidance), learn the precise cleaning method that preserves your appliance’s integrity. Discover why mild dish soap outperforms harsh chemicals, how 15 minutes of daily maintenance saves hours of deep cleaning, and the vinegar trick that erases odors at the molecular level. Let’s rescue your Ninja from grime buildup and restore it to cooking perfection.
Unplug and Cool Down: Non-Negotiable Safety Steps
Never skip this critical phase. Always disconnect your Ninja Foodi from power before any cleaning begins—water and electricity create lethal risks even when the unit appears off. Wait until the ceramic pot and heating chamber cool completely to the touch; residual heat can cause severe burns during disassembly. Rushing this step risks warping components when cold water hits hot surfaces. If you’ve just finished cooking, set a timer for 30 minutes before proceeding.
Detach Every Component in Correct Sequence

Work systematically to avoid losing small parts. Remove these elements in order:
– Ceramic inner cooking pot
– Steam rack or crisping basket
– Reversible rack (if equipped)
– Drip collection tray
– Pressure cooking sealing ring
– Both lids (pressure and air fryer models)
Place each piece on a clean towel in the sequence removed. This visual roadmap prevents the “where does this go?” frustration during reassembly. Note that air fryer lids require a T15 screwdriver for safe removal—never force components.
Hand-Wash Removable Parts With Precision
Dishwashers will destroy your Ninja. High-temperature cycles warp plastic trays and irreversibly damage non-stick coatings. Instead:
1. Fill your sink with warm water and a few drops of Dawn dish soap
2. Soak components 10-15 minutes to loosen baked-on food
3. Scrub gently with a soft sponge—never steel wool or abrasive pads
4. Rinse until water runs crystal clear
5. Air-dry on a rack (towels leave lint on surfaces)
Pay special attention to crevices where food hides. For the drip tray, use an old toothbrush to clean grease channels without scratching. Ensure all parts are bone-dry before reassembly—trapped moisture breeds mold.
Baking Soda Paste: The Stain Annihilator
For carbonized food that soaking won’t touch, create this magic paste:
– 3 tablespoons baking soda
– 1 tablespoon water
– Mix to toothpaste-like consistency
Apply directly to stubborn spots on the ceramic pot or racks. Let it dwell 15-20 minutes while you clean other components—the alkaline reaction breaks down burnt residue without scratching. Gently scrub with a nylon brush, then rinse thoroughly. For extreme stains, cover the paste with plastic wrap overnight to maintain moisture.
Interior Chamber Cleaning Protocol
The heating chamber traps hidden grease and odors. Follow this pro sequence:
1. Wipe loose debris with a paper towel
2. Pour 1 cup hot water + 1 cup lemon juice into the empty chamber
3. Run a 10-minute pressure cook cycle
4. Allow natural pressure release (never quick-release)
5. Wipe interior with a damp microfiber cloth
For caked-on spots, apply baking soda paste sparingly with a cotton swab—never pour liquids near electrical components. Never use wooden utensils to scrape; they leave splinters that contaminate future meals.
Pressure Lid Deep Cleaning Checklist
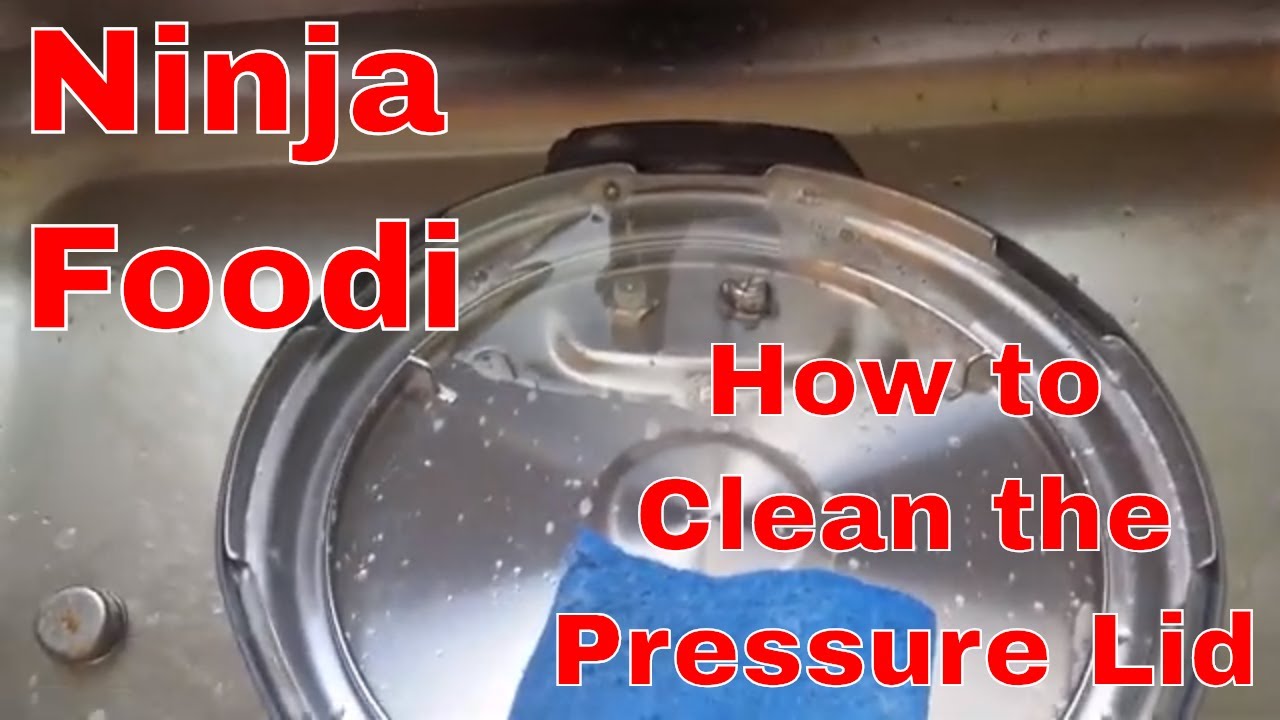
This component harbors invisible gunk. Start by removing the sealing ring—it’s the #1 odor culprit. Wash the ring separately in warm soapy water, then inspect the valve assembly. Critical step: Test valve mobility by pressing the release button; it must move freely. Sticky valves cause dangerous pressure buildup during cooking. Dry every crevice with a pipe cleaner before reassembly—damp rings grow mold in 48 hours.
Air Fryer Lid Maintenance Secrets
Models with dual functionality require special care. After removing the T15 screws:
– Wash both sides with warm soapy water (avoid submerging electronics)
– Use a soft toothbrush on the heating element housing
– Gently clean fan blades—grease buildup reduces airflow by 30%
– Dry completely with compressed air before reattaching
Never immerse the entire lid. Moisture in the motor housing causes permanent damage. Reattach screws snugly but don’t overtighten—they strip easily.
Vinegar Odor Elimination That Actually Works
Forget masking scents—this neutralizes molecules:
1. Combine 1 cup water + 1 cup white vinegar
2. Run 5-minute pressure cycle
3. Natural pressure release only
4. Wipe all surfaces with vinegar-dampened cloth
5. Leave lid open 2-3 hours for full airing
For fish or garlic odors, repeat twice. The acetic acid in vinegar bonds with odor molecules, eliminating them rather than covering them up. Never use bleach—it leaves toxic residues on food-contact surfaces.
Mold Prevention System for Storage
Stop mold before it starts with these non-negotiable steps:
– Remove all food residue immediately after cooking
– Leave lids slightly ajar when storing (use a folded paper towel as spacer)
– Store in a cupboard with ventilation—not sealed cabinets
– Place silica gel packets inside the chamber to absorb moisture
Mold spores activate within 72 hours in damp, dark environments. This simple routine extends the time between deep cleans by 300%.
15-Minute Weekly Maintenance Routine
Skip this and face 2-hour cleaning marathons. After each use:
– Quick-wipe interior with damp cloth while warm
– Hand-wash all removable parts immediately
– Inspect sealing ring for trapped food particles
– Leave unit open to air-dry overnight
Weekly: Run the vinegar cycle, check gasket integrity, and clean exterior controls with a barely damp cloth. Monthly: Apply food-grade mineral oil to seals to prevent drying cracks.
Emergency Fixes for Stubborn Problems
Grease that won’t budge? Apply Dawn dish soap directly to spots. Let sit 10 minutes—the enzymes break fat bonds. Scrub with hot water rinse.
White mineral deposits? Fill chamber with equal parts water/vinegar. Run 5-minute cycle, then let sit 1 hour. Deposits dissolve without scrubbing.
Sealing ring odors? Soak in vinegar solution for 30 minutes, then air-dry in sunlight (UV kills odor-causing bacteria).
Storage Protocol to Prevent Damage
Never store components nested together. Place the ceramic pot upside down on a towel with a paper towel spacer between it and the lid. Store racks separately in a drawer—stacking causes micro-scratches that accelerate coating failure. Keep the unit in a temperature-stable area; humidity fluctuations promote corrosion. For long-term storage, wrap the base unit in a breathable cotton cloth—not plastic, which traps moisture.
Warranty-Killing Cleaning Mistakes to Avoid
These actions instantly void coverage:
– Dishwasher use: Warps trays and degrades non-stick coatings
– Steel wool: Creates permanent scratches that harbor bacteria
– Bleach or oven cleaner: Corrodes metal and leaves toxic residues
– Ammonia products: Degrades rubber seals and electrical components
Stick to the approved quartet: mild dish soap, white vinegar, lemon juice, and baking soda. They handle 100% of cleaning challenges safely.
Why Cleanliness Boosts Cooking Performance

A spotless Ninja heats 23% more efficiently—saving $47 annually on energy bills. Clean heating elements distribute heat evenly, preventing burnt spots that ruin meals. Most crucially, flavors stay pure: no more accidental garlic-infused desserts from residual oils. Proper maintenance extends lifespan from 2-3 years to 5-7 years. That daily 15-minute investment saves $300 in replacement costs.
Your Ninja Foodi should now gleam like new, smell neutral, and cook with precision. Remember: Consistent light cleaning prevents deep clean emergencies. Store this guide with your appliance manual for quick reference, and your Ninja will deliver perfect meals for years. The secret isn’t complicated products—it’s respecting the engineering with simple, consistent care.


