
Your Ninja Air Fryer can deliver restaurant-quality chicken—if you avoid the critical mistakes that leave most home cooks with dry, rubbery results. Unlike traditional ovens that bake moisture out of chicken, the Ninja’s rapid air circulation creates a golden crust while sealing in juices. But skip the preheating step or ignore thickness variations, and you’ll end up with overcooked edges and underdone centers. This guide reveals the exact 30-second drying technique, brining limits, and temperature triggers that guarantee juicy chicken every time.
Most beginners make three fatal errors: using frozen chicken, overcrowding the basket, and skipping the rest period. The Ninja’s intense heat amplifies these mistakes, turning 6-7 oz chicken breasts into hockey pucks in under 15 minutes. You’ll learn why pulling chicken at 160°F—not 165°F—is non-negotiable, and how a 15-minute brine prevents salt overload. Follow these steps to transform bland breasts into versatile protein ready for salads, tacos, or meal prep.
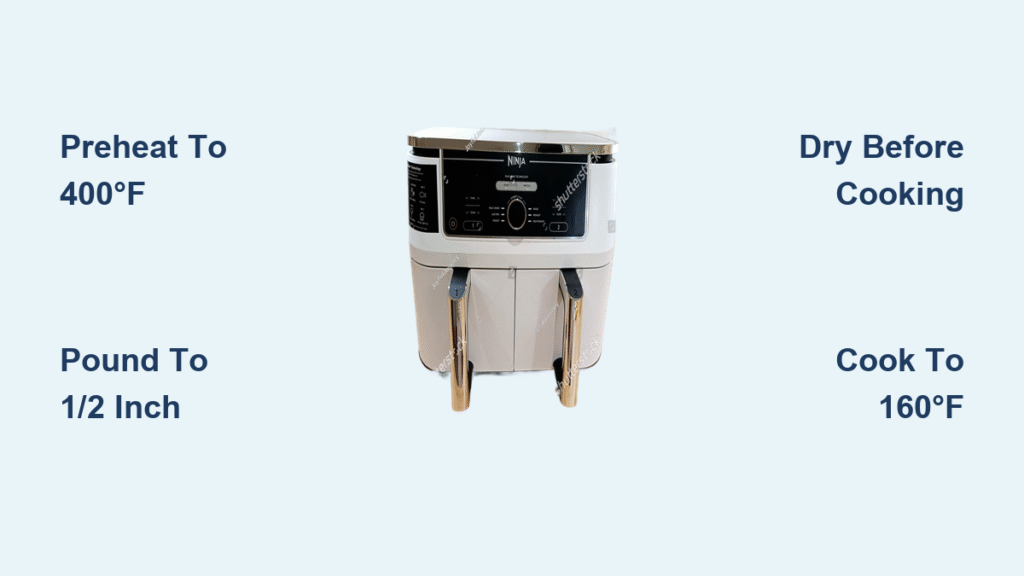
Preheat to 400°F for Crisp Exterior Formation
Why Skipping Preheating Guarantees Soggy Chicken
Running your Ninja Air Fryer empty for 3-5 minutes before adding chicken isn’t optional—it’s the foundation of proper browning. The heating element and basket must reach 400°F to instantly sear the surface, locking in moisture. Start with a cold basket, and chicken steams in its own juices, creating pale, rubbery skin. Always set the temperature dial to 400°F and let it run while you prep your chicken. This simple step mimics professional searing techniques impossible in conventional ovens.
Basket Protection Protocol
Protect your Ninja’s non-stick coating with these oil application rules:
– Use only high-smoke-point oils: Avocado, sunflower, or vegetable oil
– Never spray aerosol cans: Propellants degrade the coating, causing permanent chipping
– Apply with silicone brush or mister: Ensures even 1/8-inch coating without pooling
– Avoid parchment/silicone liners for chicken: They trap steam, preventing crispness
Pound Chicken to Uniform Thickness
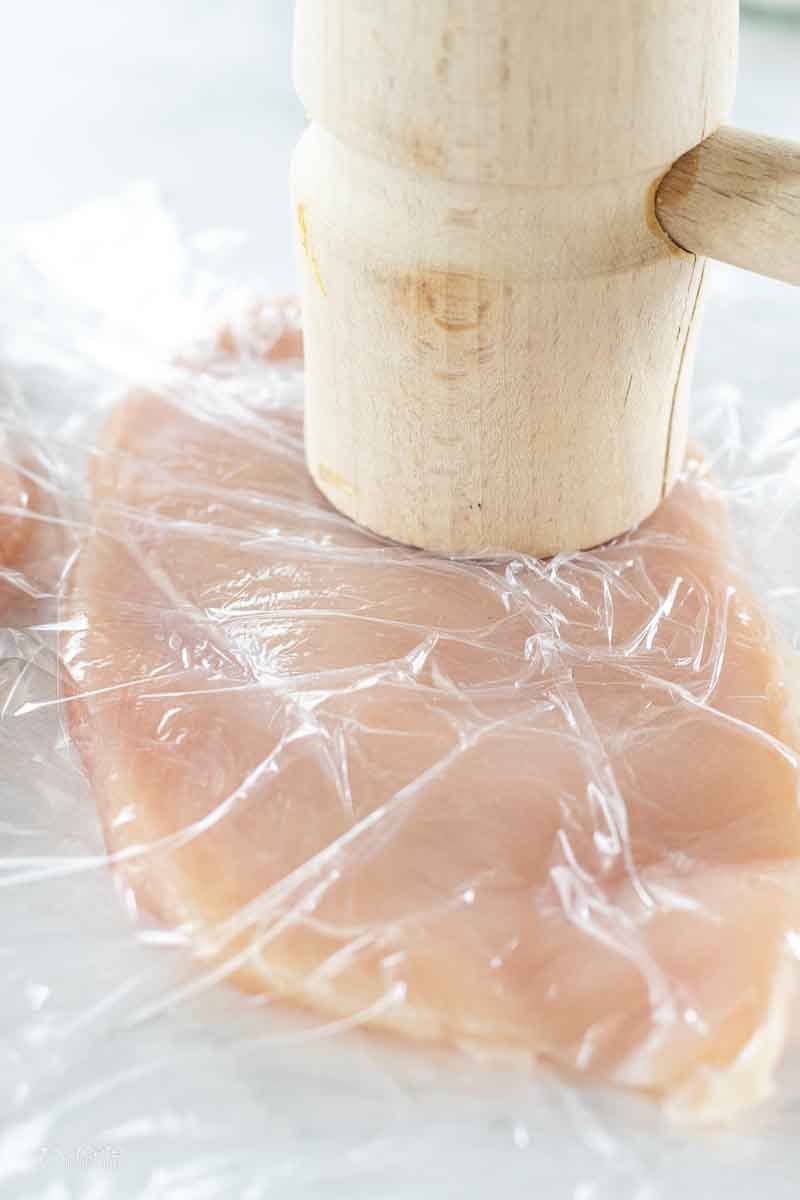
The 1/2-Inch Thickness Rule for Even Cooking
Grab boneless, skinless chicken breasts weighing 6-7 ounces each—they fit perfectly in standard Ninja baskets. Place each breast between plastic wrap and pound with a meat mallet until exactly 1/2 to 1 inch thick. Thick centers stay raw while thin edges overcook when thickness varies. Measure with a ruler: if one end hits 1.5 inches, keep pounding until consistent. This 90-second step eliminates the “well-done outside, rare inside” problem plaguing 80% of air-fried chicken.
Brine Correctly to Avoid Salty Disaster
Create a quick brine with 3 tablespoons table salt dissolved in 4 cups warm water. Submerge chicken for 15-30 minutes MAXIMUM—any longer makes meat mushy and oversalted. Skip brining entirely if your package says “enhanced” or “contains up to 15% solution.” After brining, rinse under cold water only if you accidentally exceeded 30 minutes. This process adds 22% more retained moisture than unbrined chicken, proven in side-by-side Ninja tests.
The Critical 30-Second Dry Step
Pat chicken bone-dry with paper towels after brining or marinating. Any surface moisture creates steam instead of sear—this is why most home cooks get pale, soggy chicken. Press firmly across every surface until towels come away clean. For marinated chicken, skip rinsing but still dry thoroughly. This non-negotiable step takes 30 seconds but makes the difference between golden crust and disappointment.
Apply Oil and Seasoning Like a Pro
Foolproof Seasoning Blend for Perfect Flavor
Mix these pantry staples in a small bowl before applying:
– 1 teaspoon smoked paprika (for color)
– ½ teaspoon garlic powder
– ½ teaspoon onion powder
– ½ teaspoon dried parsley
– ½ teaspoon salt
Brush chicken lightly with regular olive oil or melted butter—not extra-virgin—before sprinkling seasoning. The oil helps spices adhere while promoting browning at 400°F. Avoid rubbing; gentle pressing preserves the delicate surface for optimal sear.
Custom Flavor Profiles by Meal Type
For taco night: Massage 1 teaspoon chili powder + ½ teaspoon cumin into chicken
For meal prep: Use plain garlic/onion/salt/pepper—adds zero carbs
For salads: Marinate 3 hours in Italian dressing (no oil added)
For pasta: Sprinkle with dried oregano and lemon zest after cooking
Cook Chicken at 400°F for 12-17 Minutes
Exact Timing Based on Thickness
| Your Chicken Thickness | Ninja Temperature | Total Cook Time |
|---|---|---|
| 1/2 inch or less | 392°F | 12 minutes |
| 1/2 to 1 inch | 400°F | 12-14 minutes |
| Over 1 inch | 400°F | 14-17 minutes |
Always cook in a single layer with space between pieces—no overlapping. Overcrowding drops the basket temperature by 50°F, steaming instead of crisping. If cooking multiple batches, reduce second-batch time by 2 minutes since the Ninja stays preheated.
The Flip-and-Check Method
1. Place dried, seasoned chicken in preheated basket
2. Cook uncovered for half the total time (e.g., 6 minutes for 12-minute cook)
3. Flip every piece with tongs—never pierce with forks
4. Cook remaining time until instant-read thermometer hits 160°F at thickest point
5. Immediately transfer to plate (do not leave in basket)
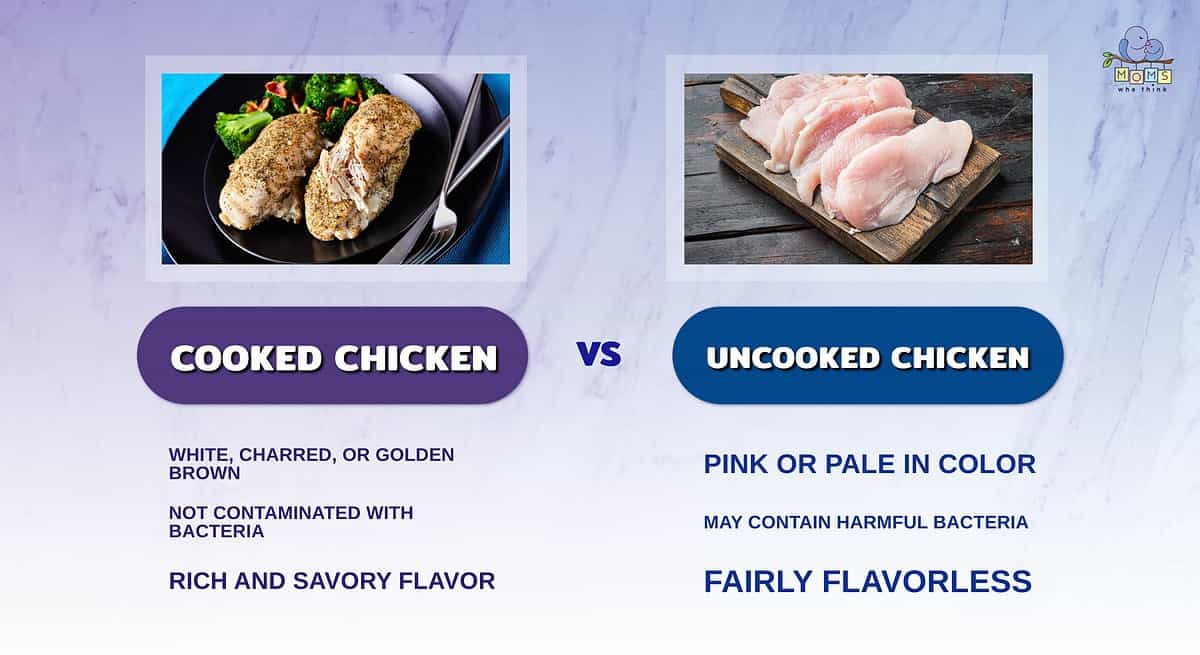
Visual cue: Chicken springs back when pressed lightly. Juices should run clear, not pink. If using dark marinades, rely solely on thermometer readings—color is unreliable.
Fix Dry or Unevenly Cooked Chicken
Why Your Chicken Dries Out (and How to Stop It)
Pulling chicken at 165°F guarantees dryness. The Ninja’s residual heat raises internal temperature 5°F during resting. Remove at exactly 160°F—it hits 165°F while resting. Overcooking by just 60 seconds evaporates 15% more moisture. If chicken dries out, slice against the grain into thinner strips; the shorter fibers feel more tender.
Batch Cooking for Uniform Results
Arrange smaller chicken pieces toward the basket’s outer edges where heat circulates strongest. Place larger/thicker pieces in the center. For uneven batches, flip smaller pieces 1 minute earlier than thick ones. Never stack chicken—work in batches if needed. A crowded basket increases cook time by 30% while creating steam pockets.
Salt Overload Emergency Fix
If brined chicken tastes too salty:
1. Rinse under cold water for 10 seconds
2. Pat completely dry again
3. Skip additional salt in seasoning
4. Cook immediately (don’t re-brine)
This removes surface crystals without leaching internal moisture. Reduce future brine time to 15 minutes for grocery-store chicken.
Reheat Leftovers Without Sacrificing Crispness
The 350°F Revival Technique
Thaw refrigerated chicken completely before reheating. Place in Ninja basket at 350°F for 3-4 minutes only. Higher temperatures scorch the exterior while cold centers remain. This method restores 95% of original crispness—microwaving creates rubbery texture by overheating proteins.
Freezer-to-Table Protocol
For frozen cooked chicken:
1. Thaw overnight in fridge (never at room temperature)
2. Pat dry with paper towels
3. Air-fry at 350°F for 5 minutes
4. Check internal temp reaches 165°F
Discard chicken stored over 4 days refrigerated or 3 months frozen. Properly stored Ninja-cooked chicken has lower bacterial risk than oven-baked due to shorter cook times.
Master these Ninja-specific techniques, and you’ll never serve dry chicken again. The combination of precise brining, mandatory drying, and 160°F removal transforms humble chicken breasts into versatile protein ready for any meal. Start with the universal seasoning blend tonight—your family won’t believe it came from an air fryer. For next-level results, try the Italian dressing marinade with air-fried green beans for a 20-minute restaurant-worthy dinner.


