
That sinking feeling when your air-fried onion rings emerge limp and pale instead of golden and crisp? Your Ninja air fryer holds the key to perfect onion rings every time—no deep-fryer mess required. By mastering model-specific temperatures and the critical membrane removal step, you’ll transform frozen bags or homemade batches into crunchy, restaurant-worthy snacks with 75% less oil. Skip the takeout menus: this guide delivers foolproof methods tested across all Ninja Foodi variants, so you serve rings that stay crisp from first bite to last.
The secret lies in understanding how Ninja’s unique heating systems interact with onion rings’ delicate breading. Whether you’re reviving a frozen Alexia bag or crafting gourmet Vidalia rings, precise temperature control and preparation tricks prevent the two most common failures: breading slippage and uneven browning. You’ll learn why preheating protocols differ between your Digital Air Fry Oven and Pressure Cooker models, and how to time batches for continuous serving.
Ninja Air Fryer Model Temperature Settings That Prevent Sogginess
Your specific Ninja model demands customized heat settings to achieve that elusive deep-fried crunch without oil saturation. Generic “375°F for 10 minutes” advice fails because Ninja Foodi units generate heat differently—their dual heating elements and basket designs require tailored approaches.
Ninja Foodi Pressure Cooker & Air Crisper:
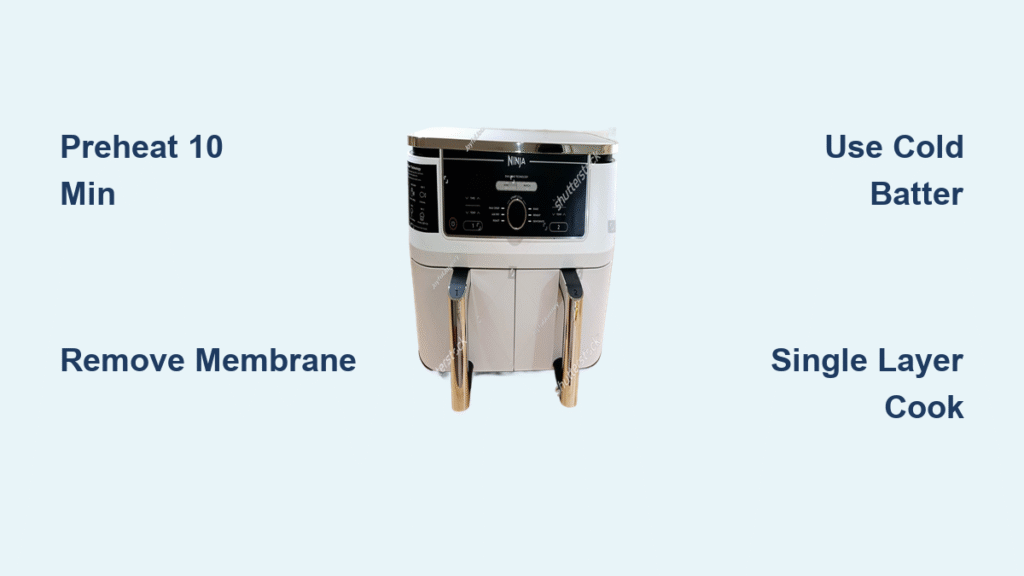
Preheat on broil/grill setting for exactly 10 minutes with the basket inside. This critical step ensures the heating element reaches optimal temperature before adding food. Cook homemade rings at 360°F for 7-10 minutes—never exceed 375°F for frozen varieties. The pressure cooker base retains heat intensely, so rings continue crisping after removal. Pro Tip: Place a wire rack under cooked rings immediately to prevent steam-induced sogginess.
Ninja Foodi Digital Air Fry Oven:
Ignore the misleading 90-second preheat indicator—always preheat at 390-400°F for the full 10 minutes. Position rings on the middle rack for even browning, as top heating elements can scorch edges. Cook time drops to 7 minutes total since radiant heat penetrates faster. Rotate the tray 180° at the 4-minute mark to counter hot spots, especially when cooking full batches.
Ninja Foodi Indoor Grill:
Leverage the grill grate pattern for attractive sear marks by preheating on Air Crisp until the “add food” prompt appears. Maintain 360°F consistently—higher temperatures cause panko coatings to burn rapidly. Check rings at 5 minutes; the visible grill marks indicate perfect doneness without overcooking. Spray the grate lightly with avocado oil (never PAM) to prevent sticking.
Frozen Ring Cooking Times That Avoid Burning
Not all frozen onion rings tolerate identical heat. Their varying oil content and breading thickness demand brand-specific adjustments to your Ninja air fryer settings.
Alexia Brand Fire Prevention Protocol
These health-conscious rings burn at 400°F within 3 minutes due to minimal oil content. Always cook at 375°F max for 8-10 minutes total. Lightly spray with avocado oil before cooking to compensate for their lean formula. Check at 6 minutes—when edges turn golden, they’re done. Overcooking creates bitter, charcoal-like rings that shatter when bitten.
Nathan’s Pub-Style Success Formula
Thick beer batter handles 400°F beautifully for 10-12 minutes. Shake the basket every 3 minutes (using tongs to avoid dislodging breading) for even browning. Their higher oil content creates steam pockets that yield a fluffy interior beneath the crisp shell. Perfect for beginners since timing errors rarely cause burning.
Ore-Ida and Budget Brand Reliability
Cook at 375°F for 8-10 minutes with no pre-spray needed—their standard batter contains sufficient oil. Test one ring first to locate your Ninja’s hot spots; budget brands often have inconsistent coating thickness. One full bag requires 2-3 batches in basket-style units to prevent overcrowding.
Homemade Ring Membrane Removal: The #1 Crispiness Secret
Skip this step and your breading will slide off when bitten—no matter how carefully you coat. The translucent membrane between onion layers repels batter and creates separation during cooking.
Chill Then Peel Technique:
Refrigerate onions overnight; cold temperatures make membranes contract for easy removal. Slice a thin base for stability, then use your fingernail or tweezers to lift membrane edges starting from the root end. Work quickly—warming onions cause membranes to re-adhere. Critical Check: Hold the onion up to light; if you see faint lines between layers, membranes remain.
Onion Type Impact on Flavor
Vidalia: Sweet, mild rings ideal for kids (slice ½-inch thick).
Yellow: Balanced flavor with classic onion bite (best all-purpose choice).
White: Sharp taste that dominates dips—use sparingly in mixed batches.
Red: Vibrant color but strongest flavor; pair with spicy sauces.
Perfect Wet Batter Recipe for Maximum Adhesion
Temperature-Controlled Mixing Method
Combine 1 cold egg, ½ cup ice-cold beer (or water), and 1 Tbsp Cholula in a shallow bowl. Whisk gently—overmixing develops gluten that creates tough batter. Sift ¾ cup flour gradually while folding; stop when consistency coats your finger like thin pancake batter. Add salt last to prevent premature gluten activation. Never skip chilling: Warm batter slides off rings during cooking.
Gluten-Free Success:
Substitute ½ cup rice flour + ¼ cup cornstarch for all-purpose flour. Avoid 1:1 blends—they absorb moisture unevenly, causing breading gaps. For spice-free versions, omit hot sauce without texture changes.
Dry Breading Techniques That Mimic Deep-Frying

Why Panko Fails in Air Fryers
Panko’s large flakes create airy crunch but lack the dense, uniform texture of traditional deep-fried rings. Use plain breadcrumbs for authentic results—they compact evenly under pressure from the air fryer’s rapid airflow. Season with ½ tsp each salt, garlic powder, and onion powder per cup of crumbs.
Low-Carb Warning:
Pork rind crumbs only work with egg wash (skip wet batter). They absorb moisture from raw onions, becoming gummy when cooked. For keto diets, opt for frozen rings instead of homemade.
Step-by-Step Breading Process for Zero Coating Loss
Three-Station Assembly Line
Set up: (1) Cold batter bowl on ice pack, (2) Wide breading dish, (3) Wire cooling rack. Dip rings completely in batter, lift with fork to drain excess, then press firmly into crumbs—apply pressure to ensure full coverage. Let rest 30 seconds on the rack before cooking; this sets the coating.
Space-Saving Nesting:
Place smaller rings inside larger ones (like donuts) without touching. This maximizes basket capacity while maintaining airflow. Never stack rings vertically—steam buildup guarantees sogginess.
Ninja-Specific Cooking Instructions for Crisp Results
Pressure Cooker Method
Preheat 10 minutes on broil. Lightly oil basket, arrange rings in single layer, and spray tops with avocado oil. Cook 7-10 minutes at 360°F—no flipping needed. Transfer immediately to wire rack. Key Timing: Stop when edges turn golden; residual heat finishes cooking.
Digital Oven Method
Preheat 10 minutes at 390°F (ignore fast preheat). Use middle rack position. Cook 7 minutes total—rotate tray at 4 minutes. No oil spray required due to intense radiant heat. Rings are done when crumbs turn deep amber.
Indoor Grill Method
Preheat until “add food” prompt. Spray grill grate, arrange rings, cook 7 minutes at 360°F. Check at 5 minutes—distinct grill marks mean perfect crispness. The grate elevates rings, eliminating bottom sogginess.
Batch Cooking Strategy for Continuous Serving
25-Minute Production Timeline
While Batch 1 cooks (Minutes 0-7), bread Batch 2. At Minute 7, remove cooked rings and start Batch 2. During Minutes 9-16, bread Batch 3. Repeat—never stop moving. One large onion yields 26 rings across 3 batches in 25 minutes total. Keep batter cold with ice packs between batches.
Freezing Cooked Rings:
Cool completely on wire rack, freeze 4+ hours on parchment, then store in airtight bags. Reheat from frozen at 360°F for 4-5 minutes. Never freeze uncooked rings—raw onions release water, destroying texture.
Troubleshooting Common Problems in 60 Seconds
Soggy Ring Emergency Fix
- Cause: Incomplete preheating or overcrowded basket
- Solution: Restart preheat cycle for full 10 minutes; cook in single layers
Burning Rescue Protocol
- Cause: Alexia rings at 400°F or panko varieties
- Solution: Reduce heat 25°F immediately; check 2 minutes early
Breading Loss Cure
- Cause: Residual membrane or warm batter
- Solution: Chill onions overnight; verify membrane removal with light test
Serving and Dipping Guide for Maximum Enjoyment
Sauce Pairing Science
Sriracha Mayo: ¾ cup mayo + 1-2 Tbsp Sriracha + ¼ tsp salt (balances crunch with creamy heat). Garlic Aioli: ⅓ cup sour cream + 1 minced garlic clove + salt (milder for Vidalia rings). Always serve rings upright on a wire rack-lined platter—this prevents bottom sogginess during grazing.
Nutritional Win: Healthier Without Sacrificing Crunch
Homemade rings (4 pieces) contain just 181 calories and 4g fat versus frozen Alexia’s 303 calories and 16g fat. Your Ninja air fryer achieves this by circulating superheated air instead of submerging rings in oil—delivering the texture you crave with none of the guilt. Master these techniques once, and you’ll never settle for limp, greasy takeout versions again. The next time cravings strike, fire up your Ninja: golden, crisp onion rings await in minutes.


