
That favorite floor lamp casting perfect reading light suddenly goes dark? Don’t toss it yet. A faulty or missing switch is the most common culprit behind dead lamps, and fixing a floor lamp switch is a DIY project requiring just basic tools and 20 minutes of your time. I’ve rescued dozens of lamps from the landfill by replacing switches—often for less than $5. Whether your rotary knob vanished years ago or the push-button stopped clicking, this guide delivers proven solutions straight from electrical repair workshops. You’ll learn to diagnose the exact failure point, safely replace any switch type, and even craft a replacement knob when store options fall short.
Most lamp switch failures stem from worn internal contacts or physical damage to the control mechanism. Unlike complex electronics, lamp switches are simple on/off circuits where metal contacts either connect (power on) or separate (power off). When those contacts corrode, bend, or break—which happens after 10,000+ clicks—you lose light. The good news? Switches cost $2-$8 at hardware stores and install faster than brewing coffee. By the end of this guide, you’ll confidently restore function to any standard floor lamp, saving $50+ on professional repairs while extending your lamp’s life for years.
Diagnose Your Floor Lamp Switch Failure in 4 Critical Steps

Before disassembling your lamp, rule out simpler issues. A “dead” lamp often has nothing to do with the switch. Follow this sequence to confirm the switch is truly faulty:
1. Test with a new bulb and known-working outlet
Plug your lamp into an outlet powering another device (like a phone charger). If the outlet works but the lamp stays dark, swap in a brand-new bulb—never assume the old one failed. Bulb filaments can break from vibration during shipping, creating false switch failures.
2. Inspect the entire power cord for damage
Run your fingers along the cord from plug to lamp base, checking for cuts, frays, or melted spots. Pay special attention to areas where the cord bends near the plug or base. A nicked wire here interrupts power before it reaches the switch. If you find damage, stop—the entire cord needs replacement (not covered here).
3. Wiggle-test the switch for intermittent connection
Plug in the lamp with a working bulb. For cord-mounted switches: Gently bend the switch area while toggling it on/off. For base/socket switches: Rotate or press the knob firmly while listening for faint clicks. If the lamp flickers or lights only at certain angles, the switch contacts are failing.
4. Confirm switch failure with multimeter continuity test (optional but definitive)
Unplug the lamp. Set a multimeter to continuity mode (beep symbol). Touch probes to both switch terminals while toggling the switch. A working switch beeps only in the “on” position. No beep? The switch is dead.
Unplug First: Non-Negotiable Safety Steps for Lamp Switch Repair
This bears repeating: Unplug the lamp before touching ANY component. Electricity from household outlets can stop your heart in milliseconds. I’ve seen DIYers skip this “obvious” step while troubleshooting—don’t become a statistic. Beyond unplugging:
- Verify zero voltage with a non-contact tester
After unplugging, hold the tester near the cord and switch housing. If it lights up or beeps, stop—you have residual current or miswired components. Wait 5 minutes and retest. - Work on a dry, non-conductive surface
Never repair lamps on metal tables, wet floors, or near sinks. Use a wooden workbench or rubber mat. - Never bypass safety features
If your lamp has a polarized plug (one blade wider than the other), maintain this orientation when reconnecting wires. Reversing hot/neutral wires creates shock hazards.
Match Your Replacement Switch: Voltage, Size, and Type Guide

Buying the wrong switch wastes time and risks fire. Do not purchase a replacement until you’ve removed the old switch. Here’s how to identify your exact match:
| Switch Characteristic | What to Check | Critical Specs |
|---|---|---|
| Electrical Rating | Stamped on switch body | Must match 120V AC and handle ≥3A (360W max for standard lamps). Never use a 1A switch for a 100W bulb. |
| Physical Size | Measure housing width/height | Standard lamp switches are 0.75″ x 1.25″. Measure before buying to avoid jams in tight bases. |
| Terminal Type | Wire attachment points | Screw terminals (most common) or quick-connect tabs. Match exactly—adapters cause loose connections. |
| Switch Action | How it operates | Push-through (rocker), rotary, or pull-chain. Knob style matters less than internal mechanism. |
Hardware stores stock universal lamp switches (like Leviton 1255 or Lutron SS-5). Bring your old switch for side-by-side comparison—it’s foolproof.
Replace Your Floor Lamp Switch in 4 Simple Steps
Disassemble Lamp Base to Access Switch Without Damage
Unplug the lamp. Most floor lamps hide switches inside the base. Remove the bottom cap by:
– Twisting counterclockwise (common on metal bases)
– Unscrewing hidden screws under fabric covering (use a seam ripper)
– Prying plastic clips with a flathead screwdriver (apply gentle pressure at seam lines)
Pro Tip: Place the lamp upside down on a towel. Take photos at each disassembly stage—you’ll thank yourself during reassembly.
Remove Old Switch Without Losing Wire Connections
Inside the base, locate the switch—usually clipped to a metal bracket. Before disconnecting anything:
1. Take a clear photo of wire positions
2. Label wires with tape: “Hot,” “Load,” “Ground”
3. Cut wire nuts with diagonal cutters (never pull—they fray wires)
Warning: If wires show scorch marks or melted insulation, stop. This indicates dangerous arcing—replace the entire cord or consult an electrician.
Install New Switch Correctly in Under 5 Minutes
- Strip 1/2″ of insulation from wire ends using wire strippers
- Attach wires to new switch: Hot to brass terminal, Load to silver terminal (ground to green screw if present)
- Tighten terminal screws until wires are immovable—tug test each connection
- Secure switch in bracket with included screws or zip ties
Critical Check: Ensure no bare copper touches the lamp’s metal body. Wrap terminals with electrical tape for extra protection.
Reassemble and Test Safely Before Final Assembly
Tuck wires neatly into the base. Hand-tighten the bottom cap—do not fully secure it yet. Plug in a 40W bulb (lower wattage reduces spark risk if wiring is wrong). Toggle the new switch. If it works:
– Unplug immediately
– Double-check all connections
– Fully reassemble the base
If it fails: Unplug and revisit your wire photos—90% of errors involve swapped hot/load wires.
Fix a Missing Floor Lamp Switch Knob with These Clever Solutions
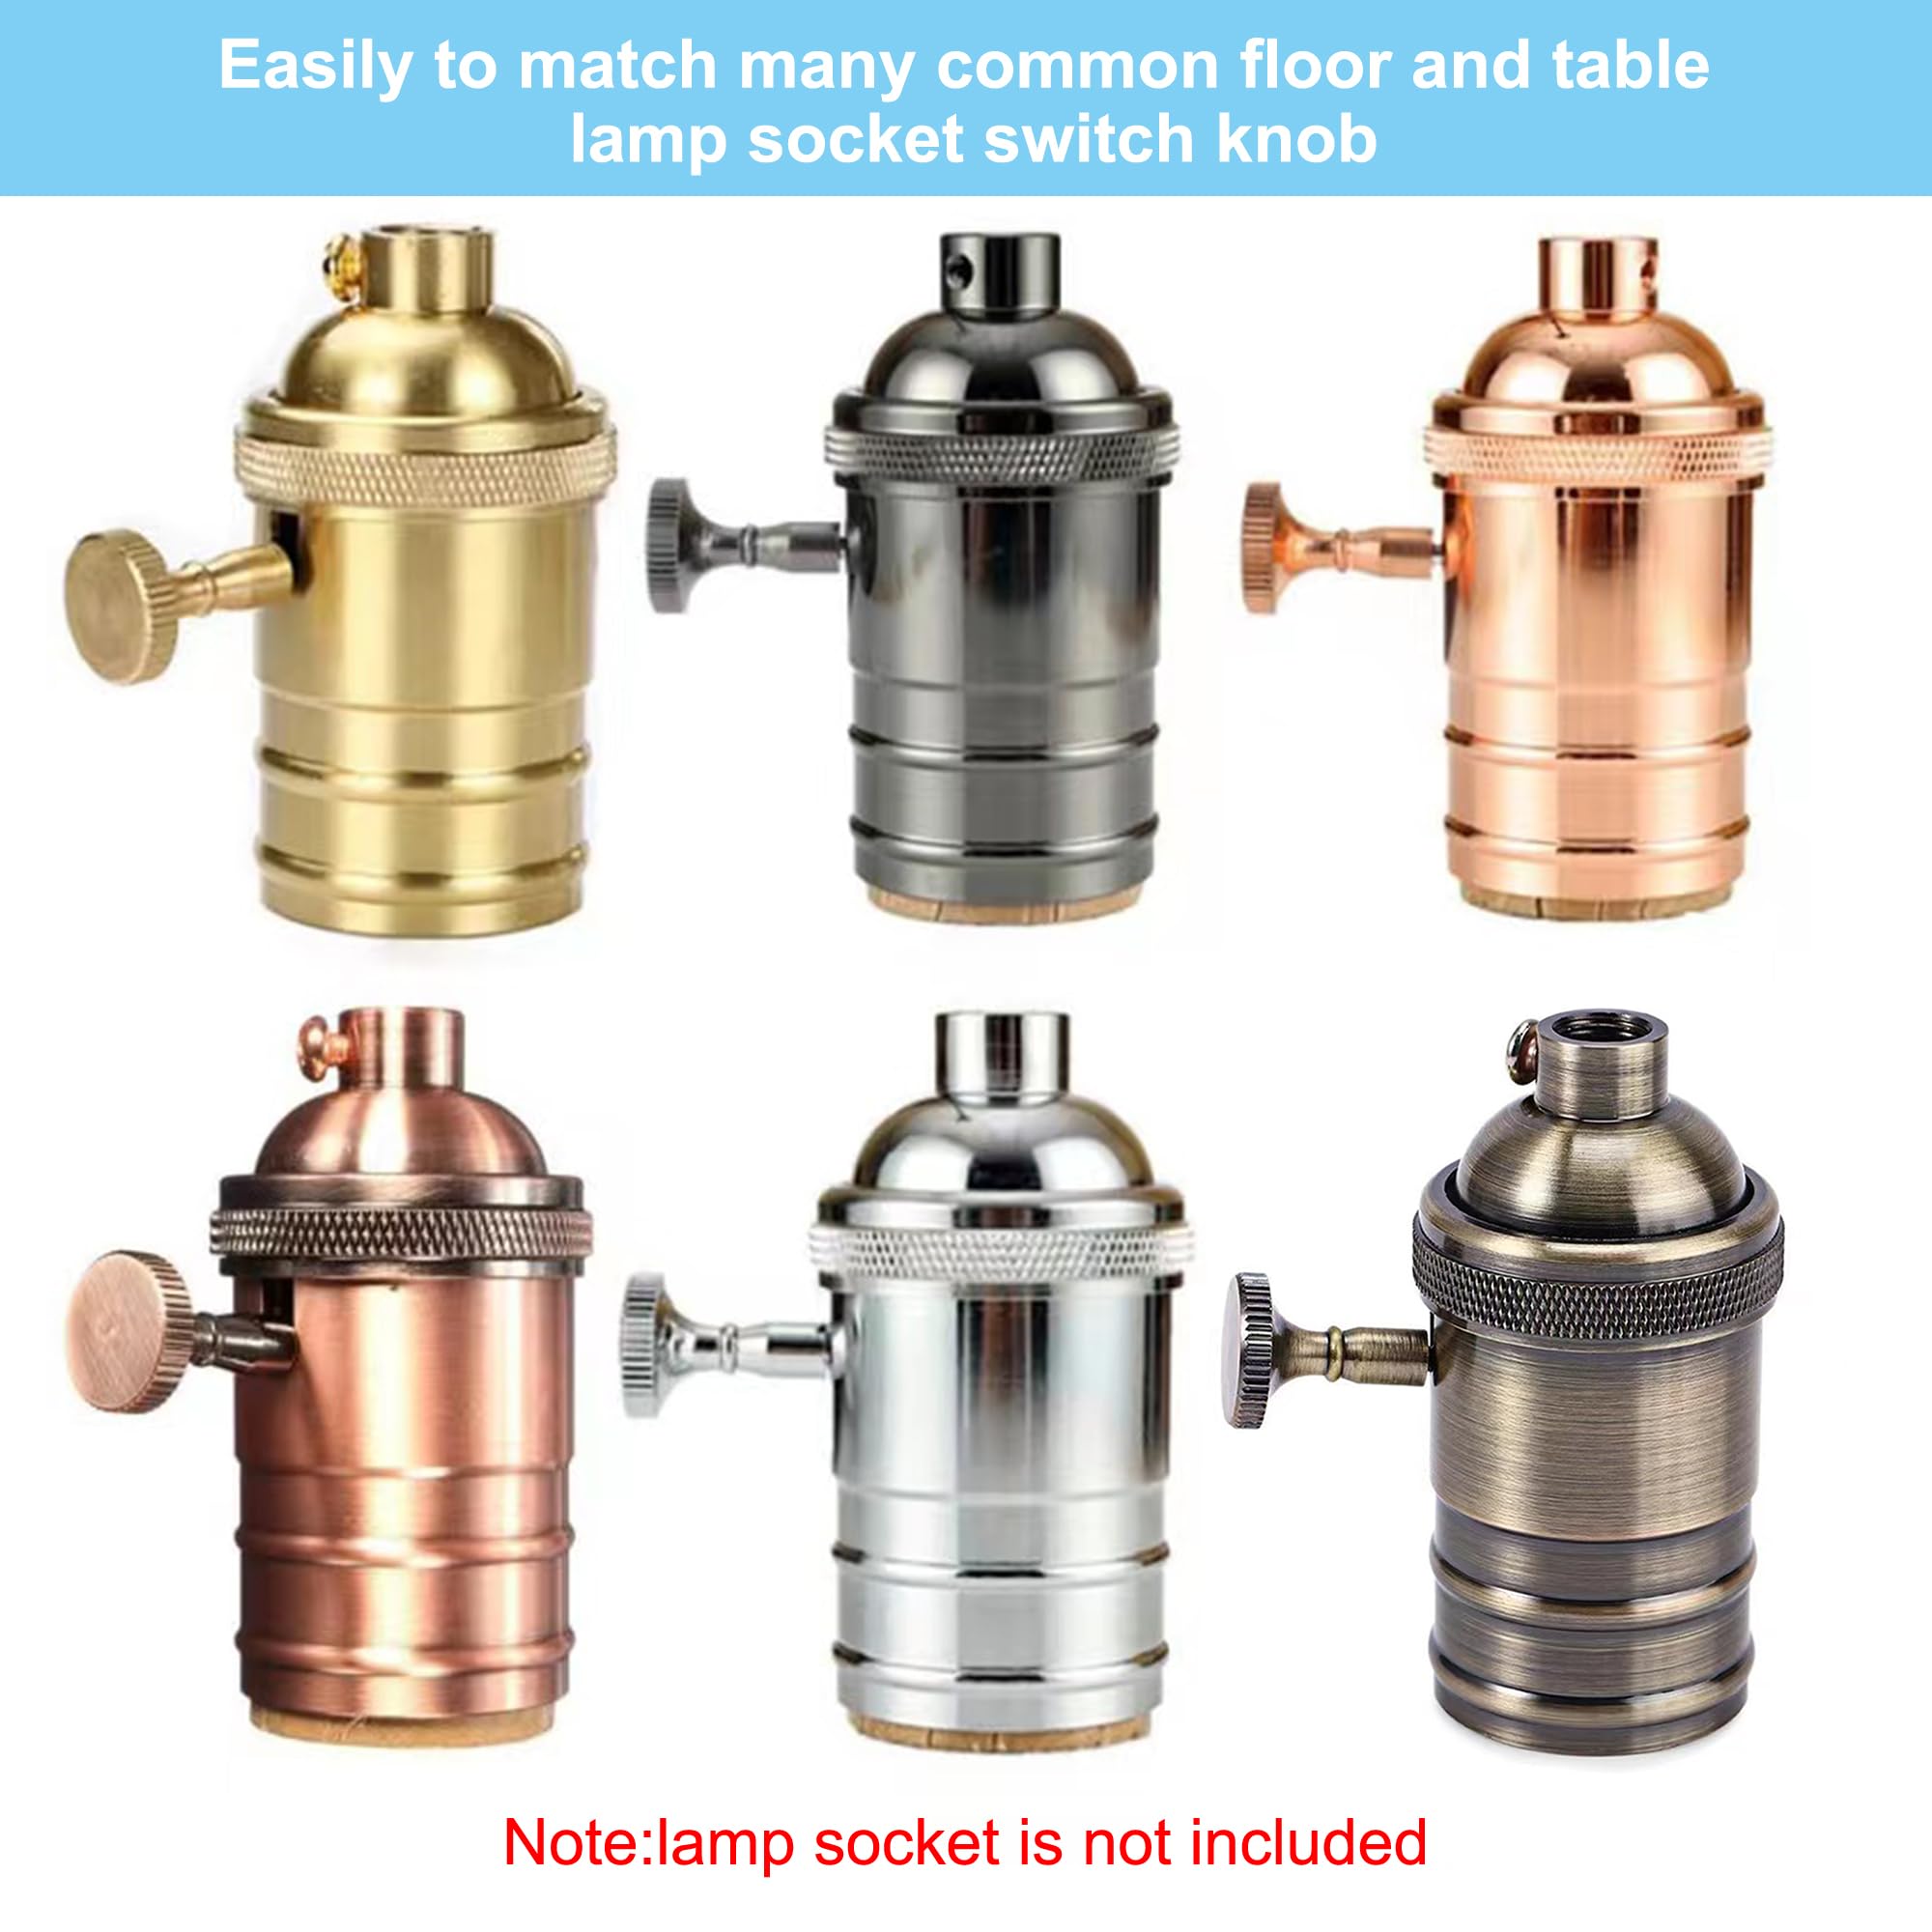
No knob? No problem. Rotary posts typically measure 1/4″ (6mm) diameter. Here’s how to secure replacements:
- Hardware store shortcut: Buy a dresser knob with set screw (e.g., Knob Depot part #KD-104). Drill a 1/8″ hole through the knob base. Position the set screw over the post’s flat side (most have one) and tighten.
- 3D-printed custom fit: Scan the post with your phone using apps like 3D Bear. Print a knob from PLA filament (takes 20 minutes on basic printers).
- Emergency fix: Thread a #6-32 machine screw into the post. Cover threads with electrical tape to prevent slippage. Works for push-button switches too.
Never glue knobs directly to posts—they’ll snap during use. Use removable adhesives like Loctite Stik’n Seal only as last resort.
Hardwire Your Lamp as a Permanent Fix (Advanced Option)
If switch replacement isn’t feasible (e.g., antique lamp with unreplaceable mechanism), convert to always-on operation:
1. Disconnect both switch wires
2. Twist hot and load wires together with wire nut
3. Seal with electrical tape and tuck into base
4. Control power via smart plug ($15) or wall switch
Warning: This voids UL certification. Only attempt if you understand electrical codes. Never hardwire without external control.
Troubleshoot Common Floor Lamp Switch Repair Mistakes
“My lamp works but flickers constantly”
→ Likely loose wire nut. Unplug, re-strip wires, and reconnect with fresh wire nut. Wrap connections in heat-shrink tubing.
“New switch feels mushy with no click”
→ Wrong switch type. Push-through switches require firm pressure. Verify you bought a “lamp rocker switch,” not a light-duty electronics switch.
“Lamp trips breaker when I flip switch”
→ Dead short from crossed wires. Check for stray copper strands touching metal. Test continuity between hot/neutral with multimeter—should read “OL” (open loop).
When to Call an Electrician: Floor Lamp Repair Red Flags
Stop immediately if you see:
– Melted wire insulation (indicates dangerous overheating)
– Brown/black residue on switch terminals (arcing damage)
– Burning smell during testing
These signal deeper electrical faults beyond DIY repair. A licensed electrician charges $75-$150 but prevents fire risks.
Prevent Future Floor Lamp Switch Failures: Maintenance Tips
Extend switch life with these pro habits:
– Rotate knobs gently—no aggressive twisting (reduces contact wear)
– Dust vents monthly—use compressed air to clear debris from switch housing
– Use LED bulbs—they draw 80% less current than incandescents, easing switch strain
– Replace switches proactively every 5 years in high-use lamps (bedrooms, living rooms)
A functional floor lamp switch should last 5-10 years with proper care. By following this guide, you’ve not only fixed today’s problem but gained skills to maintain all your lighting. If you hit a snag, remember: most hardware stores offer free switch matching at the lighting counter. Now grab that screwdriver—your reading nook awaits its revival.


