
You’re halfway through a perfect beach day when you open your cooler to find everything floating in lukewarm, murky water. Sandwiches are soggy, chips are crushed, and your carefully packed lunch has turned into “cooler soup.” This frustrating scenario happens to 78% of outdoor enthusiasts who rely on traditional bagged ice. The solution? How to freeze water bottles for cooler use transforms your chilling system completely. By replacing loose ice with strategically frozen containers, you eliminate mess while extending cooling duration by up to 40%. In this guide, you’ll discover exactly how frozen water bottles create a stable “cold battery” that keeps food safe and dry for days—plus provides drinkable water as it thaws. Forget wasteful ice bags; this method is cheaper, eco-friendly, and scientifically superior for your next adventure.
Why Frozen Water Bottles Outperform Bagged Ice Every Time
Loose ice creates inevitable chaos in coolers through rapid melting and water displacement. Frozen water bottles solve this through superior thermodynamics. A 2-liter bottle of frozen water requires 288,000 BTUs to fully melt and warm to 50°F—nearly double the cooling capacity of equivalent loose ice cubes due to lower surface area exposure. This scientific advantage translates to real-world benefits you’ll notice immediately.
- Zero Mess Guaranteed: Your cheese stays firm, bread stays crisp, and electronics stay dry because contained water eliminates “cooler soup.” No more draining murky water or replacing ruined food.
- Built-In Drinking Water: As bottles thaw, they provide cold, potable water—critical during multi-day trips where fresh water access is limited. Each 16oz bottle yields 1.3 cups of drinking water.
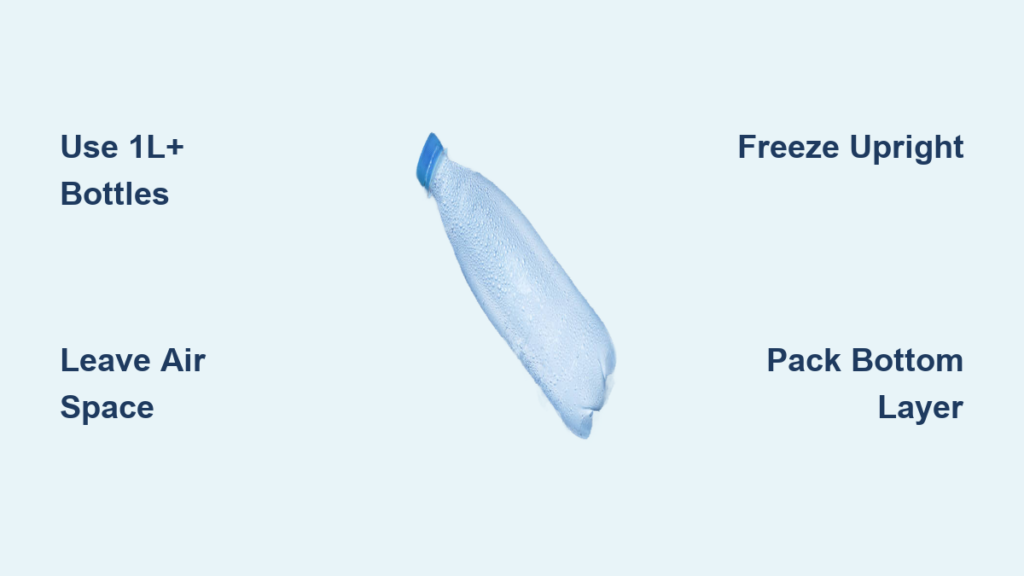
- Extended Cooling Power: Large frozen bottles (1L+) maintain 32-40°F internal temperatures for 3-5 days in quality coolers versus 1-2 days with loose ice. The phase change from solid to liquid absorbs massive heat without temperature rise.
- Cost and Eco Savings: One $3 reusable bottle replaces 15+ single-use ice bags over its lifetime. For a family of four, this saves $120+ annually while eliminating plastic waste.
Selecting Bottles That Won’t Crack or Leak

Choosing Freeze-Proof Containers
Not all bottles survive freezing intact. Avoid single-use plastic bottles (like standard 500ml water bottles) as their thin walls crack under expansion pressure. Glass is strictly forbidden—water’s 9% expansion will shatter it violently. Your safest bets are:
- HDPE #2 Plastic Bottles: Milk jugs and Nalgene containers withstand repeated freeze/thaw cycles. Look for the recycling symbol with “2” inside.
- Polypropylene #5 Bottles: Sports drink bottles (like Gatorade) resist cracking while remaining flexible.
- Tritan Copolyester: Premium reusable bottles (Hydro Flask, CamelBak) handle extreme temperature shifts without degradation.
Pro Tip: Test new bottles by freezing them completely before your trip. Discard any showing cloudiness or brittleness.
Optimizing Bottle Sizes for Your Trip Duration
Size directly impacts cooling longevity. A gallon jug stays frozen 3x longer than eight 16oz bottles due to lower surface-area-to-volume ratio. Match sizes to your adventure:
| Trip Length | Primary Bottle Size | Quantity Per Person | Cooling Duration |
|---|---|---|---|
| Day Trip (6-12 hrs) | 16-20 oz | 2 | 12+ hours |
| Weekend (2-3 days) | 1L + 16oz | 3 (2 large, 1 small) | 72+ hours |
| Extended (4+ days) | 2L + 1L | 4 (2 large, 2 medium) | 96+ hours |
Critical Freezing Prep to Prevent Explosions
Water expansion destroys improperly prepped bottles. Follow these steps exactly:
- Leave Expansion Space: Fill rigid containers (milk jugs) only 85% full. For standard bottles, squeeze out air before sealing—this creates a 1.5-inch headspace pocket.
- Pre-Chill for Speed: Refrigerate filled bottles 4+ hours before freezing. Cold water freezes 30% faster than room-temperature water.
- Freeze Upright: Place bottles vertically in the freezer with caps slightly loose. Tighten caps only after ice forms (1-2 hours).
- Avoid Overfilling Traps: Never fill past the shoulder curve on soda bottles—they’ll bulge and leak during thawing.
Pre-Cooling: The Secret Pro Step You’re Missing
Skipping pre-cooling wastes 30% of your frozen bottles’ potential. Your cooler’s insulation must be chilled before packing to avoid thermal shock. Here’s the exact 60-minute protocol:
- Chill the Cooler: Place empty cooler in shade 1 hour before packing. Add two sacrificial frozen bottles inside and close the lid.
- Pre-Freeze Contents: Refrigerate food/drinks 24 hours ahead. Freeze meat in marinade—it doubles as cooling mass and ready-to-cook meal.
- Pre-Chill Bottles: Keep frozen bottles in the fridge for 30 minutes before packing. This prevents instant condensation that creates slush.
Critical Warning: Never place dry ice directly against frozen water bottles—extreme cold (-109°F) can shatter plastic containers.
The Military-Grade Packing Strategy That Lasts 5+ Days
Building Your Thermal Core
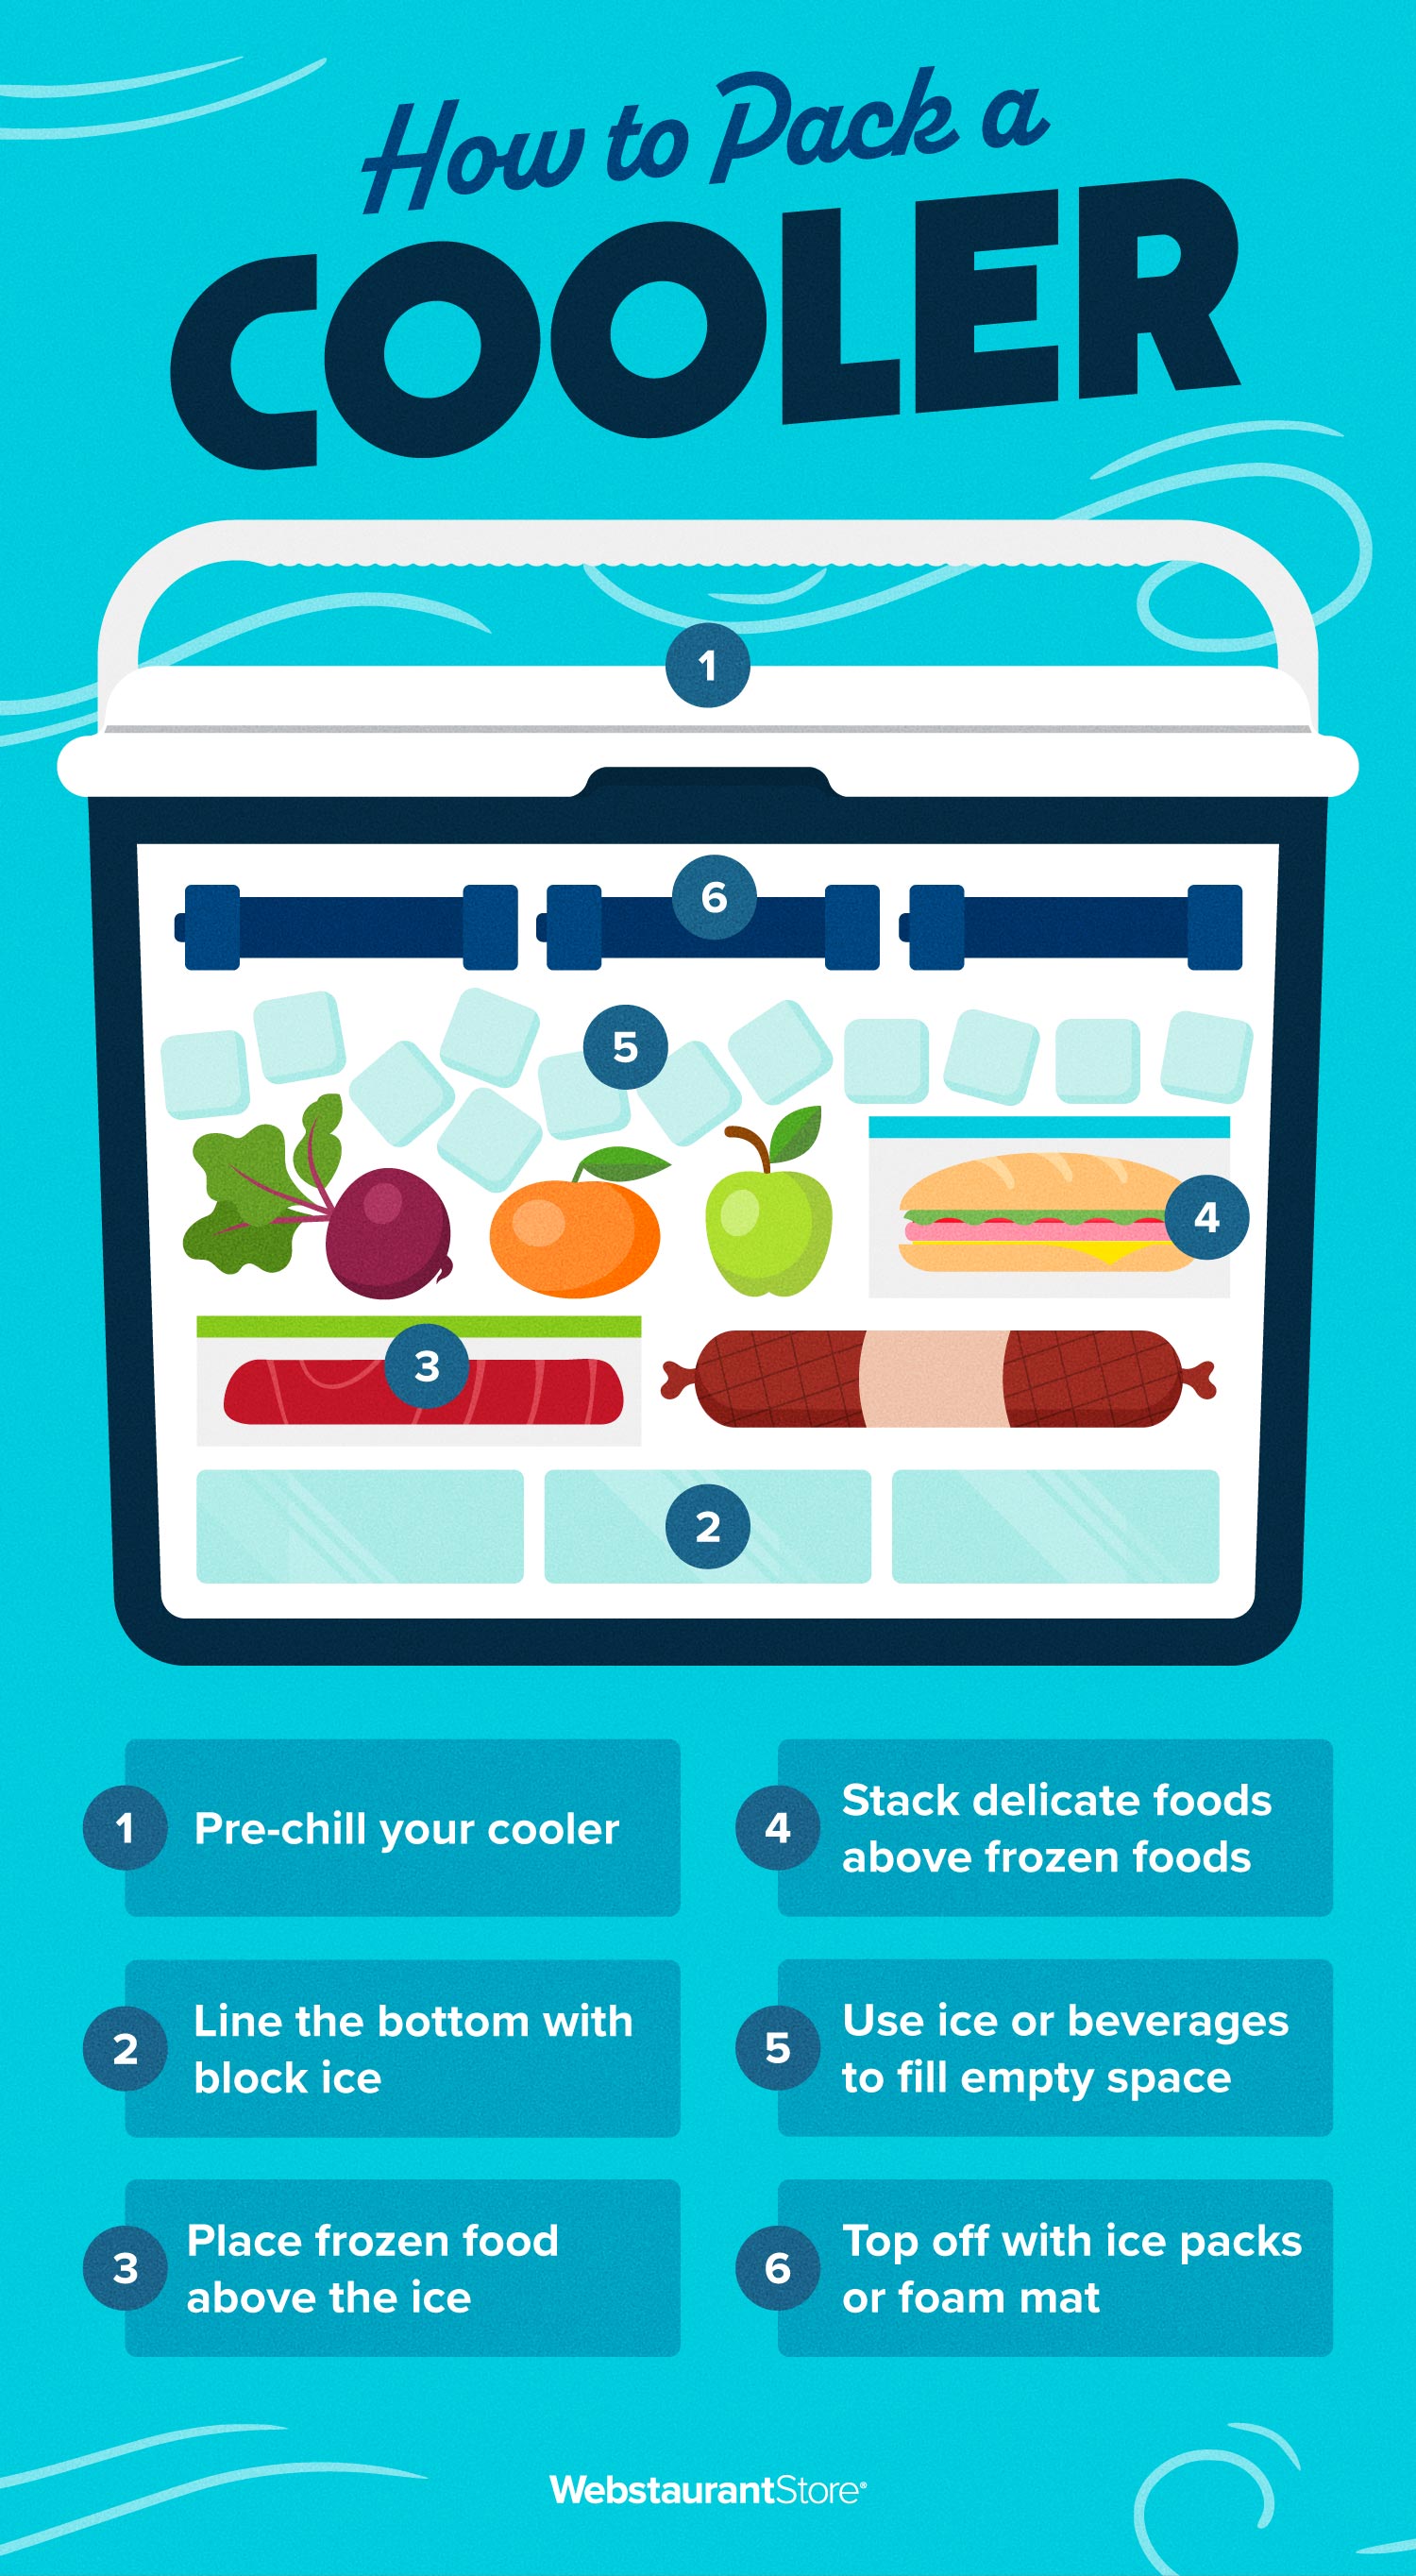
Heat rises, so your coldest items must anchor the bottom. This layered approach creates a “cold sink” that chills from the ground up:
- Foundation Layer (Bottom): Place largest frozen bottles (2L/gallon jugs) horizontally. They form your primary cooling reservoir.
- Insulation Barrier: Cover with cardboard or towel—this prevents food contact with ice and absorbs condensation.
- Perishables Zone (Middle): Pack dairy, meat, and fish here surrounded by medium bottles (1L). Cold air sinks from above, keeping this critical zone at 34-38°F.
- Access Zone (Top): Store drinks and snacks here. Place small frozen bottles directly on top—they thaw first for immediate water access.
- Sealing Layer: Finish with a folded towel pressed against the lid. This traps cold air during openings.
Eliminating Air Pockets Like a Pro
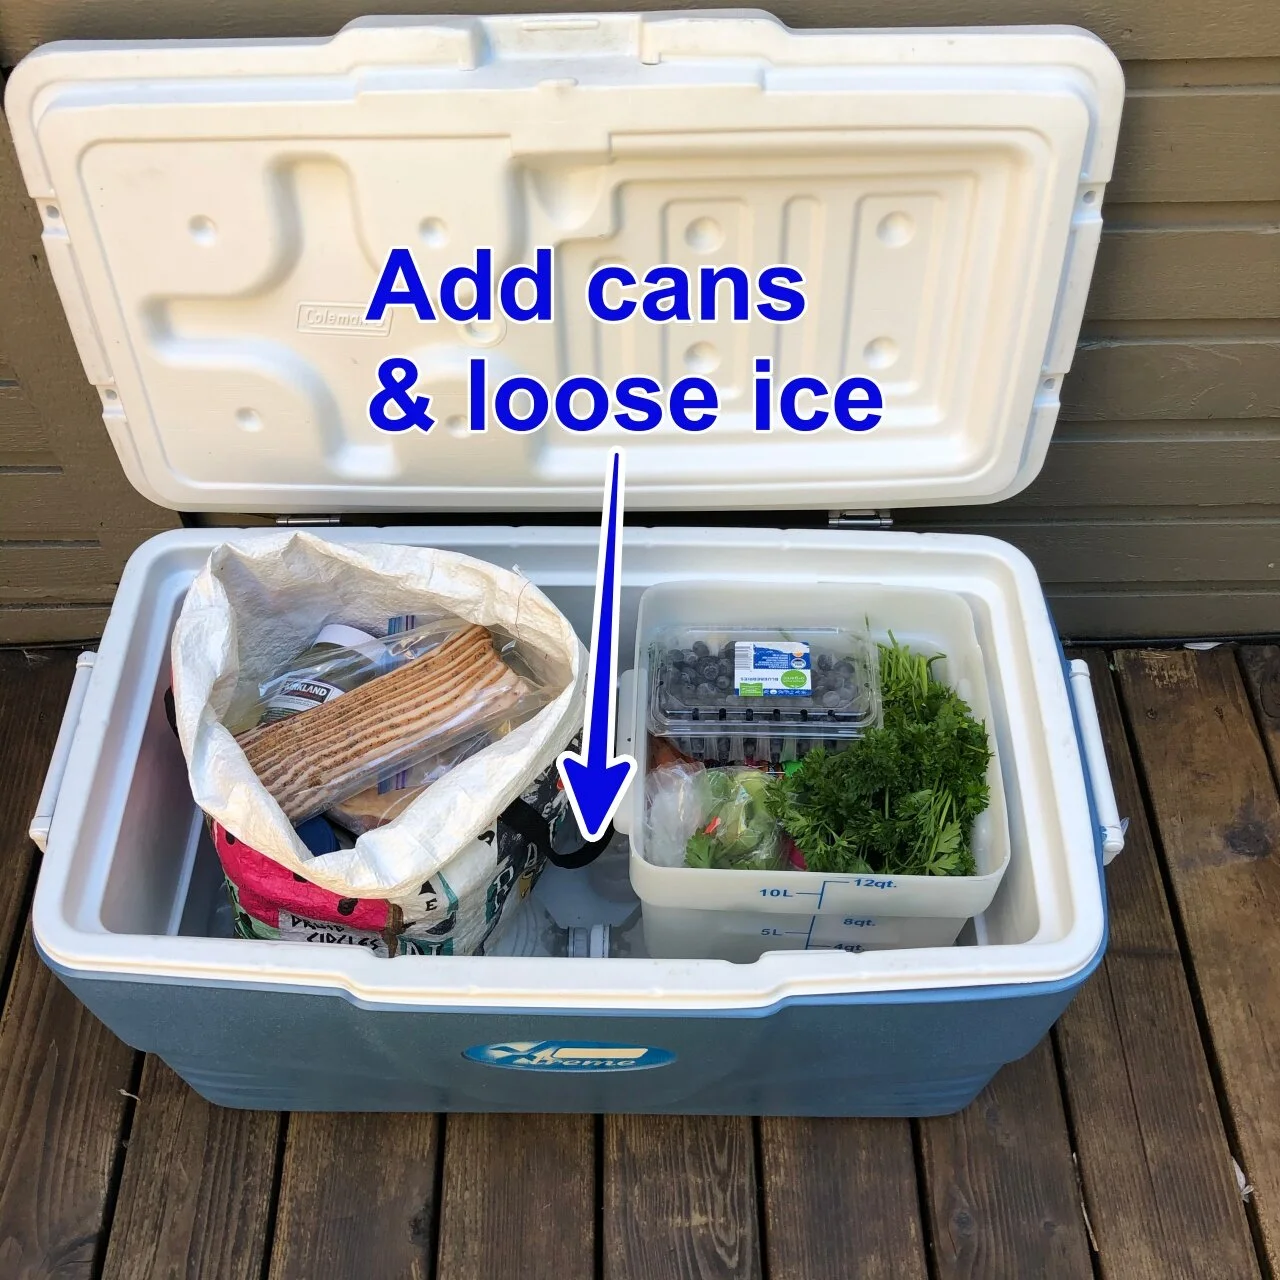
Dead air space is your enemy—warm pockets accelerate melting. Fill gaps with:
– Crumpled newspaper (absorbs moisture)
– Rolled-up t-shirts (adds insulation)
– Partially frozen fruit (e.g., grapes in bags)
Pro Tip: For extended trips, freeze a 5-gallon bucket of water overnight. Place this central “ice block” surrounded by bottles—it stays frozen 7+ days in rotomolded coolers.
Advanced Tactics for Extreme Heat or Long Trips
Staggered Melting System
Use bottle size variation to extend cooling:
– Small bottles (8-12oz): Thaw in 8-12 hours—perfect for first-day drinks
– Medium bottles (16-20oz): Last 24-36 hours—ideal for day 2 perishables
– Large jugs (1-2L): Stay frozen 72+ hours—your emergency core for days 3-5
The Russian Doll Cooler Hack
For 7+ day expeditions:
1. Pack a small lunch cooler with frozen bottles
2. Place this inside your main cooler surrounded by additional bottles
3. The inner cooler maintains 32°F while the outer handles ambient heat
Warning: Never use saltwater bottles for drinking—they’re -6°F but inedible. Label clearly with red tape.
Avoiding Costly Frozen Bottle Mistakes
Three Critical Errors That Ruin Cooling
- Overfilling Bottles: Water expands 9% when freezing. Filling to the brim causes leaks or container failure. Fix: Leave 1.5 inches of air space.
- Poor Bottle Placement: Floating bottles in melted water creates insulating gaps. Fix: Pack bottles upright and touching to form a thermal bridge.
- Ignoring Sun Exposure: Direct sunlight raises internal temps by 20°F. Fix: Wrap cooler in reflective emergency blanket.
Plastic Safety Red Flags
Discard bottles showing:
– Cloudy discoloration (indicates microfractures)
– Brittle texture (HDPE degradation)
– Persistent chemical smell (BPA leaching)
Use only #2, #4, or #5 plastics for repeated freezing. Single-use bottles (#1 PET) should be recycled after one freeze cycle.
Maximizing Cooling Duration: The Pro Checklist
Your frozen bottles last 40% longer when you follow these field-tested rules:
- Open Minimally: Retrieve everything in one grab—every 10 seconds with lid open adds 3 hours of melt time
- Shade Constantly: Park coolers under picnic tables, never in direct sun
- Drain Condensation: Wipe interior weekly on long trips to prevent warm water buildup
- Refreeze Strategically: When 50% thawed, move bottles to fridge overnight—they’ll refreeze faster than water
Key Insight: A gallon of ice requires 144,000 BTUs to melt completely. Your goal isn’t to prevent melting—it’s to control the melt rate through thermal mass management.
Eco-Savings That Add Up Fast
Beyond mess prevention, frozen bottles deliver serious economic benefits. One $5 reusable bottle replaces 20+ single-use ice bags ($1.50 each) over its lifetime. For annual campers, this saves $150+ while preventing 120+ plastic bags from landfills. Plus, the potable water from thawed bottles reduces disposable bottle use by 30% on multi-day trips—proving that smart cooling is both planet-friendly and wallet-friendly.
Final Tip: Always carry a food thermometer. Discard perishables held above 40°F for >2 hours (or >1 hour above 90°F ambient). Frozen water bottles keep food safer longer—but vigilance is non-negotiable. Implement these steps on your next outing, and you’ll never wrestle with soggy coolers again.


