
That dreamy winter evening in your hot tub turns into a nightmare when you realize you need to move it for maintenance or storage. Dragging a water-filled tub across your deck isn’t just exhausting—it risks damaging your back, your patio, or the hot tub itself. What if you could glide your 1,500-pound oasis across snow-dusted surfaces with the same ease as moving a patio chair? A custom hot tub sled solves this exact problem, transforming your stationary tub into a mobile relaxation station. This guide delivers the precise steps to build a rugged sled that handles winter conditions while protecting your investment.
Forget complicated engineering—your hot tub sled is simply a reinforced platform on runners or casters. It lifts your tub just enough to prevent deck damage while giving you solo control over positioning. No more last-minute panic when spring cleaning season arrives or when you spot the perfect sunset-viewing spot. With the right construction, you’ll eliminate risky group lifts and gain the freedom to reposition your tub whenever weather or whim strikes. Let’s turn that heavy chore into a weekend project that pays off for years.
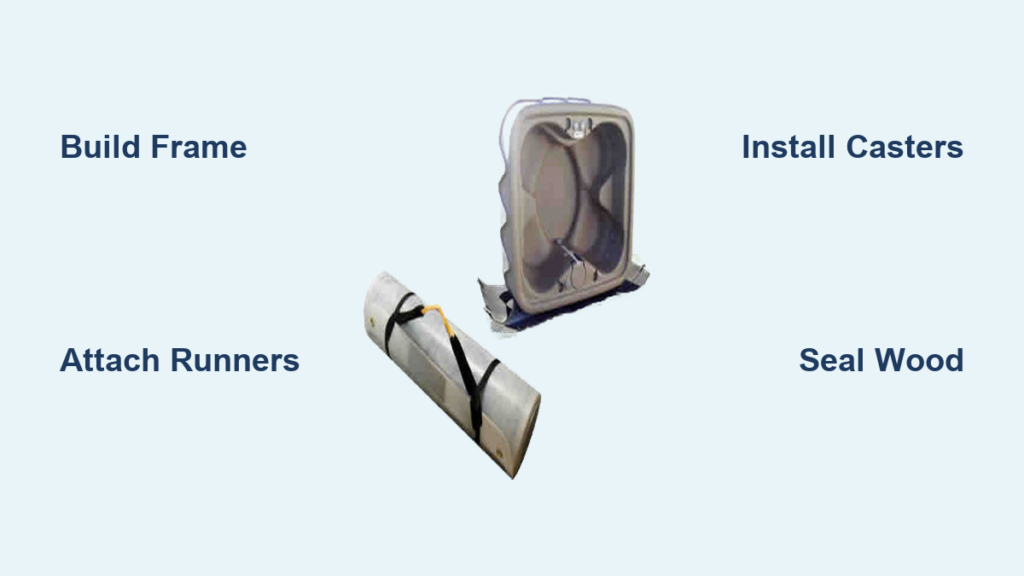
Why Your Hot Tub Needs a Custom Sled Solution
Moving a portable hot tub without proper equipment risks serious damage to your deck’s surface and the tub’s structural integrity. Standard dragging techniques create friction that can crack acrylic shells or warp frames—problems that often void warranties. A purpose-built sled distributes weight evenly while elevating the tub 2-3 inches off the ground. This gap prevents moisture trapping that rots wooden decks and stops tub bases from freezing to concrete in subzero temps.
Most homeowners underestimate how often they’ll need mobility. Seasonal shifts require repositioning for optimal sun exposure, clearing space for snow removal, or accessing utility panels for maintenance. Without a sled, these routine tasks become 3-person operations with high injury risks. The CDC reports over 200,000 back injuries annually from improper lifting of heavy objects—your water-filled hot tub qualifies as a major hazard. A sled eliminates this danger while adding unexpected versatility to your outdoor space.
How Sleds Outperform Commercial Alternatives
Pre-made hot tub dollies often fail under real-world conditions. Their plastic components crack in freezing temps, and weight ratings rarely account for water displacement when moving. Your DIY sled solves this with rot-resistant lumber that withstands -20°F conditions and custom sizing that matches your tub’s exact footprint. Unlike generic dollies, your sled won’t shift during movement since it’s built to cradle the tub’s contours. This tailored approach prevents costly mishaps that turn a simple relocation into a $500 repair job.
Essential Tools and Materials Checklist
Lumber Selection: Cedar vs Pressure-Treated
Choose 100% kiln-dried cedar for natural rot resistance and lightweight strength, or use ACQ-treated lumber rated for ground contact. Avoid standard pressure-treated wood—it warps when exposed to hot tub chemicals. For the frame, cut eight 2x4s to your tub’s length plus 4 inches. Decking requires 2×6 or 2×8 boards cut 4 inches longer than your tub’s width. Always inspect lumber for cracks or warps; reject any piece with more than 1/8-inch bow.
Critical Hardware Specifications
Gather these non-negotiable items before starting:
– Screws: 3.5-inch structural deck screws (stainless steel for cedar, coated for PT)
– Adhesive: Exterior-grade construction adhesive (e.g., PL Premium)
– Mobility Parts:
– For runners: Four 8-foot 4x4s (minimum 3.5×3.5 inches actual size)
– For casters: Six 300-lb capacity swivel casters with locking brakes (total 1,800+ lb capacity)
– Sealant: Clear marine spar urethane (for cedar) or concrete/masonry sealer (for PT)
Safety Gear You Can’t Skip
Wear ANSI-approved safety glasses when cutting lumber—flying splinters cause 20,000 eye injuries yearly. Use N95 respirators during sanding and sealing. Heavy-duty work gloves prevent blisters when handling pressure-treated wood. Keep a fire extinguisher nearby when using power tools near sealants.
Step 1: Precision Measurements for Perfect Fit
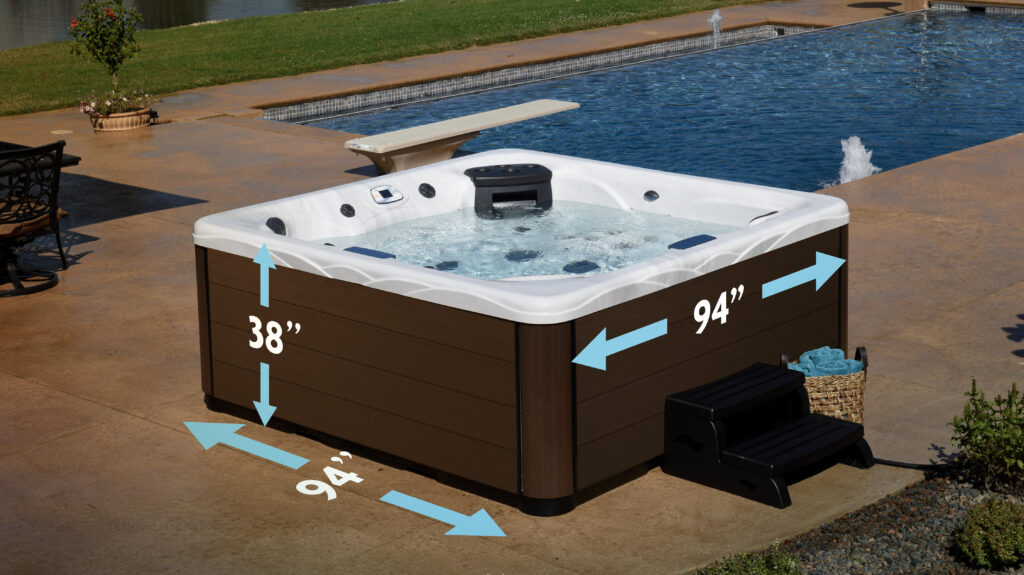
Lay your empty hot tub on its side and measure the base frame’s exact dimensions—not the outer shell. Add 3 inches to both length and width for the sled deck size (e.g., 75″x75″ for a 72″x72″ tub). This overhang prevents water runoff from seeping under the tub during movement. Mark the tub’s center point with tape; this aligns with your sled’s center for balanced weight distribution.
Avoiding Common Sizing Mistakes
Never measure only the tub’s exterior—internal framing determines stability points. If your tub has protruding pumps or control boxes, add extra width to accommodate them. Test your measurements by placing cardboard cutouts under the tub; if gaps exceed 1 inch, recalculate. Skipping this step risks tub wobble that stresses shell seams during movement.
Step 2: Building the Unshakeable Frame
Assembling the Perimeter Frame
Lay two 2x4s parallel on a flat surface, spaced to match your deck width. Connect with cross pieces at ends using 3.5-inch screws and construction adhesive. Clamp corners while driving screws to prevent shifting. Check for square by measuring diagonals—differences must be under 1/4 inch. Reinforce each joint with a 4-inch galvanized angle bracket.
Installing Critical Cross-Bracing
Add interior 2×4 supports every 16 inches perpendicular to the perimeter frame. These must align directly under where the hot tub’s frame rails will sit. Secure with two screws per connection point and a zigzag bead of construction adhesive. This grid prevents “racking”—the twisting force that collapses weak frames when moving over uneven ground.
Step 3: Creating the Drainage-Ready Deck Surface
Deck Board Installation Secrets
Space 2×6 deck boards 1/8 inch apart using spacer sticks cut from 1/8-inch plywood. Start from the center outward to distribute gaps evenly. Pre-drill holes 1 inch from board ends to prevent splitting. Drive two screws per joist at 45-degree angles for maximum hold. Leave a consistent 1.5-inch overhang on all sides—this creates runoff channels during rain or snow melt.
Weatherproofing Like a Pro
Sand all edges smooth with 80-grit paper before sealing. Apply two coats of marine spar urethane with a 12-hour cure between coats. For pressure-treated wood, use a concrete sealer to lock in chemicals that could leach into deck surfaces. Never skip this step—unsealed wood swells in humidity, creating gaps that trap water under your tub.
Step 4: Runner vs Wheel Installation Showdown
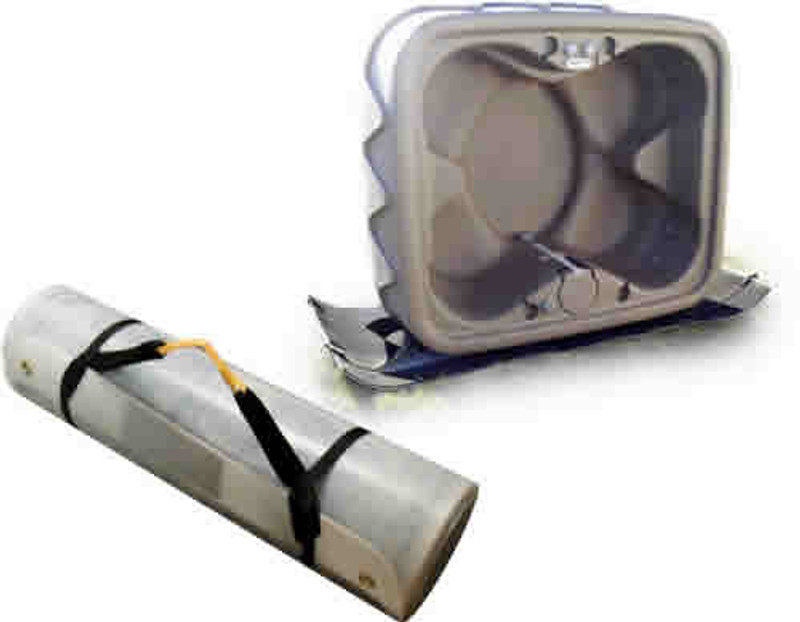
Fixed Runner System Setup
Attach 4×4 runners to the frame’s underside with 4-inch lag bolts every 12 inches. Position runners 2 inches inside the deck edges to prevent snow buildup. Bevel the front 6 inches of each runner at 30 degrees using a circular saw—this “ski nose” glides over packed snow instead of plowing into it. Test on gravel: runners should slide smoothly without catching.
Rolling Caster System Safety Protocol
Mount casters under frame corners and midpoints of long sides. Crucially, install secondary locking collars—the built-in brakes on most casters fail under sustained weight. Test each wheel by rocking the empty sled; any movement means insufficient tightening. On slopes, always place 2×4 chocks behind wheels even when brakes are engaged. Remember: a 1,500-lb tub on a 5-degree incline generates 130 lbs of rolling force.
Step 5: Tub Mounting Without Mishaps
The Solo-Operator Tilt Technique
With the sled positioned against your deck’s edge, tilt the empty tub 45 degrees using furniture sliders under the base. Slide one edge onto the sled, then pivot the tub into position using controlled rocking motions. Never drag the tub—acrylic shells scratch easily on wood fibers. Center the tub so its weight gauge (usually near the pump) aligns with the sled’s center mark.
Stability Verification Checklist
After positioning, bounce gently at each corner—if the sled lifts, add cross-bracing. Check for even weight distribution by placing a level on the tub’s rim; deviations over 1/4 inch indicate frame warping. Do a final “shake test” by pushing laterally—excessive movement means you need thicker deck boards or additional runners.
Non-Negotiable Safety Rules for Winter Operation
Weight Capacity Reality Check
Calculate total load: Tub weight (check manufacturer specs) + 8.34 lbs per gallon of water + 170 lbs per person. Your sled must support 150% of this total. For a typical 300-gallon tub with four people, that’s (1,200 lbs tub + 2,500 lbs water + 680 lbs people) x 1.5 = 6,570 lbs minimum sled capacity. Underbuilding causes catastrophic frame failure.
Ice and Slope Protocols
Never move a tub on surfaces with visible ice—even with runners. Use calcium chloride pellets to melt paths, never rock salt which corrodes metal parts. On slopes exceeding 2 degrees, always use a come-along winch anchored to a tree or post; human muscle power can’t control runaway tubs. If your deck has a 1-inch-per-foot slope, install permanent chock blocks at the sled’s resting position.
Your custom hot tub sled transforms seasonal headaches into effortless repositioning. By following these precise steps, you’ve created a solution that outlasts commercial alternatives while protecting your deck and back. Reapply sealant every spring and inspect runners for cracks before winter storage. Now go enjoy that mobile relaxation—your perfectly positioned hot tub awaits, ready to glide to wherever the best views and weather call you. When friends ask how you move that heavy tub solo, you’ll have the ultimate conversation starter for your next soak.


