
That frustrating moment when your shoulder aches after ten rounds, your sight picture blurs from recoil, and you can’t tell if that handload is truly accurate or if you’re just flinching—it’s the universal struggle of serious shooters. A lead sled solves this by transforming your rifle into a vibration-free, recoil-eliminating testing platform. Unlike flimsy sandbag rests, this weighted gun cradle absorbs 95% of muzzle rise, letting you focus purely on load development and zeroing. If you’ve ever wasted hours at the range chasing inconsistent groups because of shooter error, building your own lead sled will revolutionize your precision shooting. This guide delivers the exact steps to construct a rock-solid, adjustable sled that handles everything from .22LR plinking to .50 BMG thunder.
Why Your Handload Testing Fails Without a Lead Sled
Handloaders and gunsmiths lose critical accuracy data every time human error creeps into testing. When your shoulder impacts the stock during recoil, muzzle movement ruins shot placement—masking whether a load is truly consistent or if you’re unintentionally jerking the trigger. Professional armories use lead sleds specifically to isolate variables: the sled’s weighted base (minimum 100 pounds) anchors the rifle while pneumatic cylinders absorb rearward force. This creates a controlled environment where you see actual bullet performance, not shooter-induced inconsistencies. For unknown firearms or experimental handloads, this setup is non-negotiable—it prevents catastrophic failures by containing recoil within a stable platform. If you’re developing loads beyond published data or testing guns of questionable history, skipping a lead sled risks both accuracy and safety.
Exact Materials List for a 100+ Pound Lead Sled Base

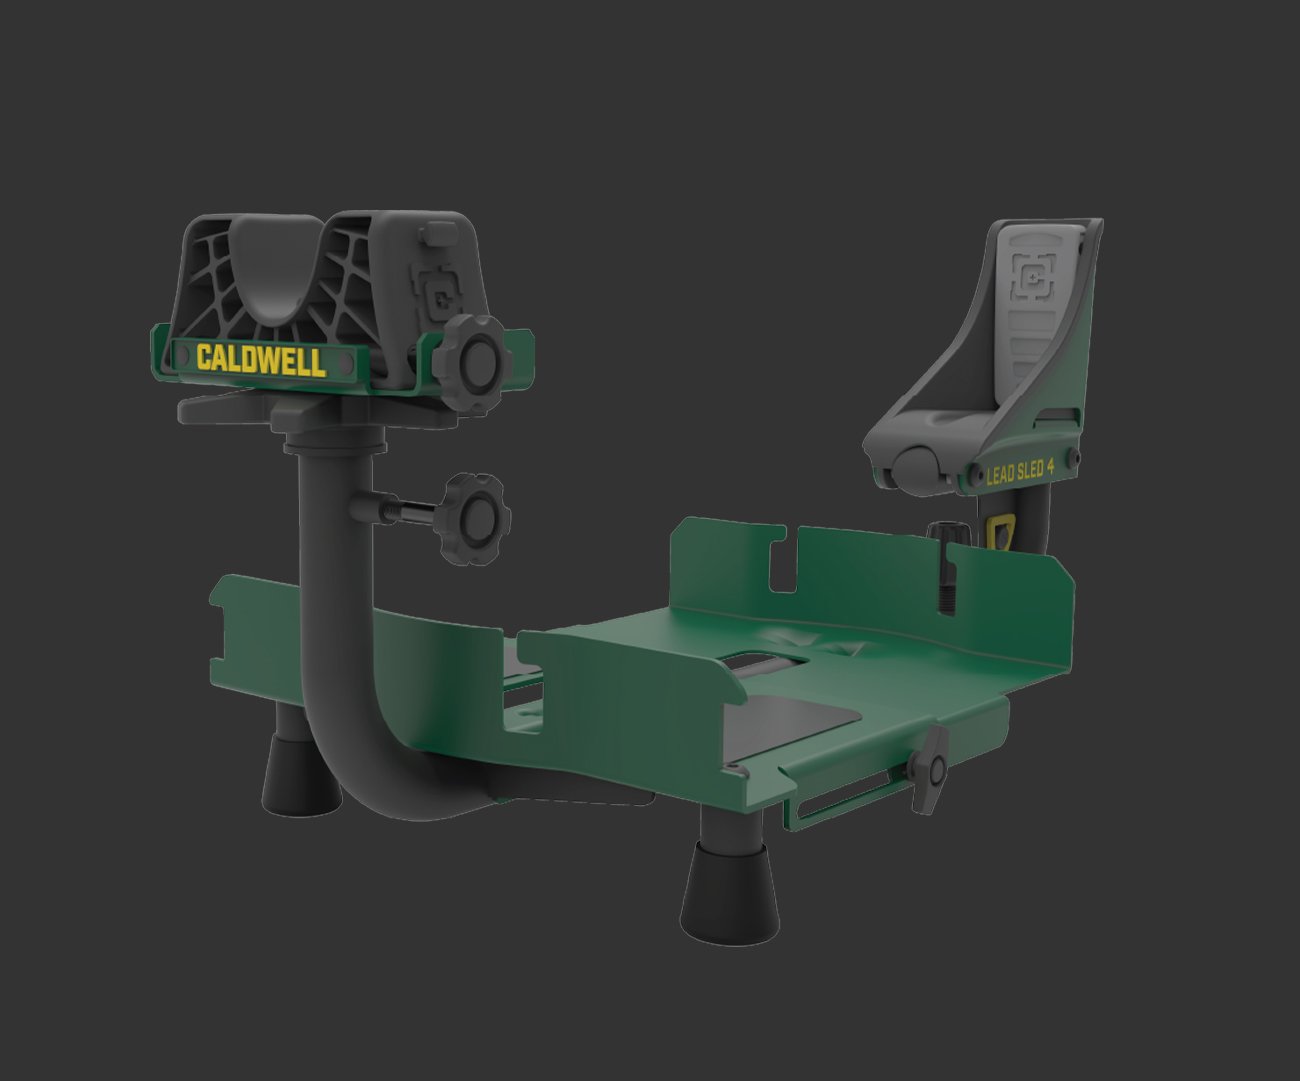
Skip the guesswork—here’s precisely what you need to build a sled that won’t budge under .50 BMG recoil. The core is a dual-weight system: structural mass for stability plus adjustable resistance for recoil management. For the frame, use 1.5″ x 3″ 80/20 aluminum extrusion (20 feet total) for its rigidity and modularity—steel tubing cracks under repeated stress. Your recoil heart is a 50 lb pneumatic cylinder (4″ stroke), which smoothly dampens rearward motion without spring rebound. Weighting requires 100+ pounds of lead shot in sandbags (commercial sleds like the Caldwell Lead Sled 3 use 15 lbs base weight plus 100 lbs user-added mass). Critical extras: industrial hinges for pivot points, urethane gun rest pads to protect stocks, and T-slot hardware for micro-adjustments. Skip cheap alternatives like wood frames—they flex under recoil, ruining consistency. Pro tip: Buy extrusion in 48″ lengths to minimize cuts, and verify cylinder pressure matches your caliber (50 lb works for .308; upgrade to 75 lb for .338 Lapua+).
Tools That Prevent Costly Build Errors
Your miter saw needs a 60-tooth aluminum-cutting blade to avoid burrs that weaken joints. Essential extras: step drill bits for clean T-slot holes, thread-locking compound for vibration-prone bolts, and a digital level (0.1° accuracy) to align the bore axis. Never use standard wood clamps—aluminum-specific vise grips prevent frame damage during assembly. Skipping the level causes cant errors that throw off windage by 2+ MOA—a hidden accuracy killer.
Build the Base Frame: 80/20 Extrusion Assembly Guide

Start with a 20″ x 20″ square base—any smaller and .50 BMG recoil will shift it. Cut four 20″ extrusion pieces, then assemble using 90° corner brackets tightened to 15 ft-lbs (overtightening cracks aluminum). Position the vertical support 5″ from the front edge to balance weight distribution. Here’s the pro technique: place the base on a granite surface plate (or garage floor) and tap joints with a rubber mallet until a feeler gauge shows zero gaps. This eliminates “frame wobble,” the #1 cause of inconsistent groups. For the vertical tower, bolt two 18″ extrusions back-to-back using M6 T-slot nuts—this doubles rigidity versus single rails. Critical check: Hang a plumb line from the top; if it deviates more than 1/16″ from the base center, disassemble and re-square.
Install the Pneumatic Recoil System Correctly
This is where most DIY builds fail—improper cylinder mounting transmits shock to the frame. Mount the 50 lb cylinder horizontally with the rod end facing the rifle butt. Connect the rod to a pivoting buttstock plate (1/4″ steel, padded with 1″ urethane) using clevis pins. The cylinder body bolts to the vertical tower via floating mounts that allow 0.5° of angular play—this prevents binding during recoil. Test movement: Unloaded, the butt plate should glide rearward 1.5″ with zero resistance, then return smoothly. If it sticks, lubricate the cylinder rod with silicone grease. Never attach the cylinder directly to the rifle rest—use an intermediate slider block to avoid canting. For calibers over .300 Win Mag, add twin dampers in parallel to handle 30%+ overpressure loads safely.
Weighting Your Sled for .50 BMG vs .223 Calibers
Generic “add weight” advice ruins accuracy—caliber-specific mass prevents muzzle rise without over-dampening. For .223 Remington, 35 pounds total (base + weights) is optimal; lighter and the sled jumps, heavier and it masks subtle load differences. Use this formula: Total weight = (Cartridge free recoil energy x 2) + 15 lbs. Example: .30-06 (20 ft-lbs recoil) needs 55 lbs. Place 70% of weight forward to counter muzzle climb—stack lead shot bags in a 12″ x 8″ tray bolted to the front base. For .50 BMG, add steel plates (not sandbags) to the tray; sand shifts under blast, causing point-of-impact shifts. Always test weighting with .22LR first: fire 5 rounds. If the sled moves >1/4″, add 5 lb increments until stationary. Under-weighting by just 10 lbs causes 3+ MOA group expansion—a hidden accuracy killer.
Remote Firing Setup: 5 Safety Steps You Must Follow
This is non-negotiable: Never operate within 10 feet of the sled during firing. Rig a 20-foot paracord trigger system using a pulley mounted 45° above the action. Tie one end to the trigger guard, the other to a weighted handle behind ballistic glass. Test with dry-fire first—pull force should be 3-4 lbs (too light risks accidental discharge). Always use a chamber flag visible from your firing position, and install a bore scope camera to monitor obstructions. For handloads, start with 0.2-grain powder increments and check brass for pressure signs (swollen cases, flattened primers) after every shot. Document each round in a log: “Round 3: 45.2g Varget, .010″ neck tension—no pressure signs.” Skip this, and you risk catastrophic failures like stuck bullets or case head separations.
Critical Handload Testing Protocol
Begin with factory ammo to verify sled stability. Then progress: .22LR → 9mm → .223 Rem before touching centerfire. For new handloads, never exceed 95% of published max charge—that “30-06 overload incident” in the knowledge base happened at 130%. After each shot, inspect brass under magnification; primer cratering or ejector marks mean immediate load reduction. If testing unknown firearms (e.g., police auction guns), start with 10% reduced charges and increase only after three clean shots.
3 Lead Sled Building Mistakes That Ruin Accuracy
Mistake 1: Misaligned bore axis. If the rifle isn’t centered over the base, recoil induces torque that shifts groups laterally. Fix: Use a laser bore sighter—align the dot 1″ above target at 10 yards; if it drifts >0.5″ during recoil, reposition the rest cradle.
Mistake 2: Stiff pivot points. Hinges or sliders with friction cause “recoil hang,” where the rifle doesn’t return to battery. Test by manually pushing the butt plate rearward; it should glide like butter. If not, replace hinges with linear ball-bearing slides.
Mistake 3: Over-tightened rests. Clamping the stock too hard warps the action, shifting zero by 1.5+ MOA. Ideal pressure: snug enough to prevent movement, but you can slide a business card between stock and rest.
Monthly Lead Sled Maintenance Checklist for Safety
After 500 rounds, vibration loosens critical joints. Monthly:
1. Torque all bolts to 12 ft-lbs with a calibrated wrench (aluminum extrusion specs require this)
2. Inspect pneumatic cylinder for oil leaks—bubbles in the rod seal mean imminent failure
3. Check weight bags for lead shot leakage; replace fabric with ballistic nylon if worn
4. Test remote trigger for fraying; 10% of range incidents involve snapped cords
5. Verify bore alignment using a plumb bob from the muzzle—deviation >0.25″ needs recalibration
Skipping this risks catastrophic sled failure. That “30-06 overload incident” began with a loose butt plate shifting under recoil.
Building your own lead sled isn’t just about saving $150 versus a Caldwell Lead Sled 3—it’s about crafting a precision instrument tailored to your calibers and testing needs. When you eliminate human variables, you see true load performance: that 0.5-grain powder difference that shrinks groups from 1.5 MOA to 0.8 MOA. Start with .22LR to validate your build, then progress cautiously to high-pressure rounds. Remember: every handloader who’s documented pressure signs after testing (flattened primers, stiff extraction) owes their safety to a properly weighted, remotely fired sled. Your next breakthrough load is waiting—build the sled, eliminate the variables, and let the targets tell the truth.


