
When the first snowfall dusts your neighborhood, nothing beats the thrill of sledding—but rushing to buy an expensive plastic sled at peak season can drain your wallet fast. Store-bought options often cost $30-$50 for basic models that might not even survive one winter. With a simple plastic sheet, basic tools, and this step-by-step guide, you can build a durable, high-speed sled in a single afternoon for under $15. You’ll gain a custom ride perfectly suited to your weight and riding style while avoiding crowded stores during snow emergencies.
Most people don’t realize that the plastic sleds they buy at big-box retailers are essentially just shaped sheets of HDPE (high-density polyethylene) mounted on a simple frame. By learning how to make a sled out of plastic yourself, you skip the markup and create a personalized winter companion that fits your exact needs. Whether you’re crafting a speedy runner-style sled for sharp turns or a stable toboggan for family rides, this guide gives you all the insider knowledge to build like a pro.
Essential Materials for Building Your DIY Plastic Sled
Skip the expensive pre-made sleds by gathering these affordable, accessible materials. The beauty of learning how to make a sled out of plastic is that most components cost little and might already be in your garage.
Must-Have Plastic Materials for Sled Construction
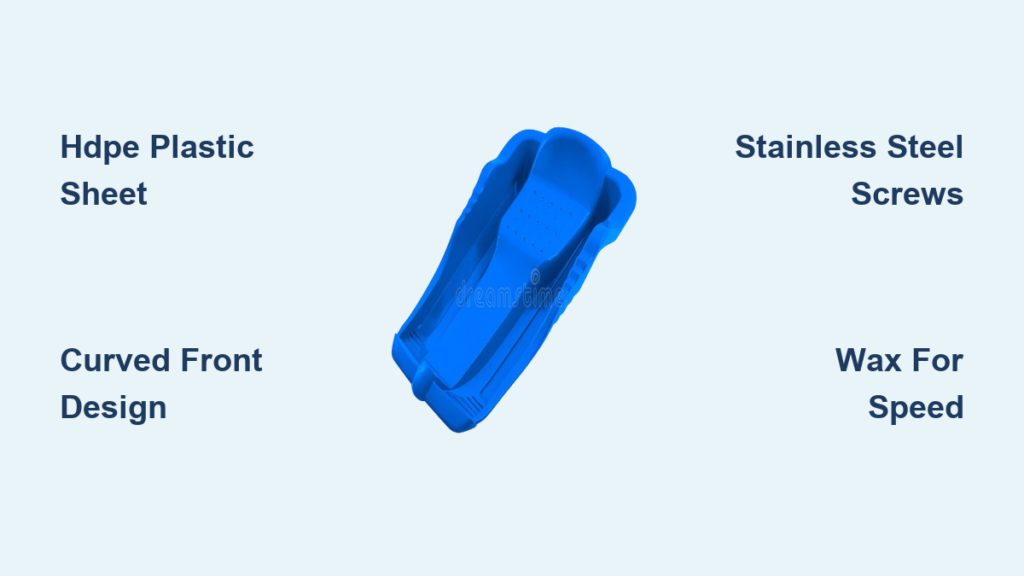
Grab a 4’x8′ sheet of 1/8″ thick HDPE plastic from your local hardware store (about $15) – this durable material glides better than standard tarps. For budget builders, repurpose a sturdy plastic storage bin lid or laundry basket bottom. Avoid thin plastic sheeting under 1/16″ thickness as it cracks in cold temperatures and won’t support your weight during high-speed runs.
Tool Checklist: What You Already Have vs. What to Borrow
You likely own: measuring tape, marker, sandpaper, drill, and basic screws. Borrow if needed: jigsaw (for precise plastic cutting) and heat gun (for shaping curved fronts). Critical pro tip: Use stainless steel screws instead of regular hardware – they won’t rust when exposed to snow and meltwater, preventing future structural failures.
Choosing the Right Plastic Sled Design for Your Skill Level

Your design choice determines speed, stability, and construction difficulty. Match your experience level to avoid frustration mid-project.
Runner-Style Sled: Best for Steering Control
Ideal for intermediate builders, this design features two curved wooden runners attached to a plastic base. The runners cut through packed snow, giving you precise steering – perfect for navigating trees or creating banked turns. Construction time: 3-4 hours. Key measurement: Keep runners 1.5″ thick and curved upward 6-8″ at the front to prevent sudden stops.
Toboggan-Style: Maximum Stability on Icy Slopes
Perfect for beginners, this flat-bottomed design uses a single plastic sheet bent upward at the front. It’s harder to steer but nearly impossible to tip over – great for young riders or steep, icy hills. Pro modification: Add two 1″ diameter PVC pipes along the bottom edges to create natural runners that improve speed without complex woodworking.
Building a Rock-Solid Base for Your Homemade Plastic Sled

Your base determines whether your sled flies smoothly or breaks apart mid-ride. Invest time here for reliable performance all season.
Creating the Perfect Frame Dimensions for Speed
Cut two 2×2 lumber pieces to 36″ for side rails and two 18″ pieces for front/back braces. Assemble with exterior wood screws, pre-drilling holes to prevent splitting. Critical dimension: Keep the frame 1″ narrower than your plastic sheet on all sides – this creates an overhang that protects edges from impact damage. For heavy riders (over 180 lbs), reinforce with diagonal cross-braces.
Why Curved Fronts Prevent Face-Plants in Snow
Shape your front curve by heating plastic with a heat gun (medium setting) while bending it over a 12″-diameter bucket. Hold for 2 minutes until pliable, then clamp in place until cool. Never skip this step – a straight front digs into snowdrifts, causing dangerous sudden stops. The ideal curve lifts your sled 4-6″ off the ground for obstacle clearance.
Attaching the Plastic Sheet: Creating a Smooth Gliding Surface
How you secure the plastic determines your sled’s speed and longevity. Rush this step and you’ll face mid-ride failures.
Cutting Plastic to Size Without Tears or Wrinkles
Place your frame on the plastic sheet and trace with 2″ extra on all sides. Cut with a utility knife using a straightedge guide – jagged edges catch snow and slow you down. Pro technique: Score lightly first, then make deeper passes rather than one aggressive cut that might tear.
Securing Plastic Edges for Maximum Durability
Drill 1/4″ holes every 3″ along the frame’s top edge, countersinking slightly. Attach plastic with stainless steel screws and large washers – the washers prevent plastic from tearing under tension. Critical mistake to avoid: Don’t overtighten screws – plastic expands and contracts with temperature changes. Leave a slight “give” by tightening just until the washer seats.
Professional Finishing Touches That Make Your Sled Faster
These final steps transform a functional sled into a speed machine that outperforms store-bought models.
Sanding Secrets for a Friction-Free Ride
Start with 80-grit sandpaper on the bottom surface, progressing to 220-grit for a glass-smooth finish. Focus on the nose area where snow impact is greatest. Expert tip: Wet-sand the final pass with soapy water – this creates microscopic channels that reduce surface tension with melting snow.
Why Waxing Beats Painting for Speed
Apply paraffin wax (candle wax) liberally to the entire bottom surface before first use. Re-wax every 3-4 rides as the coating wears off. Avoid paint – even “slick” finishes create microscopic ridges that increase friction. For competitive speed, melt wax into the plastic by gently heating the bottom surface with a hairdryer after application.
Quick Fixes for Common Plastic Sled Problems
Even well-built sleds encounter issues. Know these solutions before heading to the hills.
Why Your Sled Pulls to One Side (And How to Fix It)
Uneven weight distribution is usually the culprit. Check that both sides have identical screw patterns and tension. Quick field repair: Carry duct tape and small wood shims – place shims under the lighter side’s plastic edge to create balance. For severe cases, sand more aggressively on the side pulling direction to reduce friction.
Emergency Repairs for Mid-Slope Plastic Tears
Carry Flex Seal tape (the rubberized kind) in your pocket. Clean the tear area with snow, then apply tape over both sides of the rip. For large holes, reinforce with a patch cut from a plastic grocery bag sandwiched between tape layers. This creates a waterproof, flexible repair that lasts the season.
Keeping Your DIY Plastic Sled Safe and Long-Lasting
Your safety depends on proper maintenance – don’t skip these critical checks before each ride.
Critical Safety Checks Before Every Run
Inspect all screw connections for looseness – retighten any that spin freely. Check for stress cracks along edges and at the front curve. Verify tow rope security by giving it three strong tugs – it should withstand 200+ lbs of force. Never ride without these checks – a mid-ride failure at high speed can cause serious injury.
Proper Storage Techniques to Prevent Warping
Store indoors in a cool, dry place away from direct sunlight – UV rays degrade plastic over time. Never leave outside even in winter; temperature swings cause microfractures. For long-term storage, place between two plywood sheets to maintain its shape. Always dry completely before storing – trapped moisture causes warping and weakens plastic.
Why Your Homemade Plastic Sled Beats Store-Bought Options
Building your own sled isn’t just cheaper—it creates a superior riding experience tailored to your specific needs.
Cost Comparison: DIY vs. Retail Sleds
Your DIY plastic sled costs $10-25 versus $30-60 for comparable store models. But the real savings come later: When commercial sleds crack, you buy a new one. With your custom build, you can repair any damage with basic materials. Over three winters, DIY pays for itself twice over while giving you the satisfaction of riding your own creation.
Customization Options You Can’t Buy in Stores
Add foot braces by screwing in rubber-coated hooks for better control on steep hills. Create personalized graphics with etching tools or waterproof markers. Adjust the flex by varying plastic thickness in different zones – stiffer near the front for impact resistance, more flexible in the middle for smoother rides. No retail sled offers this level of personalization.
Building your own plastic sled transforms a simple winter activity into a rewarding project that enhances every ride. When you learn how to make a sled out of plastic, you’re not just creating transportation down a hill—you’re crafting a custom winter experience that store-bought options can’t match. Start gathering materials today, and by tomorrow’s snowfall, you’ll be racing down hills on a sled that’s uniquely yours, built to perform exactly how you want it to. Remember to inspect your creation before each use, make necessary adjustments, and most importantly—enjoy the ride only a homemade sled can provide.


