
You’re deep in the woods, the sun’s setting, and your standard dome tent feels cramped and impersonal. What if you could create a spacious, stable shelter that connects you to centuries of outdoor tradition? A properly built teepee tent for camping solves this exact problem—offering superior headroom, natural ventilation, and surprising wind resistance. Unlike flimsy pop-up shelters, a well-constructed teepee withstands storms while creating a cozy, circular living space perfect for solo adventures or group camping. This guide shows you exactly how to make a teepee tent for camping using two field-tested methods: a portable tarp-and-pole system you can set up in 20 minutes, and a rugged plywood-framed version for base campers. You’ll learn material hacks most guides miss (like repurposing old boat sails) and critical safety steps that prevent collapses in high winds.
Gather These Exact Materials for a Sturdy Camping Teepee Frame
Skip generic “tools you’ll need” lists—here’s precisely what works for reliable teepee construction based on proven camping builds. Your framework and covering determine everything from portability to storm survival.
Choose Poles That Won’t Snap in Wind Gusts
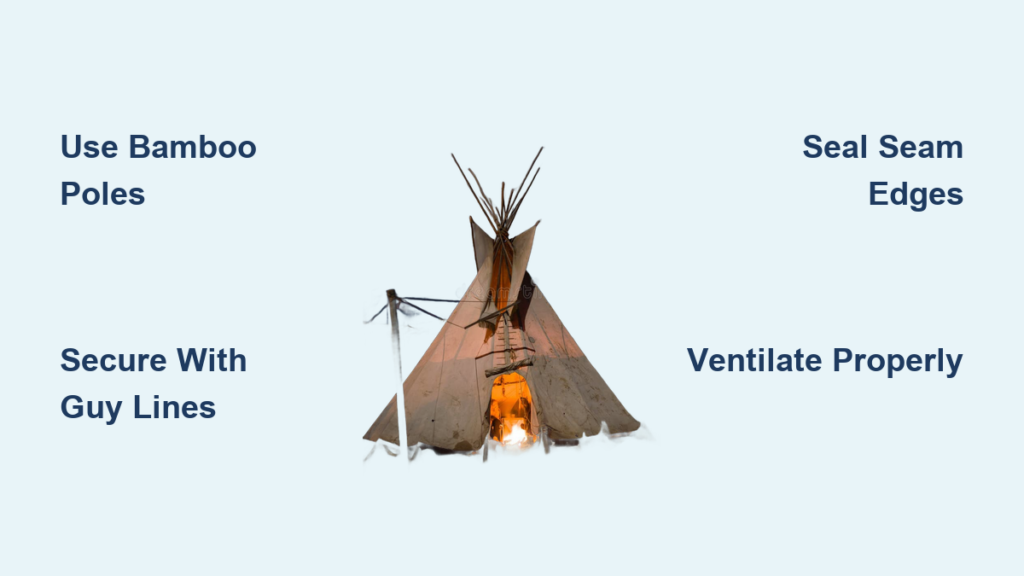
Your poles must balance flexibility and rigidity. Bamboo poles from garden centers are ideal—they bend without breaking under pressure and weigh half as much as wood. For backpacking, cut eight 10-foot bamboo poles (1-inch diameter) using a pruning saw. If bamboo isn’t available, use seasoned wooden dowels from hardware stores—never green wood, which warps and sheds splinters. Avoid flimsy PVC pipes; they shatter in cold weather. Pro tip: Sand pole ends smooth with 120-grit paper to prevent fabric snags during setup.
Select Weatherproof Covering That Lasts
Canvas remains the gold standard for how to make a teepee tent for camping—it breathes to reduce condensation and withstands UV rays for years. But a heavy-duty brown tarp from Home Depot works just as well for weekend trips if you reinforce stress points. Look for 12×16-foot tarps with reinforced edges and grommets every 18 inches. For the ultimate hack, repurpose an old boat sail: its pre-shaped curve fits teepee frames perfectly, and marine-grade fabric sheds rain better than standard canvas. Never use lightweight nylon—it tears at the apex under wind load.
Critical Checklist: What You Can’t Skip
- Poles: 5-8 bamboo/wood poles (10-12 ft long)
- Cover: 12×16 ft canvas, heavy-duty tarp, or boat sail
- Lashing: 50 ft parachute cord (non-stretch)
- Ground anchors: 8 tent stakes + rocks/sandbags
- Must-have tools: Rubber mallet, grommet kit, waterproof sealant
Build a Portable Tarp-and-Pole Teepee in 5 Steps
This method gets you sheltered fast with gear you likely own. Perfect for car camping or festivals where weight isn’t an issue.
Master the Tripod Lashing Technique (Step 1)

Lay three poles parallel. Place a fourth pole across them 18 inches from the top. Wrap parachute cord tightly 15 times around all four poles using a clove hitch knot—this “tripod lashing” creates a shock-absorbing joint. Stand the tripod upright and splay legs 4 feet apart. Add remaining poles by leaning them into the apex, spacing them evenly. Wrap cord twice more around all poles at the top to lock the structure. Critical mistake to avoid: Don’t tie poles flush at the tip—leave a 2-inch gap so poles flex independently during wind gusts.
Secure the Cover Without Sewing (Step 2)

Drape your tarp over the frame with the longest edge parallel to the ground. Center it so all sides hang evenly—aim for 18 inches of fabric touching the earth for rain protection. Use large binder clips at the top to attach the tarp to poles (no grommets needed). Stake the base every 2 feet with V-shaped guy lines, then pile rocks along the hem to create a 6-inch “draft skirt.” This seals out rain splash and cold air—skip this, and you’ll wake up soaked from ground runoff.
Construct a Rigid Plywood-Framed Teepee for Base Camps
Choose this method for semi-permanent setups like festival campsites or survival training bases. It withstands weeks of weather but requires tools.
Build the Pyramid Frame That Won’t Collapse (Step 1)
Cut four identical triangles from ¾-inch exterior plywood (10 ft tall x 5 ft base). Laminate two triangles together per leg using waterproof wood glue and 3-inch deck screws. Bolt all four legs together at the apex with a ½-inch carriage bolt and washers—this pivot point must move slightly in wind. Install horizontal braces 3 feet above ground on each face using angle brackets. Visual cue: Shake the frame before adding fabric—if it wobbles, add diagonal cross-braces.
Attach Covering That Stays Taut for Months (Step 2)
Drape canvas over the frame and pull it drum-tight. Staple every 6 inches along the plywood edges using a heavy-duty staple gun (for canvas) or bolt through grommets (for tarps). Never stretch fabric when wet—it will sag when dry. Leave a 12-inch circular opening at the apex for ventilation—this smoke hole prevents dangerous condensation buildup. For fire safety, line the interior base with fireproof aluminum sheeting if using a wood stove.
Lock Down Your Teepee Against Wind and Rain
A poorly secured teepee becomes debris in 30 mph winds. These pro techniques work for both methods.
Install Hurricane-Proof Guy Lines

Attach three 10-foot guy lines to the apex using trucker’s hitches (allows tightening mid-storm). Stake them 12 feet from the teepee at 120-degree angles. Add a second set of lines ⅔ down the frame—these counteract side winds that flip standard tents. Use deadman anchors in soft soil: bury a log with line tied to it. Test tension by plucking lines like guitar strings—they should ping, not thud.
Seal Seams and Block Ground Moisture
Apply silicone sealant to all tarp seams with a caulking gun—skip this, and rain soaks through stitching. For canvas, use wax-based waterproofing spray (not silicone, which blocks breathability). Lay a 10×12 ft ground tarp inside that climbs 6 inches up the walls. This “bathtub floor” stops groundwater wicking into your sleeping area. In heavy rain, dig a 4-inch trench 2 feet around the teepee to divert runoff.
Critical Safety Checks Every Teepee Camper Must Perform
Never Skip the Ventilation Test
Before sleeping, crouch inside and light a match. If smoke lingers instead of rising straight up the smoke hole, adjust the door flap angle. Poor airflow causes deadly carbon monoxide buildup from stoves. Urgent warning: Never burn wood inside standard teepees—only use vented rocket stoves in structures over 12 feet tall.
Inspect These Failure Points Daily
- Pole apex: Check for frayed lashing—re-wrap if cord indents poles
- Ground hem: Ensure rocks/stakes haven’t shifted (wind exploits gaps)
- Seam integrity: Run fingers along seams for hidden pinholes
With these techniques, your teepee becomes a stormproof sanctuary. For backpackers, the tarp-and-pole method packs into one stuff sack. Base campers get a weather fortress with the plywood frame. Most importantly, you’ve learned how to make a teepee tent for camping that honors tradition while using modern materials—no buffalo hides required. After your first night in a self-built teepee, standard tents will feel like afterthoughts. Now stake your claim on the best campsite spot and let the wind howl—the cone-shaped shelter you built will stand strong while others scramble for cover.


