
Have you ever stared at an old step ladder gathering dust in your garage and wondered if it could serve a more creative purpose? Transforming a sturdy step ladder into a functional artist’s easel is an ingenious DIY project that solves two problems at once: repurposing unused equipment and creating an affordable, customizable art station. This guide reveals exactly how to convert an ordinary household ladder into a professional-grade painting easel that rivals store-bought models costing hundreds of dollars.
The beauty of this project lies in its simplicity and adaptability. Whether you’re a professional artist working on large canvases or a hobbyist looking for an affordable solution, this step ladder easel provides the perfect angled surface for your creative work. Most importantly, you can complete this transformation in a single weekend with basic tools you likely already own, turning what was once just a tool for reaching high shelves into the centerpiece of your art studio.
Materials and Tools Required
Essential Materials for Step Ladder Easel Conversion
Before you begin, gather these critical components that will transform your ladder into a professional art station. Choose a wooden or aluminum step ladder between 3-4 feet tall—this height provides optimal comfort for standing painting sessions. You’ll need 3/4-inch plywood or pine board measuring approximately 24×36 inches for the easel backboard, though you can adjust dimensions based on your preferred canvas size.
For structural reinforcement, have on hand 2×4 lumber cut to match the ladder’s height, assorted wood screws (both 2-inch and 1½-inch varieties), and quality wood glue for permanent bonds. Don’t forget sandpaper in both medium (120 grit) and fine (220 grit) varieties to create smooth surfaces, plus wood filler to address any imperfections in your ladder or new wood components. Finally, select a durable primer and your preferred paint or stain to finish your creation.
Must-Have Tools for Easel Assembly
Your tool kit should include an electric drill with assorted bits, a power saw or reliable hand saw for cutting wood components, and a screwdriver or power screwdriver for assembly. Precise measurements are crucial, so have a tape measure, level, and carpenter’s square ready. For surface preparation, use either a sanding block or electric sander to achieve professional results.
Safety comes first—always wear protective goggles and gloves when cutting or drilling. Additional helpful items include clamps to hold pieces in place during assembly, a pencil for marking measurements, and a clean rag for wiping away dust between sanding stages. With these materials and tools assembled, you’re ready to begin your transformation process.
Preparing Your Step Ladder
Initial Ladder Assessment and Cleaning
Thoroughly inspect your step ladder before modification begins. For wooden ladders, check every rung for stability—give each one a firm shake to identify any looseness. Examine the side rails for cracks or splintering, especially at stress points. Clean the entire ladder with a damp cloth and mild detergent to remove accumulated dirt and grease that could interfere with adhesion later.
Metal ladders require special attention to rust spots. Use a wire brush to remove loose rust, then apply a rust converter to prevent further corrosion. Pay particular attention to hinge mechanisms and locking pins, ensuring they operate smoothly. If your ladder has non-slip feet, check that they’re intact and not excessively worn, as these provide critical stability for your finished easel.
Selecting the Ideal Ladder for Easel Conversion
Not all step ladders make suitable easels—choose wisely for best results. Opt for a ladder with a stable base that doesn’t wobble when fully opened. The ideal ladder should have a wide stance (at least 18-24 inches between side rails) to prevent tipping when weighted with canvas and art supplies.
Avoid ladders with complex folding mechanisms or excessive moving parts, as these can compromise stability. Wooden ladders generally provide better attachment points for wood components than aluminum, but both can work with proper preparation. Ensure the ladder’s maximum weight capacity exceeds your anticipated painting setup—most art projects require at least 50 pounds of stability.
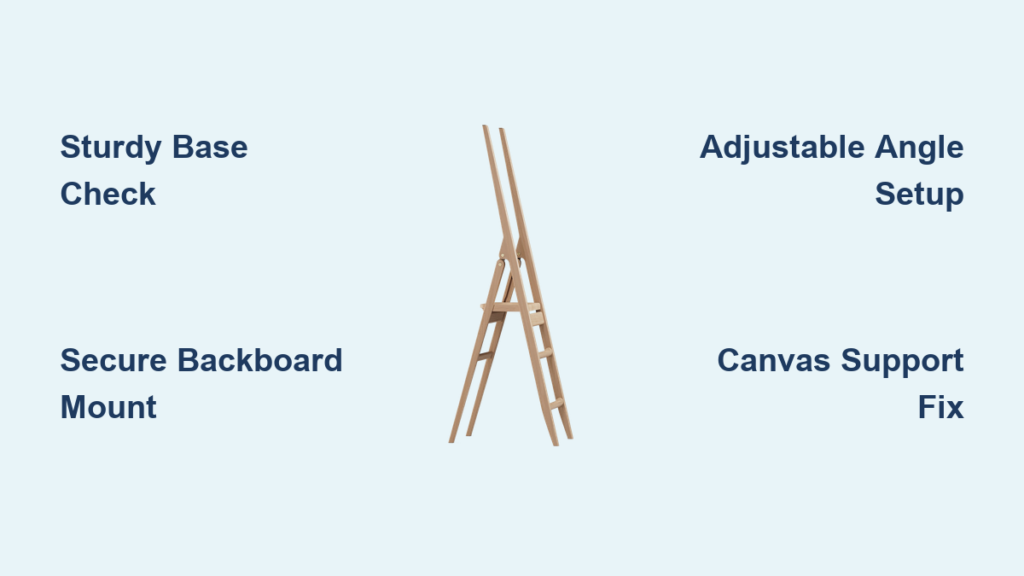
Building the Easel Backboard
Precision Measuring and Cutting Techniques
Accurate measurements are critical for a professional-looking easel. With your ladder fully opened, measure the exact width between side rails at multiple points—ladders often vary slightly in width. Transfer these measurements to your plywood, adding ½ inch to the width for slight clearance and 1-2 inches to the height for adjustment flexibility.
When cutting, use a circular saw with a straight-edge guide for clean, professional results. If using a hand saw, mark your cut line clearly and take your time. After cutting, immediately sand all edges with medium grit sandpaper to prevent splinters, then finish with fine grit for smoothness. Round the top corners slightly—this not only looks professional but prevents accidental bumps when working.
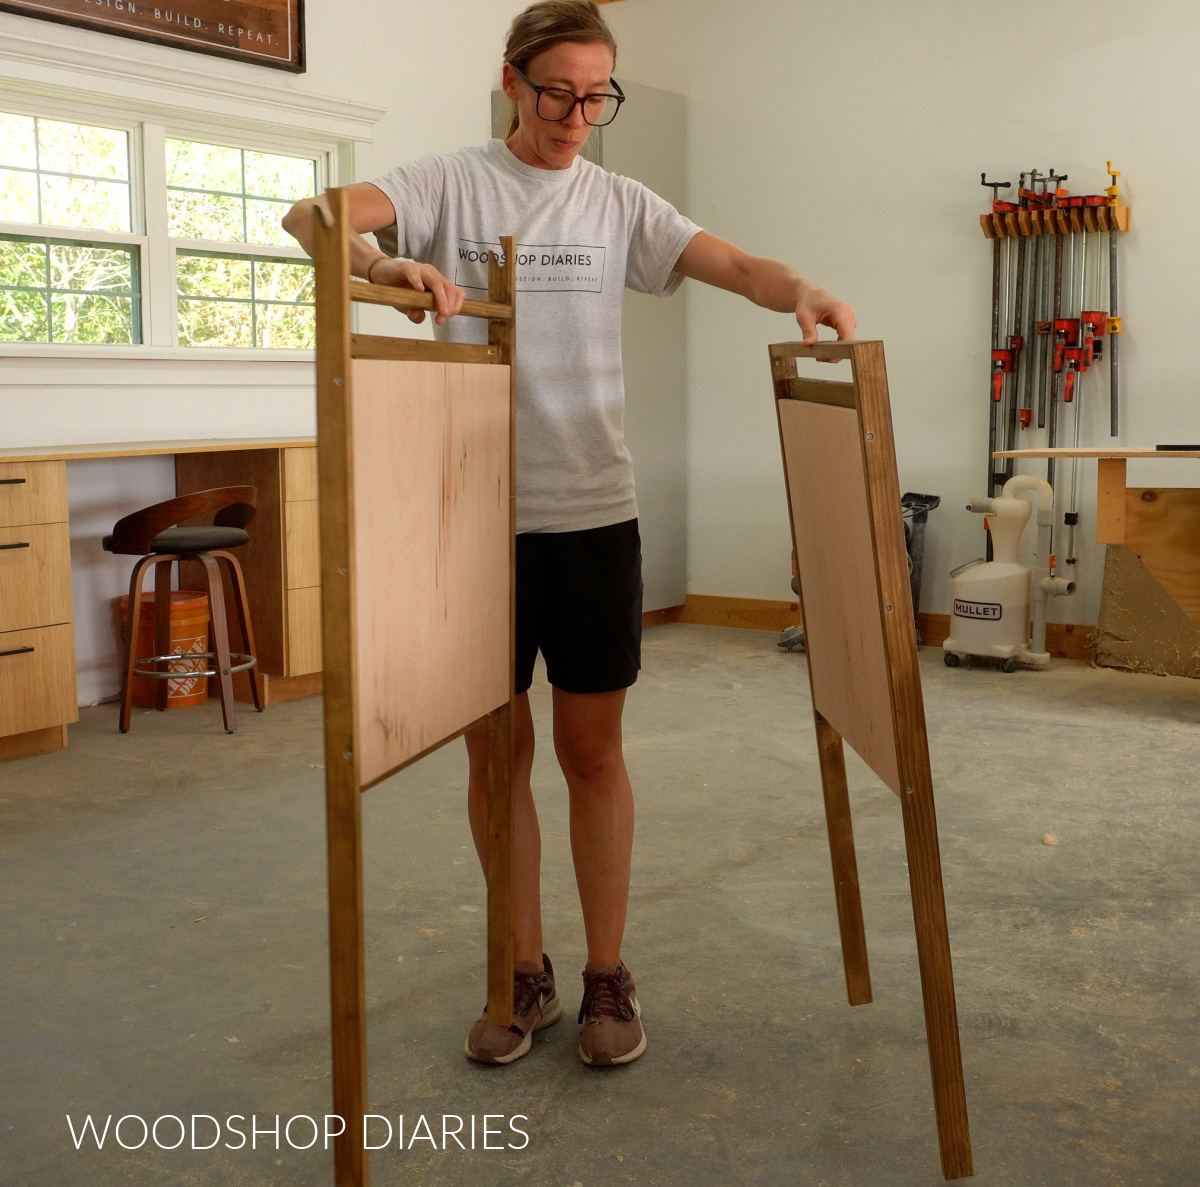
Secure Backboard Attachment Methods
Position your prepared plywood against the ladder’s back side, ensuring equal overhang on both sides. Use clamps to hold it temporarily while you verify alignment. For maximum stability, attach 2×4 supports vertically along both side rails before mounting the plywood—these create a solid mounting surface and prevent warping.
Begin attaching with wood glue applied to contact points, then secure with 2-inch screws every 6-8 inches along the perimeter and supports. Drill pilot holes first to prevent wood splitting. Check for squareness frequently using your carpenter’s square—nothing ruins an easel faster than a crooked backboard. For added strength, install horizontal 1×2 supports across the back every 12 inches.
Creating the Painting Surface
Canvas Support System Installation
Your easel’s functionality depends on a reliable canvas support system. Start by attaching a 1×2 wood strip along the bottom edge of the backboard using 1½-inch screws—this creates a secure ledge for your canvas to rest against. For adjustable height capability, install two vertical support strips with evenly spaced holes every inch, then create corresponding holes in your canvas ledge for pin insertion.
Add a small lip (about ½ inch high) along the bottom front edge to catch accidental paint drips. This simple feature saves countless ruined canvases and makes cleanup easier. For larger works, reinforce this system with metal brackets at each corner to handle additional weight without sagging.
Angle Adjustment Mechanisms
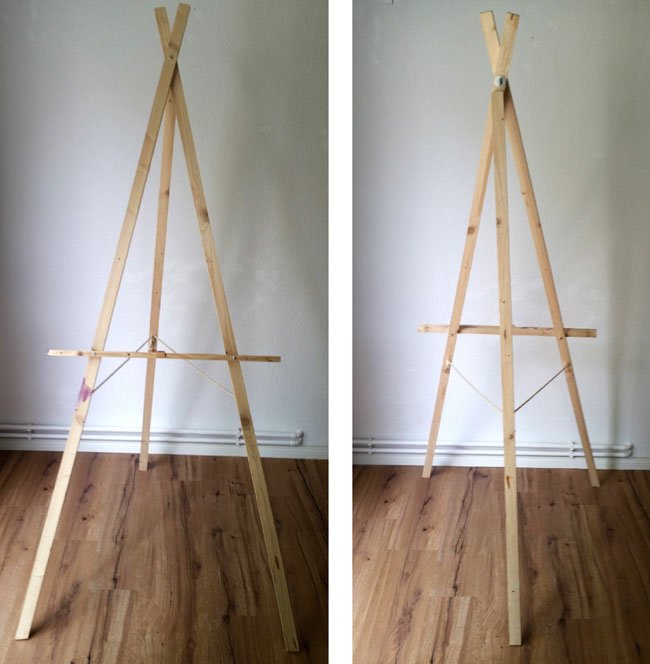
The hallmark of a quality easel is smooth angle adjustment. Create this feature by installing a secondary support arm that connects from the middle rung to the back of your canvas support. Use heavy-duty hinges at both connection points for smooth movement. Alternatively, drill multiple adjustment holes along the side rails and create removable support pins for preset angles.
For fine-tuning, add a simple tension system using bungee cords or elastic straps that connect from the top of the easel to the canvas support. This provides gentle resistance to keep your canvas at the desired angle without slipping. Test your adjustment system with increasing weights to ensure it maintains position during vigorous painting sessions.
Adding Custom Features and Finishing Touches

Practical Storage Solutions for Art Supplies
Transform your basic easel into a complete art station with strategic storage additions. Attach a small wooden shelf (12×6 inches) to one side rail using L-brackets—perfect for holding paint tubes and palettes. Install cup hooks along the bottom rung for hanging brushes, and add small magnetic strips to metal ladders for holding metal paint tubes and palette knives.
For serious artists, consider building a fold-down side tray that attaches to the ladder’s side rail. This provides extra workspace when needed but tucks away when not in use. Line storage areas with non-slip material to prevent supplies from sliding during use, especially important if you plan to move your easel between locations.
Professional Finishing Techniques
Complete your project with professional-looking finishes that protect your work and enhance aesthetics. After thorough sanding, apply wood conditioner to porous surfaces before staining to ensure even color absorption. For painted finishes, use a high-quality primer specifically formulated for your material type (wood or metal).
Apply two thin, even coats of paint or stain rather than one thick coat for superior results. Between coats, lightly sand with fine grit sandpaper and wipe clean. Finish with a clear protective topcoat—matte for wood surfaces to reduce glare, or satin for metal components. Allow at least 24 hours drying time before using your new easel to ensure all finishes have fully cured.
Safety and Maintenance Considerations
Ensuring Long-Term Stability
Your safety depends on proper setup and regular maintenance. Always place your easel on a level surface and verify stability before loading it with valuable artwork. Check all connections weekly for tightness—vibrations from painting can gradually loosen screws over time. For metal ladders, periodically inspect hinge mechanisms and apply lubricant to prevent sticking.
Never exceed your ladder’s original weight rating—most household step ladders support 200-300 pounds, but this decreases with modifications. When working on large canvases, position yourself directly in front of the easel rather than to the side to maintain balance. Consider adding rubber feet or non-slip pads to the ladder’s base for additional stability on smooth surfaces.
Troubleshooting Common Issues
If your easel develops wobble, systematically check each connection point starting from the base upward. Tighten all screws and examine wood components for warping. For persistent instability, add diagonal bracing between the side rails at the back. When canvas support becomes loose, replace standard screws with longer ones that reach deeper into the support structure.
If paint drips stain your easel, address them immediately with a damp cloth before they dry. For dried paint, carefully scrape with a plastic scraper followed by gentle sanding. Should wood components develop cracks, reinforce from behind with additional supports rather than attempting to fill large cracks with wood filler.
This step ladder easel project delivers exceptional value by transforming forgotten equipment into a professional art tool perfectly tailored to your needs. With proper construction and maintenance, your DIY easel will provide years of reliable service, proving that sometimes the best art supplies come not from the store, but from creative repurposing of what you already own.


