
Your Ninja blender isn’t just for smoothies—it’s a butter-making powerhouse hiding in plain sight. Skip the $5 artisan butter and transform $3.50 worth of heavy cream into rich, golden homemade butter while scoring free buttermilk for pancakes. This method works in under 10 minutes with zero churning, leveraging your blender’s 1000+ watt motor to separate cream into butter and buttermilk. You’ll slash grocery costs by 30% while controlling every ingredient—no preservatives, just pure dairy magic.
Forget complicated traditional methods. Your Ninja Professional 1000, Ninja Chef, or similar high-wattage model turns cream into butter faster than you can heat a skillet. The secret? Ultra-cold equipment and precise timing. Let’s cut straight to the butter-making battle plan.
Ninja Blender Setup for Perfect Butter

Confirm Your Model Has Enough Muscle
Stop before you start: Your blender needs 1000+ watts to handle the thick cream-to-butter transition. The Ninja Professional 1000, Ninja Chef BL770, or Foodi Power Blender work flawlessly. Standard 64-72 ounce pitchers give ideal space for 2-cup cream batches—any smaller, and you risk overflow; any larger, and cream won’t circulate properly. Critical check: If your motor strains or overheats after 4 minutes, scale down to 1-cup batches.
Gather Your Non-Negotiable Gear
- Fine-mesh strainer (cheesecloth tears too easily)
- Rubber spatula for scraping every butter particle
- 3 cups ice-cold water (keep a pitcher in the fridge)
- Glass bowl for buttermilk collection (plastic absorbs odors)
- 3-4 ice cubes (emergency chill if cream warms)
Skip the fancy extras—this is all you need for pro results.
Cream Selection: Why Store Butter Costs More
Grab the Right Carton Off the Shelf
Heavy whipping cream is non-negotiable—it must have 35%+ milk fat (check the label). Here’s the insider trick: avoid ultra-pasteurized cream if possible. It works but takes 2-3 extra minutes to separate because the high-heat processing alters fat structure. Your best bet? Non-ultra-pasteurized cream straight from the dairy case, chilled to 35-40°F. Pro tip: Press the carton—if it feels warm, skip it. Butter fails 90% of the time with room-temp cream.
Master the 2:1 Cream-to-Butter Ratio
2 cups cream = 1 cup butter + 1 cup buttermilk. This ratio never wavers, whether you’re making a single batch or doubling up. Never exceed 3 cups cream at once—overfilling causes messy overflow when butter separates. Warning: Using half-and-half or light cream? It won’t work. Fat content is too low.
Blender Butter Process: Zero Guesswork Steps
Prep Like a Pro (Skip This = Butter Disaster)
Chill your Ninja pitcher and blade 15 minutes in the freezer. Warm equipment melts cream fat prematurely, creating greasy, separated butter. While chilling, measure 2 cups ice-cold heavy cream—no substitutions. Pour cream into the pitcher only when equipment is frosty to the touch.
Blend to Butter in 6 Minutes Flat
- Start at Speed 1—never higher—to avoid splatter
- Ramp up to Speed 3 over 30 seconds as cream aerates
- Blend 2.5 minutes until stiff peaks form (like whipped cream)
- Drop to Speed 2 when cream turns grainy and pale yellow
- Blend 3-4 more minutes until butter clumps into a ball
- STOP IMMEDIATELY when liquid turns clear buttermilk
Listen for the shift: When the motor sound drops from a roar to a hum, butter’s formed. Over-blending melts it into oily sludge.
Wash Butter Like a Dairy Expert
Separate Without Sacrificing Flavor
Remove the blade first—don’t risk cutting your butter clump. Strain through your fine-mesh strainer, catching buttermilk in your glass bowl (save it for biscuits!). Transfer butter to a clean bowl. Never skip straining—residual buttermilk causes souring.
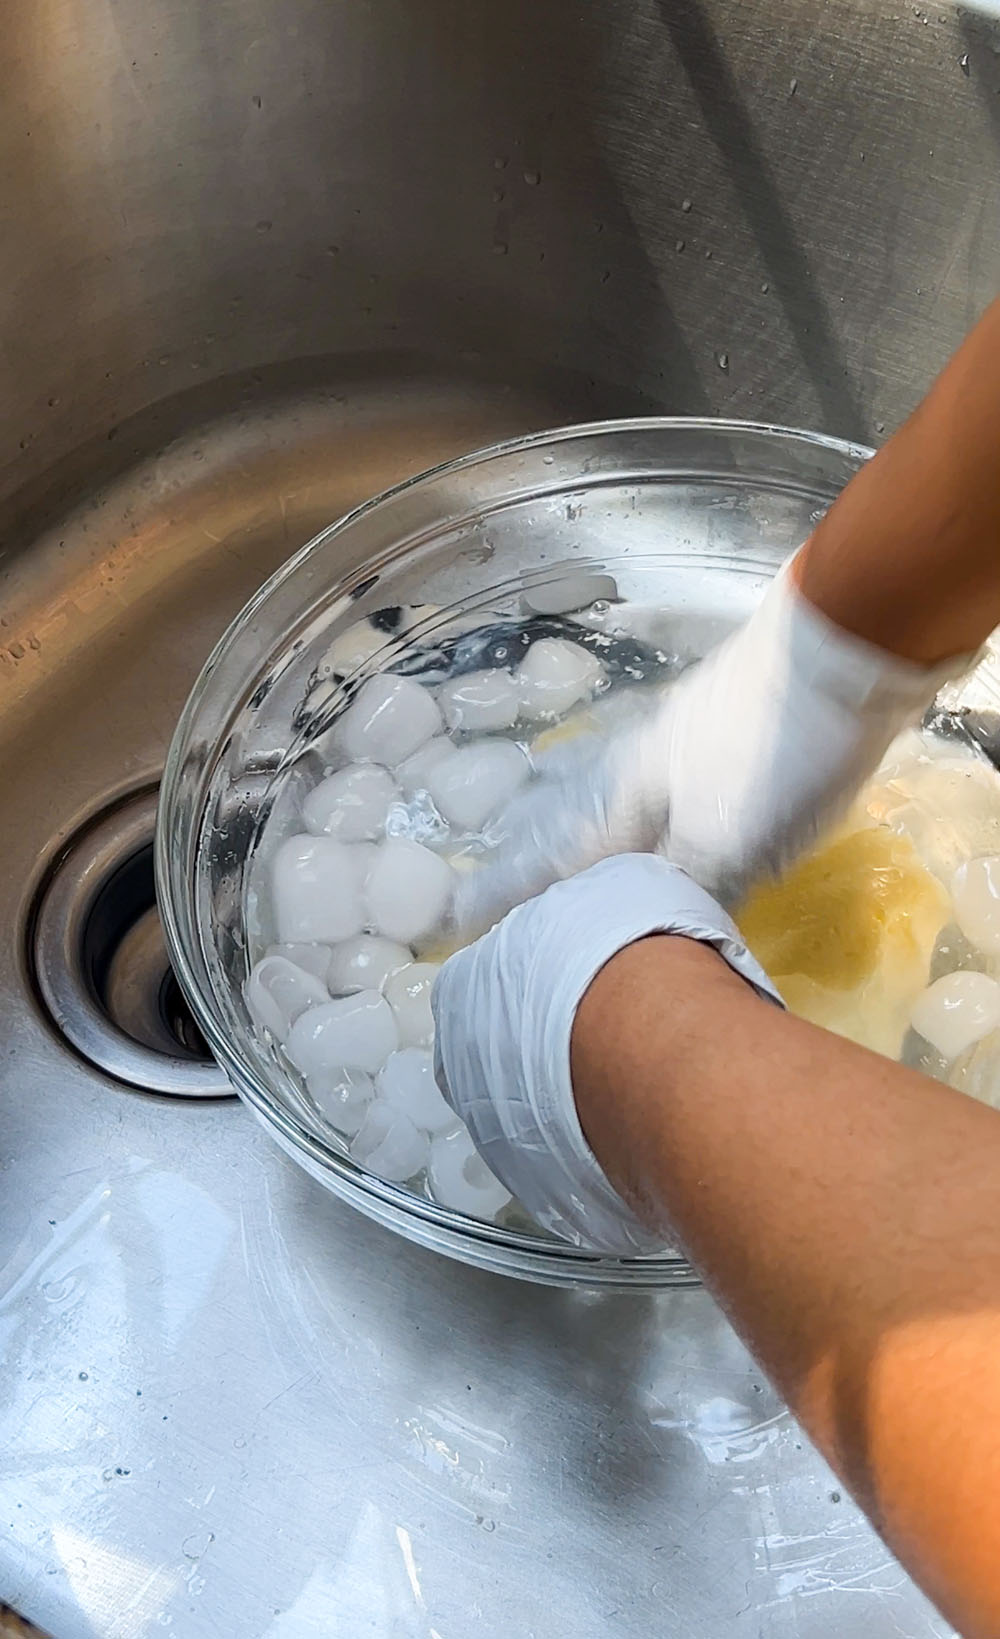
Wash Until Water Runs Crystal Clear
- Submerge butter in 1 cup ice water
- Press and fold with your spatula for 20 seconds
- Drain cloudy water—this removes trapped buttermilk
- Repeat 2-3 times until water stays clear
Key visual cue: If water looks milky, keep washing. Grainy texture means you stopped too soon. Final rinse with ½ cup ice water locks in freshness.
Flavor Hacks: Beyond Basic Salted Butter
Salt Perfectly Every Time
Add salt DURING washing, not after. Work in:
– ¼ tsp salt for subtle seasoning (per 2 cups cream)
– ½ tsp salt for classic salted butter
Never add salt to warm butter—it creates uneven pockets.
3 Viral Flavor Combos (Ready in 60 Seconds)
- Honey-Lavender: Mix 2 tbsp honey + 1 tsp dried lavender after washing
- Garlic-Herb: Fold in 1 minced roasted garlic clove + 2 tbsp chopped chives
- Maple-Cinnamon: Blend 1.5 tbsp pure maple syrup + ½ tsp cinnamon
Pro move: Roll flavored butter in parchment paper, chill 1 hour, then slice into coins.
Fix These 3 Butter Emergencies Immediately

Butter Won’t Clump? Here’s the Real Cause
Your cream was too warm (over 45°F) or fat content under 35%. Do this:
1. Chill cream 10 minutes in freezer
2. Add 3-4 ice cubes to pitcher
3. Restart blending at Speed 2 for 90 seconds
Ultra-pasteurized cream? Expect 5-6 minutes total blending time.
Butter Looks Greasy? You Overdid It
Stop blending immediately if liquid turns oily. Recover it:
1. Refrigerate butter 15 minutes
2. Pulse at Speed 1 for 20 seconds
3. Wash again with ice water
Prevention: Set a 6-minute timer. Butter forms fastest between minutes 4-6.
Buttermilk Smells Sour? Save Your Batch
Discard if buttermilk smells rotten, but if it’s mildly tangy:
1. Wash butter 2 extra times with ice water
2. Add 1 tbsp lemon juice to final rinse
3. Refrigerate 1 hour before use
Sour buttermilk = cream was near expiration. Always check dates!
Store Butter to Last 6 Months (No Freezer Burn)
Refrigerator Storage That Prevents Rancidity
Pack butter airtight in glass (plastic leaches flavors). Press out air pockets, then:
– Top with 2 tbsp ice water (creates protective barrier)
– Change water every 3 days
Lasts 2 weeks with zero flavor loss. For fancy presentation, press into silicone molds before chilling.
Freeze Like a Pro Chef
- Portion into ¼ cup cubes
- Wrap twice in parchment paper
- Seal in freezer bags (squeeze out air)
Thaw overnight in fridge—never microwave. Keeps 6 months with fresh taste.
Clean Your Ninja in 90 Seconds Flat
Emergency Post-Butter Cleanup
- Rinse pitcher with COLD water (hot melts residue)
- Fill halfway with warm soapy water
- Blend 30 seconds at Speed 1
- Scrub blade base with toothbrush (butter hides here!)
- Air-dry upside down—trapped moisture breeds mold
Never submerge the motor base. Wipe with damp cloth only.
Your Ninja blender just became a $50 butter churn disguised as a countertop appliance. Start with plain salted butter tonight, then try honey-lavender for Sunday pancakes. That free buttermilk? Whip up biscuits while your butter chills. You’ll never pay $5 for “artisan” butter again—when golden, creamy perfection costs just $3.50 and 10 minutes of your time. Grab your cream, freeze that pitcher, and blend your first batch before dinner. The proof? It’s spreadable straight from the fridge.


