
Your Ninja blender can transform into a powerful ice cream maker with the right technique—no churning required. Forget expensive machines gathering dust in your cabinet; your Ninja blender whips air into frozen ingredients faster than traditional methods, creating restaurant-quality ice cream in under 10 minutes of active time. Discover exactly how to make ice cream in a Ninja blender that stays creamy for weeks without ice crystals, using simple ingredients you likely already have in your pantry. You’ll master techniques for eight signature flavors from velvety vanilla to coffee toffee crunch, all achievable with your existing Ninja Foodi system.
Why Your Ninja Blender Makes Perfect No-Churn Ice Cream

The Science Behind Ninja’s Ice Cream Power
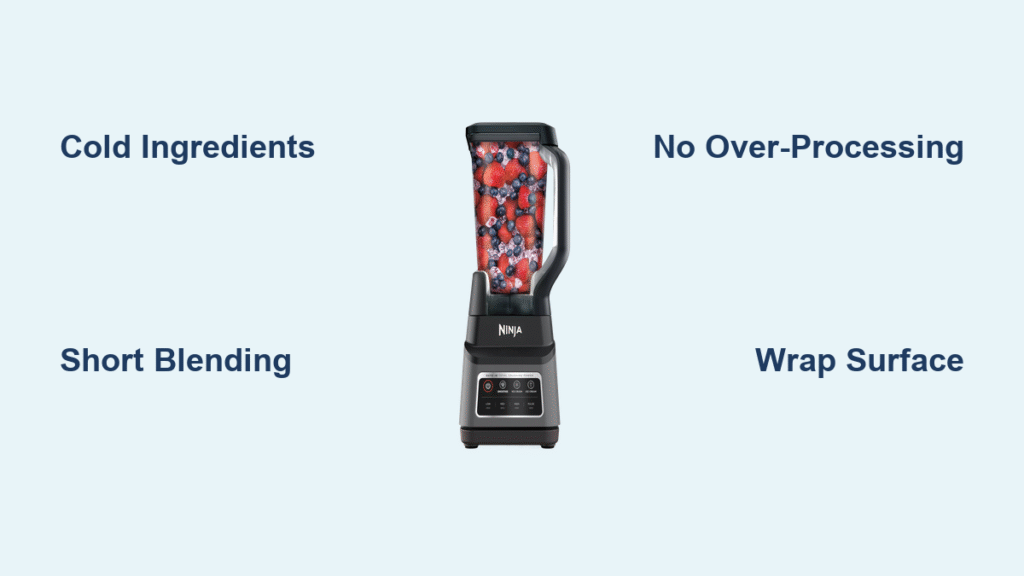
Ninja blenders generate 2,400 peak watts of power with blades spinning at 18,000 RPM—enough force to incorporate air into frozen mixtures without traditional churning. Unlike ice cream makers that slowly freeze while incorporating air, your Ninja blender whips heavy cream to soft peaks in 15 seconds, trapping air bubbles that prevent large ice crystals from forming during freezing. The key is understanding that less blending equals creamier results; over-processing breaks down fat molecules, creating a buttery texture instead of smooth ice cream.
Critical Temperature Requirements
Your ingredients must be cold—room temperature components won’t emulsify properly in the Ninja’s high-speed environment. Chill your Ninja pitcher and blades in the freezer for 15 minutes before starting. Heavy cream should measure 40°F or colder; warmer cream won’t whip properly. Sweetened condensed milk must be refrigerated, not room temperature, to maintain the delicate fat structure. These precise temperatures allow the Ninja’s power to work with the ingredients rather than against them.
Equipment Setup for Success
Use the largest pitcher available to prevent overflow during whipping. The 72-ounce pitcher works best for standard batches (2 cups cream + 14 oz condensed milk). Never fill beyond the MAX line—ice cream mixture expands during whipping. Secure the lid with the tamper inserted; the tamper creates a vortex that pulls ingredients downward for even incorporation. For nut-based recipes like pistachio, use the single-serve cups to create concentrated flavor pastes before combining with the base.
French Vanilla Bean Ice Cream: Ninja Method
Precise Ingredient Ratios for Creaminess
- 2 cups heavy cream (very cold)
- 1 can (14 oz) sweetened condensed milk (chilled)
- Seeds from 1 vanilla bean or 2 tsp vanilla bean paste
- Pinch of fine sea salt
The 2:1 cream-to-condensed-milk ratio is non-negotiable for proper texture. More cream creates icy results; less makes dense, buttery ice cream. Vanilla bean paste delivers consistent flecks throughout, while split vanilla beans require scraping seeds directly into the cold cream before whipping.
Ninja-Specific Blending Technique
Pour cold heavy cream into chilled pitcher. Pulse 3 times to initiate whipping, then blend on high for exactly 15 seconds until soft peaks form. Add condensed milk, vanilla, and salt. Blend on low (Speed 1) for 10 seconds—just enough to combine without deflating the mixture. Your Ninja’s torque can overwork the mixture in seconds; stop immediately when streaks of condensed milk disappear.
Freezing Protocol for Crystal-Free Results
Transfer to metal loaf pan (freezes fastest) leaving ½ inch headspace. Press plastic wrap directly onto surface—this critical step prevents moisture loss and ice crystal formation. Freeze 4 hours minimum. Unlike traditional methods, never stir during freezing; the Ninja’s initial air incorporation creates stable texture without churning.
No-Churn Chocolate Ice Cream: Avoiding Common Mistakes
Creating a Lumpy-Free Chocolate Base
Combine chilled condensed milk with ½ cup premium Dutch-process cocoa powder and 1 tsp vanilla. Whisk until completely smooth—any lumps will become gritty spots in final ice cream. The cocoa must be sifted twice; unsifted powder creates undissolved particles that Ninja blades can’t fully break down at cold temperatures.
Ninja Whipping Protocol for Chocolate
Whip chilled cream in Ninja for 20-25 seconds until stiff peaks form. Remove ½ cup whipped cream and fold into chocolate mixture with spatula—this lightens the dense base. Pour chocolate mixture back into Ninja pitcher with remaining whipped cream. Pulse only 2-3 times on low speed; over-pulsing creates homogenous brown ice cream rather than marbled chocolate swirls.
Fresh Strawberry Ice Cream: Texture Secrets

Preparing Strawberries for Perfect Consistency
Hull and slice 1½ cups fresh strawberries. Freeze on parchment-lined tray for 2 hours until firm but yielding to gentle pressure (not rock-hard). Blend frozen berries with 2 tbsp sugar and 1 tsp lemon juice for exactly 10 seconds. The sugar draws out natural pectin while lemon juice prevents oxidation—critical for maintaining vibrant color and fresh flavor.
Ninja Assembly for Visible Fruit Pieces
Fold strawberry mixture into pre-whipped cream and condensed milk base. Pulse Ninja 3 times maximum on low speed. Properly executed, you’ll see distinct red flecks throughout pale pink ice cream. Over-blending creates uniformly pink, jam-like texture with no fruit identity—stop pulsing when you still see visible strawberry chunks.
Coffee Toffee Crunch: Timing Is Everything
Creating Intense Coffee Flavor Without Dilution
Dissolve 2 tbsp instant espresso powder in 1 tbsp hot water. Cool completely before adding to base—warm liquid deflates whipped cream instantly. For deeper flavor, steep 1 tbsp espresso powder in 2 tbsp hot cream for 5 minutes, then strain and chill before using.
Preserving Toffee Crunch in Ice Cream
Freeze ¾ cup toffee bits 15 minutes before assembly. Add during final 2-second Ninja pulse—any longer and the blades pulverize them into candy dust. For dramatic presentation, layer half the ice cream in container, sprinkle with half the toffee, repeat layers, then swirl once with knife before freezing.
Troubleshooting Ninja Ice Cream Failures

Fixing Soft or Melted Texture
If your ice cream won’t firm up after 6 hours, check these three Ninja-specific issues: 1) Cream wasn’t cold enough (should be 40°F max), 2) Over-blending broke down fat structure, or 3) Freezer temperature above 0°F. Solution: Whip cream longer next time (25 seconds instead of 15) to incorporate more air, and verify freezer temperature with independent thermometer.
Eliminating Graininess Permanently
Grainy texture means fat molecules separated during blending. Causes: 1) Room temperature condensed milk, 2) Over-processing, or 3) Expired condensed milk (crystallizes over time). Pro Tip: Add 1 tbsp vodka to base—it lowers freezing point without flavor impact, creating smoother texture by preventing large ice crystals.
Advanced Ninja Techniques for Gourmet Results
Creating Swirl Effects Without Marbling
Prepare two flavors separately (e.g., chocolate and vanilla). Pour bases simultaneously into container from opposite sides. Drag knife through mixture once in figure-8 pattern. Freeze immediately—any additional movement blends the layers. This technique works best with contrasting colors like strawberry and pistachio.
Serving Temperature Secrets
Ninja ice cream freezes harder than churned varieties due to higher density. Remove from freezer 7-10 minutes before serving. For perfect scoops, dip scoop in hot water—never microwave the entire container. The ideal serving temperature is 10-15°F; colder than this and flavors become muted.
Storage Protocol for Long-Lasting Freshness
Store ice cream in back of freezer (not door) where temperature remains most stable. Metal containers freeze fastest but require parchment paper lining for easy release. Always press plastic wrap directly onto surface before sealing container—this simple step prevents freezer burn for up to 6 weeks. For best flavor retention, consume within 4 weeks; natural ingredients gradually lose vibrancy.
Mastering how to make ice cream in a Ninja blender unlocks endless flavor possibilities without specialty equipment. The key lies in respecting the Ninja’s power—less blending creates more air incorporation, yielding creamier results. Start with vanilla as your base recipe, then experiment with coffee, chocolate, and fruit variations using the precise techniques outlined here. Within minutes of blending, you’ll have scoopable, restaurant-quality ice cream that stays crystal-free for weeks. Remember these critical Ninja-specific principles: ice-cold ingredients, minimal processing, and proper surface protection during freezing. Your Ninja blender isn’t just for smoothies anymore—it’s your new secret weapon for perfect homemade ice cream anytime.


