
That desperate morning craving hits—you need rich, ice-cold coffee that wakes you up without the $6 coffee shop tab. Your Ninja blender sits waiting on the counter, ready to transform simple ingredients into creamy, perfectly chilled iced coffee in less time than it takes to scroll through Instagram. Skip the line and expensive barista fees—your Ninja can craft professional-quality iced coffee in under five minutes using equipment you already own.
Whether you’re rushing to work or need an afternoon pick-me-up, mastering how to make iced coffee in a Ninja blender solves your caffeine crisis with minimal effort. No special equipment, no complicated techniques—just strong coffee, ice, and your trusty Ninja working together to create that perfect balance of bold flavor and silky texture. By the end of this guide, you’ll know exactly which Ninja settings to use, how to avoid watery disappointment, and how to customize café-style drinks that match your exact preferences.
Why Your Ninja Blender Makes Perfect Iced Coffee
Ninja blenders outperform regular mixers for iced coffee because their powerful motors and specialized ice-crushing technology create consistent texture without leaving icy chunks. Unlike cheap blenders that struggle with ice, Ninja’s patented blades pulverize frozen cubes while maintaining optimal temperature—keeping your coffee cold without excessive dilution.
The key advantage? Ninja’s variable speed settings let you control texture precisely. Whether you want a smooth frappé that coats the back of a spoon or a refreshing granita with delicate ice crystals, your Ninja delivers with one-touch consistency. Most models feature dedicated “Frozen Drink” or “Ice Crush” settings specifically engineered for perfect iced beverages every time.
Pro tip: Ninja’s sharp blades create micro-aeration during blending, giving your homemade iced coffee that desirable frothy top layer usually only found in expensive coffee shops.
Essential Ingredients for Ninja Blender Iced Coffee
Non-negotiable base ingredients:
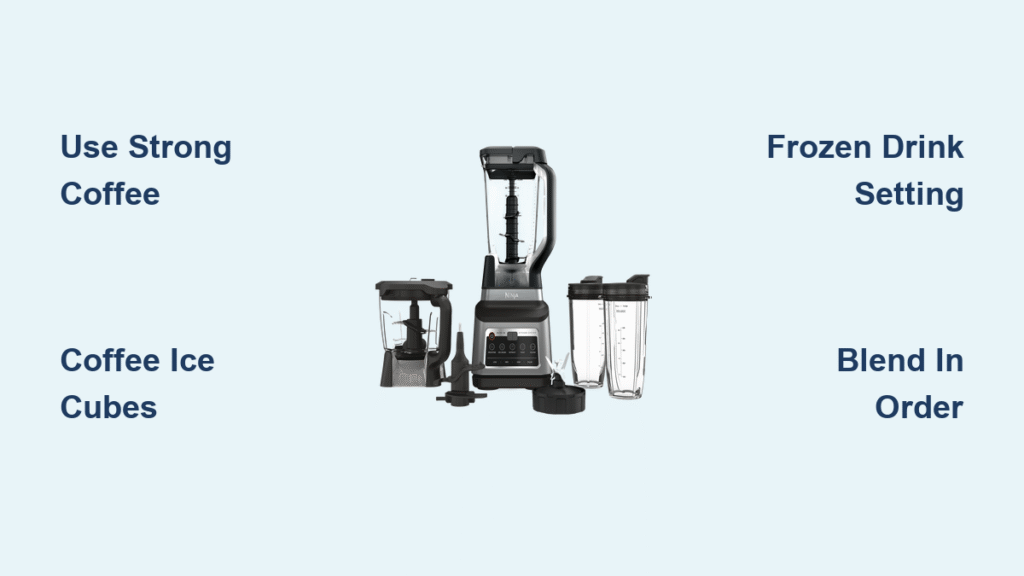
– Strong brewed coffee (1.5-2x stronger than normal to compensate for ice dilution)
– Ice cubes (standard tray ice or coffee ice cubes for stronger flavor)
– Milk or alternative (dairy, almond, oat, or coconut for creaminess)
– Sweetener (simple syrup dissolves instantly in cold blends)
Flavor boosters that transform basic to brilliant:
– Vanilla, caramel, or mocha syrups
– Whipped cream for topping
– Chocolate shavings or drizzle
– Pinch of cinnamon or cocoa powder
– Frozen banana for natural sweetness
– Coffee ice cubes (made from leftover brewed coffee)
Model-specific consideration: Nutri Ninja personal blenders work best with half portions, while full-size Ninja models handle pitcher recipes for multiple servings. Always fill your Ninja pitcher no more than 2/3 full with ice to prevent overflow.
Brew Coffee Like a Ninja Pro: Strength & Temperature Secrets
Brew stronger than usual—your coffee needs to withstand ice dilution. Use 1.5-2x more coffee grounds than your standard brew. This ensures your final drink maintains bold flavor even after blending with ice. French press, drip, or even instant espresso powder all work perfectly when brewed at this concentrated strength.
Cool it properly—hot coffee meeting ice creates immediate melting and watery results. Speed-cool your brew by:
– Pouring into a metal container and chilling in freezer for 15 minutes
– Using pre-made cold brew concentrate stored in your refrigerator
– Making coffee ice cubes the night before (the ultimate hack for zero dilution)
Measure precisely—for one Ninja blender serving: 1 cup strong coffee cooled to room temperature. This ratio prevents overflow while ensuring perfect coffee-to-ice balance.
Perfect Layering Technique for Your Ninja Blender
Order matters significantly when loading ingredients:
1. Pour coffee first—fill pitcher to 1/3 capacity
2. Add ice second—fill to 2/3 full (standard cubes or coffee cubes)
3. Milk third—add 1/4 to 1/2 cup depending on creaminess preference
4. Sweetener last—add directly on top for even distribution
Safety first: Always secure the lid completely before blending—iced coffee explosions create dangerous messes. Give the pitcher a gentle shake after securing to ensure the lid is properly locked in place.
Pro tip: For thicker frappés, replace some ice with frozen banana chunks—they add natural sweetness while creating an ultra-creamy texture without dairy.
Ninja-Specific Settings for Flawless Iced Coffee Texture

For smooth frappé perfection:
– Start on low speed for 5 seconds to break initial ice chunks
– Switch to “Frozen Drink/Ice Crush” setting for 30-45 seconds
– Finish with 10 seconds on high for ultimate smoothness
For refreshing granita texture:
– Use pulse function in 2-second bursts
– Stop blending when ice reaches desired chunkiness
– Perfect for hot days when you want something more refreshing than smooth
Model-specific hack: If your Ninja has a “Smoothie” button (common on newer models), use it for ultra-creamy results that rival expensive coffee chains—this setting optimizes blade movement specifically for frozen ingredients.
Troubleshoot Common Ninja Blender Iced Coffee Problems
Watery Results Fix
Replace water ice with coffee ice cubes to maintain flavor intensity. If already blended, add 1/8 teaspoon xanthan gum (food-safe thickener) and re-blend for 5 seconds. For future batches, reduce initial coffee volume to 3/4 cup instead of 1 cup—your Ninja’s powerful blades melt ice faster than expected.
Bitter Aftertaste Solution
Add a tiny pinch of salt to neutralize bitterness naturally. Gradually increase sweetener while tasting—start with an extra teaspoon of simple syrup. Switch to cold brew concentrate instead of hot-brewed coffee for noticeably smoother flavor.
Separation Prevention
Add a tablespoon of vanilla ice cream during blending for instant emulsification. Use whole milk or full-fat alternatives like oat milk, which resist separation better than skim options. Most importantly—serve immediately after blending for perfect texture.
3 Signature Ninja Iced Coffee Recipes You’ll Crave

Basic Ninja Iced Coffee (30-Second Version)
Ingredients: 1 cup strong coffee (cooled), 1 cup ice cubes, 1/4 cup milk, 1-2 tbsp simple syrup.
Blend: 30 seconds on “Frozen Drink” setting until smooth. Pour into chilled glass and enjoy immediately.
Mocha Frappé Supreme
Ingredients: 3/4 cup strong coffee (cooled), 1/2 cup milk, 2 tbsp chocolate syrup, 1 cup ice, optional 1 tbsp chocolate chips.
Blend: 45-60 seconds until completely smooth. Top with whipped cream and chocolate drizzle for coffee shop authenticity.
Caramel Macchiato Style
Ingredients: 1/2 cup cold brew concentrate, 1/2 cup milk, 2 tbsp caramel syrup, 1 cup ice.
Technique: Drizzle extra caramel inside glass before pouring for layered visual appeal that tastes as good as it looks.
Pro Serving Techniques for Coffee Shop-Worthy Presentation
Glass preparation tricks:
– Freeze glasses for 10-15 minutes before serving
– Rim with caramel sauce then dip in crushed cookies
– Layer chocolate syrup inside glass before pouring for Instagram-worthy presentation
Garnish like a pro:
– Create whipped cream rosettes using a zip-top bag with corner snipped
– Make chocolate shavings with a vegetable peeler
– Use cinnamon stick as edible stirrer
– Float 3-4 coffee beans on top of whipped cream for visual interest
Ninja Make-Ahead Hacks: Ready in Seconds Every Morning
Prep-ahead wins:
– Brew and chill coffee up to 5 days in advance
– Freeze coffee in ice cube trays (these coffee cubes are flavor bombs)
– Pre-mix dry ingredients in small containers for grab-and-blend mornings
Leftover strategy: Store blended coffee in sealed container up to 24 hours. Shake vigorously or re-blend for 5 seconds before serving. Warning: Texture degrades after 24 hours, so drink fresh when possible for best experience.
Advanced Ninja Techniques for Coffee Connoisseurs
Texture control mastery:
– Ultra-thick: Use frozen coffee cubes + frozen banana
– Light and airy: Blend longer with splash of cream
– Spoonable: Reduce liquid, add ice cream, use food processor bowl
Flavor infusion secrets:
– Blend with flavored coffee creamers instead of plain milk
– Add extracts (vanilla, almond, mint) during blending
– Mix in protein powder for breakfast replacement
– Use frozen fruit (strawberries, mango) for natural sweetness
Temperature play: Create affogato style by blending ice and milk only, then pouring hot espresso over top for dramatic temperature contrast.
Your Ninja blender has transformed from kitchen appliance to personal barista. Start with the basic recipe, then experiment with flavors and textures until you craft your signature blend. The beauty of homemade iced coffee? You control every element—from strength and sweetness to those special touches that make it uniquely yours. That coffee shop line? Skip it. Your perfect iced coffee awaits at the touch of a button. With these Ninja-specific techniques, you’ll never pay for overpriced iced coffee again—just perfect, personalized cups made exactly how you like them, ready in minutes.


