
Forget pricey store-bought cartons with unpronounceable additives. How to make oat milk in Ninja blender is your ticket to creamy, customizable plant milk ready in under 5 minutes—no soaking, no special equipment, and pennies per serving. Your Ninja’s powerful motor pulverizes oats into silky perfection while avoiding the slimy texture that plagues other methods. Whether you’re fueling morning lattes, baking vegan treats, or reducing plastic waste, this guide unlocks barista-quality results with zero guesswork.
You’ll control every ingredient—from sweetness levels to fortification—while sidestepping commercial stabilizers like rapeseed oil or gellan gum. Best of all, your Ninja blender handles the heavy lifting: its precision blades and cold-blend technology prevent starch activation that causes gummy textures. Within one blend cycle, you’ll transform pantry staples into milk so smooth it rivals dairy, with none of the environmental guilt.
Stop settling for watery imitations or expensive subscriptions. This method leverages your Ninja’s unique capabilities to deliver consistently creamy results—whether you’re using a Nutri Ninja cup or a 72-ounce Foodi pitcher. Let’s transform your blender into an oat milk powerhouse.
Gather Your Ingredients
Essential Ingredients Only
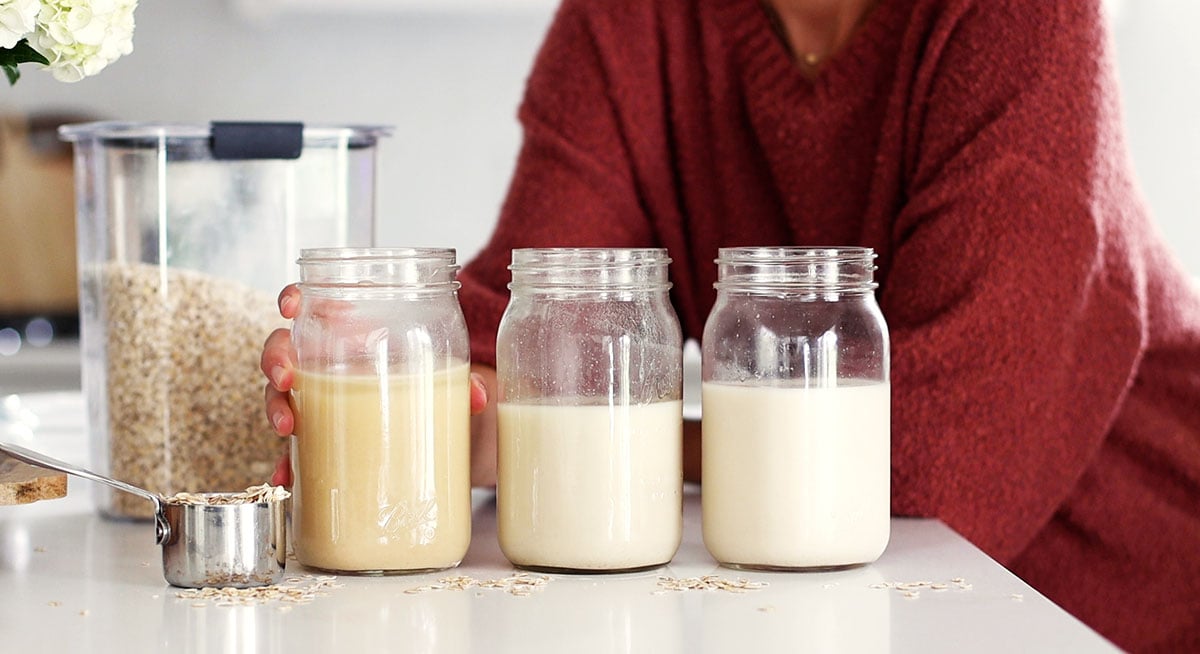
Start with just three core components: 1 cup rolled oats (old-fashioned, never steel-cut or instant), 4 cups ice-cold water (divided into 3 cups for blending + 1 cup for adjusting consistency), and a pinch of salt. The salt isn’t optional—it neutralizes bitterness and enhances natural oat sweetness without added sugar. For gluten-free needs, grab certified gluten-free oats to avoid cross-contamination during milling. Skip instant oats entirely; their fine texture creates gluey results, while steel-cut oats leave gritty sediment even after double-straining.
Flavor Boosters (Optional)
Customize your milk in seconds: 1/2 teaspoon vanilla extract for coffee creamer perfection, 1-2 tablespoons maple syrup (or 2-3 pitted dates) for natural sweetness, 1/4 teaspoon cinnamon for cozy spice, or 1-2 tablespoons cocoa powder for chocolate decadence. Add these only during the last 10 seconds of blending to prevent over-processing. Pro tip: Freeze dates in advance for easier pitting and smoother incorporation. Never add sweeteners before blending—they accelerate starch breakdown, inviting sliminess.
Equipment Checklist
Your Ninja blender (any model) is the star, but these tools complete the system: a fine-mesh strainer (minimum 400-micron holes), nut milk bag (for silky results), large bowl, airtight glass bottle, and standard measuring tools. Skip cheesecloth—it tears under Ninja-blended pulp pressure. For on-the-go convenience, use a mason jar with measurement lines to skip transferring strained milk.
Prep Your Oats Correctly
Choose the Right Oats
Rolled oats are non-negotiable. Their flaked structure breaks down evenly under Ninja blades, creating emulsified creaminess. Steel-cut oats? Too dense—they’ll clog strainers and leave grainy bits. Instant oats? Disaster—they dissolve into paste. Test your oats: rub a dry handful. If it powders instantly, it’s instant (avoid!). If flakes hold shape, you’ve got the right rolled variety.
Control Water Temperature
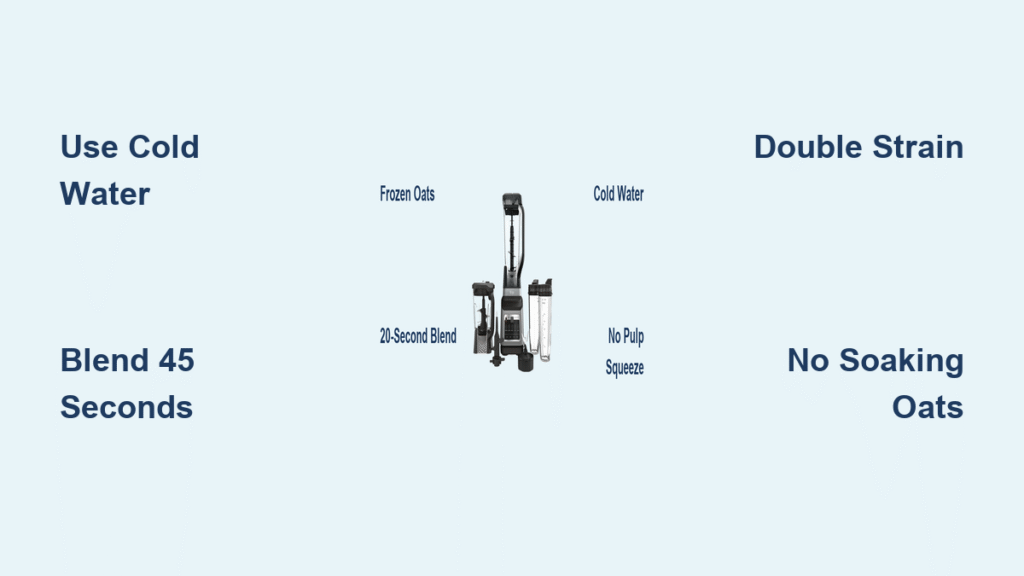
Cold water is your anti-sliminess secret weapon. Fill a pitcher with water + 3 ice cubes straight from the fridge. Warm water triggers oat starches to swell, creating glue-like texture within 20 seconds of blending. Never use room-temperature water—even in winter. Pro move: Chill your Ninja pitcher 10 minutes pre-blend for temperature stability during processing.
Skip the Soaking Step
Unlike almond or cashew milk, soaking oats guarantees failure. Dry oats blend cleaner because soaking hydrates starches prematurely. The Ninja’s 24,000 RPM blades chop dry oats before they can gum up. If you accidentally soak oats, spread them on a towel for 15 minutes to dry surface moisture—never add wet oats to your blender.
Blend Like a Pro
Load Your Blender
Add 1 cup dry rolled oats and 3 cups ice-cold water to your Ninja pitcher. Overfilling causes splatter; underfilling creates vortexes that trap unblended oats. Position oats below the waterline to prevent dry clumping. For single servings in Nutri Ninja cups, halve ingredients but keep water-to-oat ratio identical (½ cup oats + 1.5 cups water).
Perfect Blend Settings
Start low, finish high: Pulse 5 seconds on Speed 1 to submerge oats, then blend 30-45 seconds on Speed 3 (or “Ultra Blend” mode). Total time is critical—45 seconds max. Watch for visual cues: milk should look opaque and uniform, with no visible oat flecks. Nutri Ninja models need 30 seconds; Professional series require 45. Never use “Soup” or “Heating” functions—heat thickens milk instantly. When adding flavors, wait until the final 10 seconds to preserve delicate notes.
Strain for Silky Texture

First Straining Pass
Pour blended slurry through your fine-mesh strainer into a bowl. Press pulp firmly with a silicone spatula—this extracts 20% more milk. Don’t rush; apply steady pressure for 60 seconds. If using a nut milk bag, twist the top closed and squeeze gently—aggressive force pushes starch through, causing grittiness. Save the pulp for oatmeal cookies or facial scrubs.
Double-Strain Technique
This step separates decent from divine. Strain a second time through a nut milk bag (best) or double-layered coffee filter. For coffee-ready smoothness, skip metal strainers—they miss 30% of fine particles. Hold the bag over your storage bottle and let gravity drain for 2 minutes before light squeezing. The result? Froth-friendly milk that steams like dairy.
Adjust Final Consistency
Add the reserved 1 cup cold water while stirring. For latte art, use ½ cup water instead. Too thin? Blend reserved pulp with ¼ cup water and re-strain. Never add water mid-blend—it dilutes blade efficiency. Test texture by pouring: it should coat the back of a spoon like light cream.
Fix Common Texture Issues
Eliminate Sliminess Fast
Sliminess means you over-blended or used warm water. Fix immediately: Chill strained milk 10 minutes, then blend 5 seconds with 2 ice cubes. Prevention beats cure: always use fridge-cold water and set a timer for 45 seconds max. A pinch of salt in the blend also cuts sliminess by balancing starches.
Achieve Barista-Level Smoothness
Gritty milk? Your strainer’s holes are too large. Upgrade to a 700-micron nut milk bag. Also, let strained milk rest 5 minutes before skimming foam—this lets residual starches settle. For ultra-smooth results, add 1 tablespoon neutral oil (like sunflower) during blending; it coats particles to prevent clumping.
Flavor Variations Made Simple
Classic Vanilla
Add 1/2 tsp vanilla + 1 tbsp maple syrup in the final 10 seconds. Shake strained milk vigorously—this emulsifies sweeteners without extra blending. Perfect for iced coffees: the vanilla enhances without overpowering.
Decadent Chocolate
Use 2 tbsp Dutch-processed cocoa + 2 tbsp maple syrup. Blend 5 seconds longer to fully incorporate cocoa. For protein-packed shakes, add 1 tbsp hemp seeds during blending—Ninja blades won’t heat them, preserving nutrients.
Store Your Fresh Oat Milk
Refrigeration Best Practices
Use within 4 days—homemade lacks commercial preservatives. Store in glass bottles (plastic absorbs odors) filled to the top to minimize oxidation. Shake hard before each use; separation is normal. Discard if it smells sour or develops yellow spots—no “sniff test” needed for safety.
Freeze for Convenience
Pour into ice cube trays, freeze solid, then transfer to bags. Thaw overnight in the fridge—texture stays perfect for smoothies or soups. Never thaw at room temperature; it accelerates spoilage.
Maximize Your Ninja’s Power
Model-Specific Settings
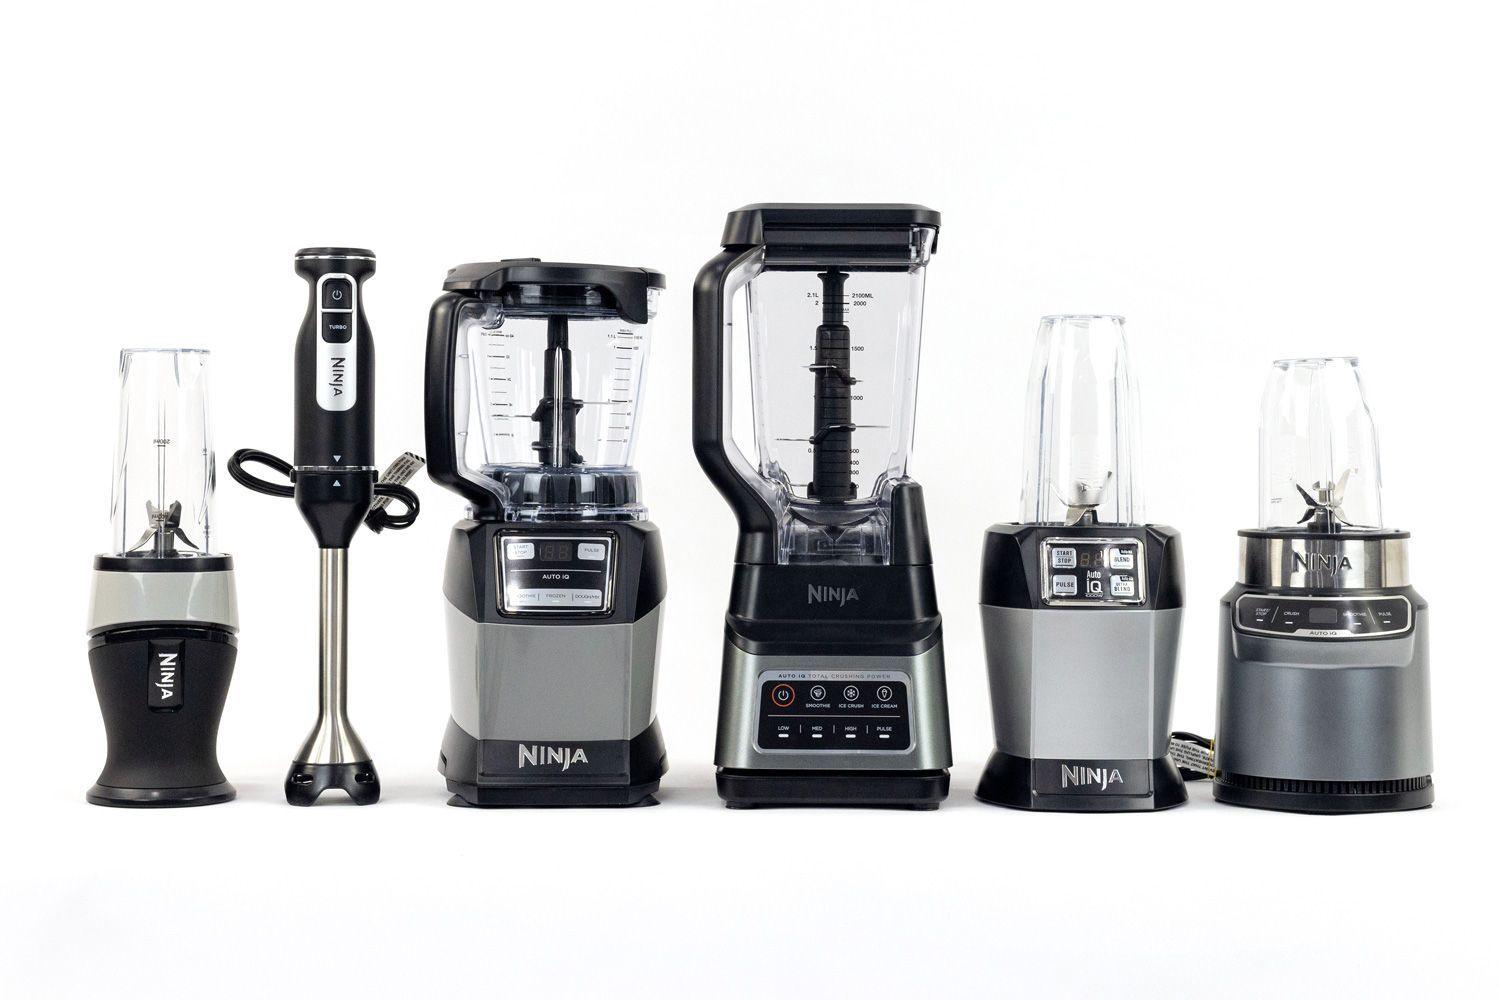
Nutri Ninja cups: Blend 35 seconds on “Smoothie” mode. Ninja Foodi: Only use “Cold Blend”—heating functions create porridge. Professional series: Pulse 3x, then blend 40 seconds on Speed 3. Never exceed the pitcher’s “Max Fill” line, even for double batches.
Pulp Utilization Tips
Don’t trash the pulp! Mix ¼ cup into pancake batter for fiber boost, or blend 2 tbsp into smoothies for thickness. For skincare, combine 2 tbsp pulp + 1 tsp honey into a gentle exfoliant.
Troubleshooting Quick Fixes
Watery Milk Problems
You used too much water or under-blended. Fix: Blend reserved pulp with ½ cup water and re-strain. For creamier batches, reduce water to 2.5 cups per cup of oats—but never extend blending time beyond 45 seconds.
Gritty Texture Issues
Your strainer failed. Switch to a nut milk bag and strain twice. If grit persists, blend 5 seconds longer next time—but monitor closely to avoid sliminess.
Bitter Aftertaste
Oats were stale or over-blended. Always check oat expiration dates and store in airtight containers. For immediate fixes, add a pinch of salt and 1 tsp maple syrup to neutralize bitterness.
Nutritional Powerhouse Facts
Per Cup Breakdown
Unsweetened Ninja-blended oat milk delivers 120 calories, 22g carbs, 3g protein, and 3g fiber—beating almond milk’s 1g fiber. While commercial versions fortify calcium, boost yours naturally: add ¼ tsp calcium citrate powder during blending. For vitamin D, use fortified water (like Propel) as your liquid base.
Mastering how to make oat milk in Ninja blender means never compromising on texture, taste, or cost. You’ll slash grocery bills by 80%, eliminate packaging waste, and customize every sip. Start with the vanilla recipe tomorrow morning—your coffee (and conscience) will thank you. Within days, you’ll wonder why you ever bought cartons.


